
August 22-23rd, 2017. Icefields Parkway, Banff National Park.
Round Trip: 14 hours split into 2 Days, Elevation Gain: 1840m
Difficult / Climber’s Scramble 5.3
*Update 03/2026* Apparently I’m quite late to the party on this, but while conducting some research for the upcoming scrambling season I’ve learnt from multiple sources that Mt Murchison’s south summit was remeasured in 2018 and 2019 at a corrected height of 3348m. Which means its fall’s shy of the magic 11’000er mark. It remains a serious objective and I still consider this my most technical “scramble” ascent.
I teamed with Nick Fitzhardinge for this one. As he was the trip planner, I did not take as many notes of the route up as I would have liked in hind sight. We loosely followed the instructions from Bill Corbett’s 11,000ers of the Canadian Rockies 2nd Edition (2016), which at the time stated that the south summit had been recently remeasured to be between 3353m and 3360m. On a technical level this is a difficult scramble with at least 2 crux areas involved climber’s level scrambling. Some parties according to Nick have used a rope to absail back down the crux that lays under the summit block. We managed unroped however it took a lot of patience and coaching from Nick for me to downclimb that section.
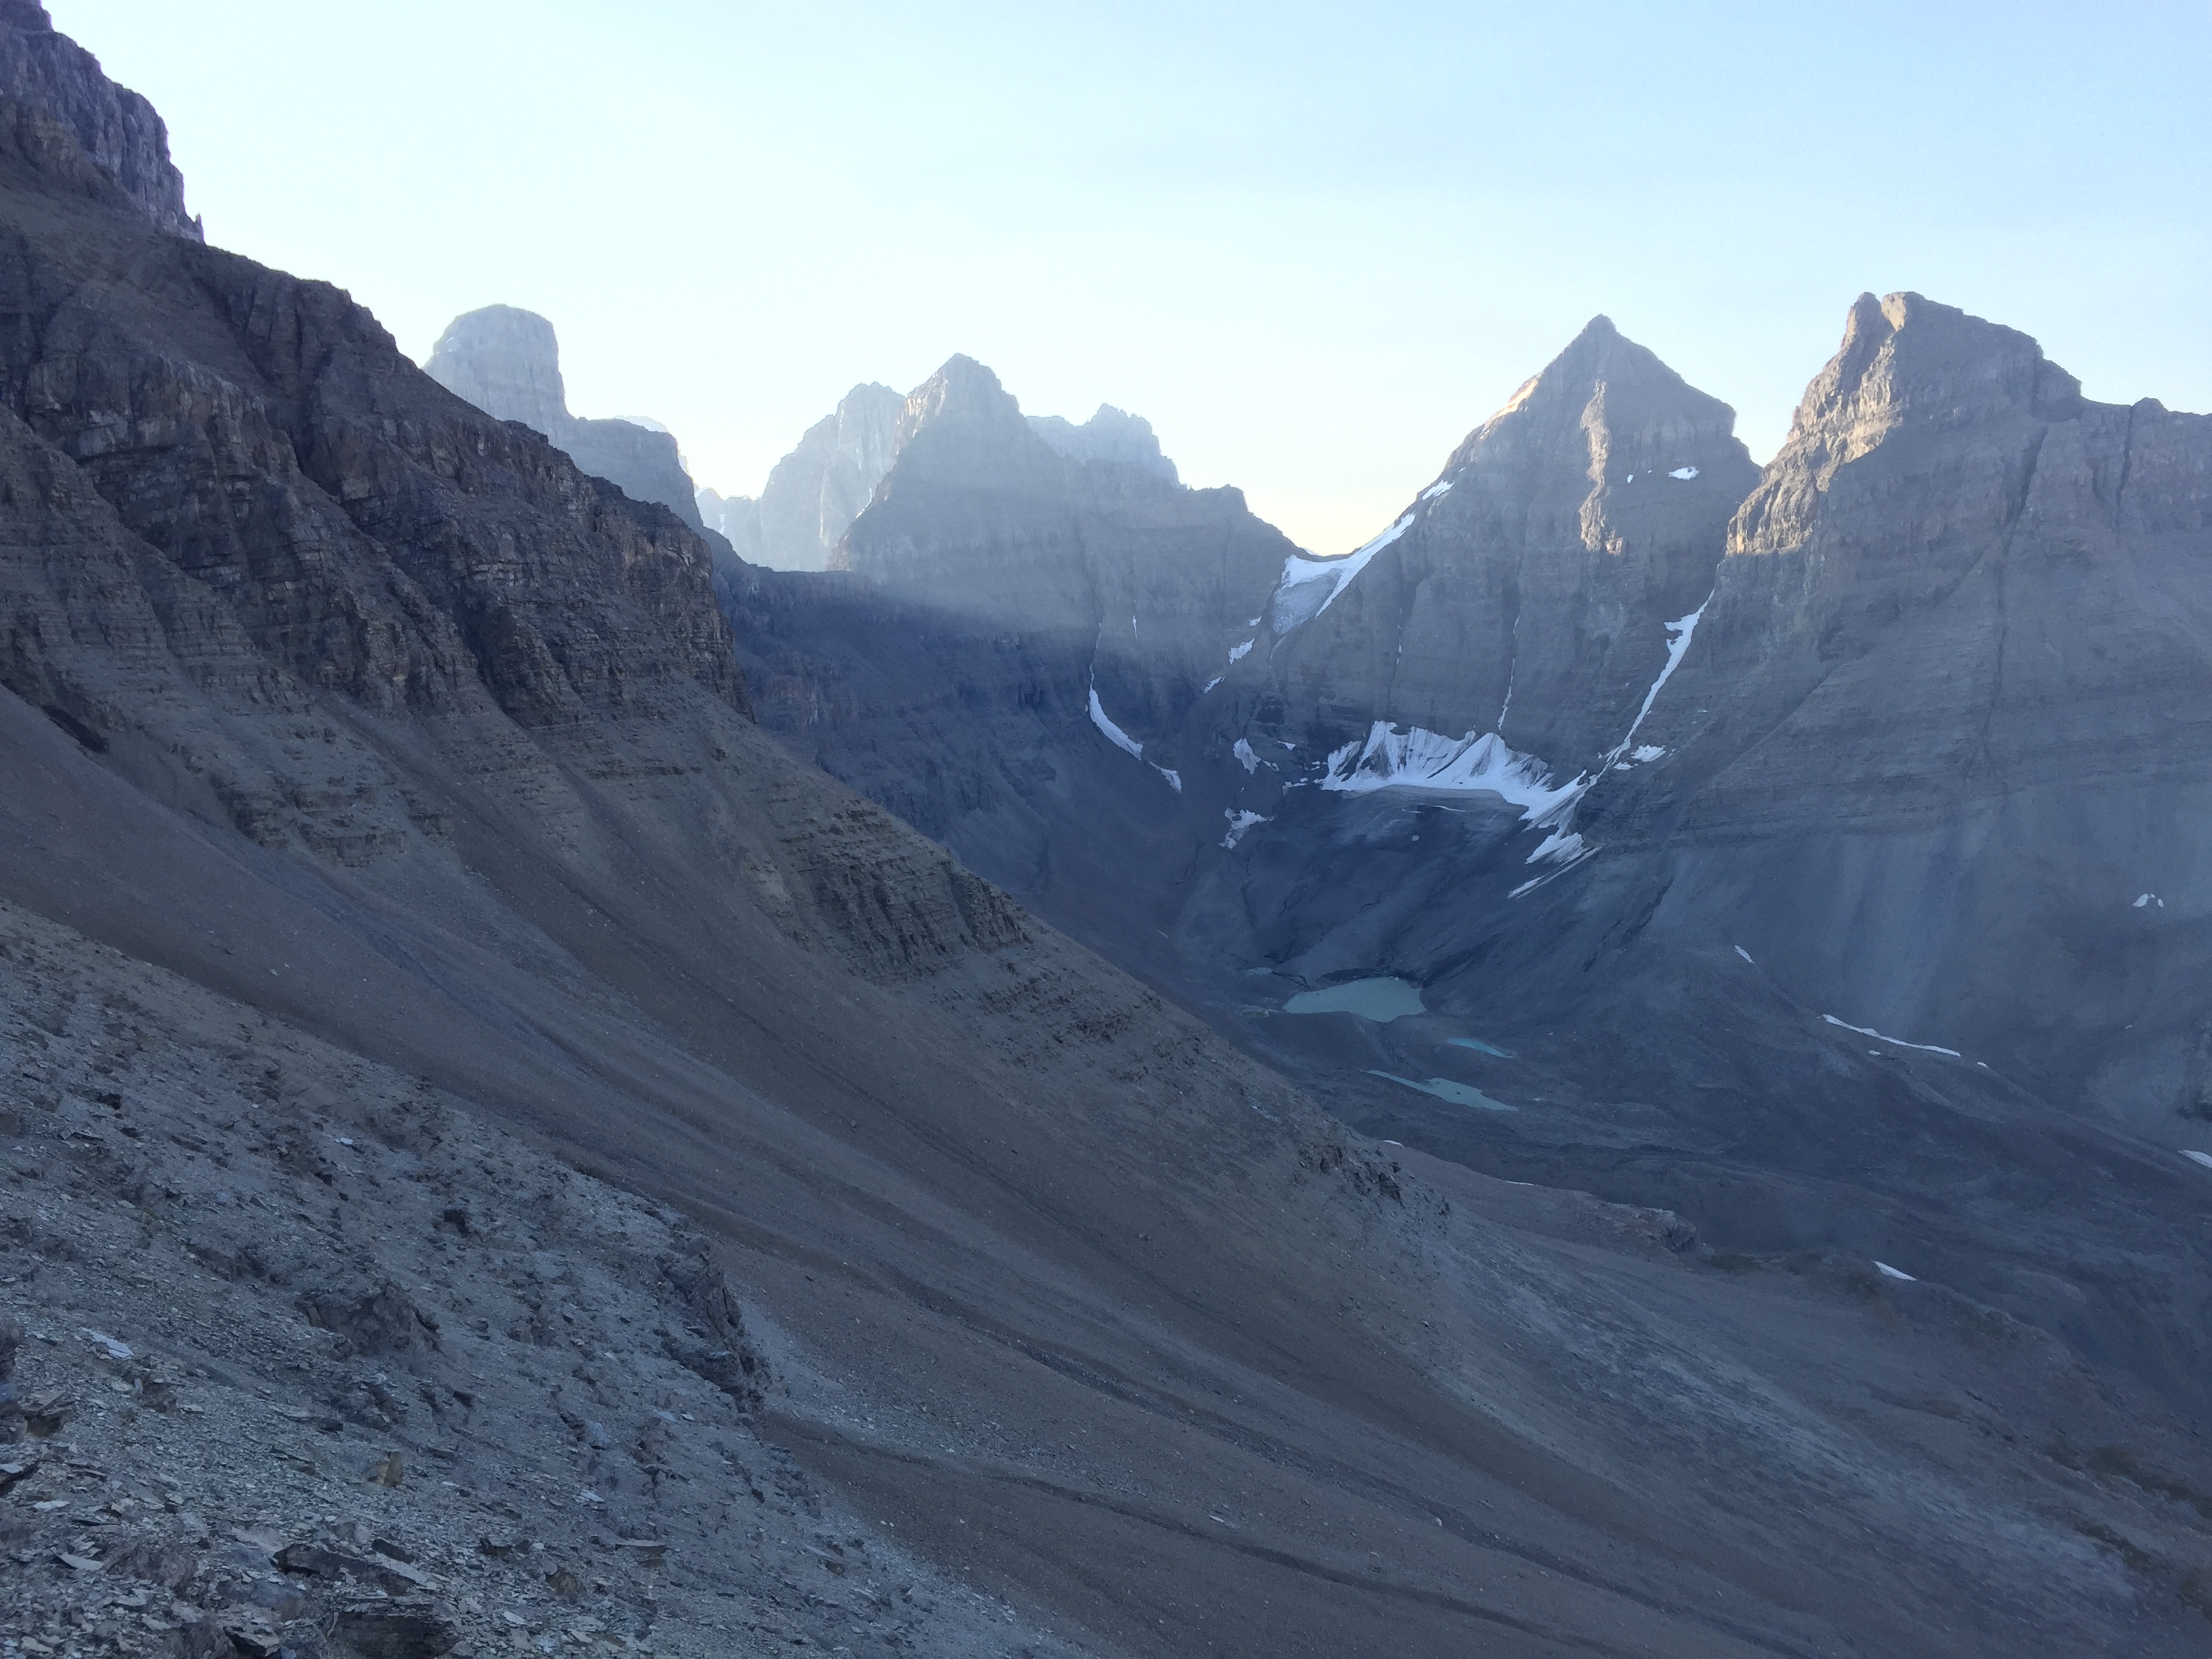
Mount Murchison is the immense peak situated in the southeast corner of Saskatchewan River Crossing. We accessed the initial drainage directly from the side of the highway. This involved bushwhacking from the highway aiming for a large drainage. The land mark for the correct drainage was a set of three towers above us on the climber’s left. It was late start for us as I had already worked that day and was lucky to start the trip at 6pm. It took us just over half an hour to break out of the trees and into the drainage.
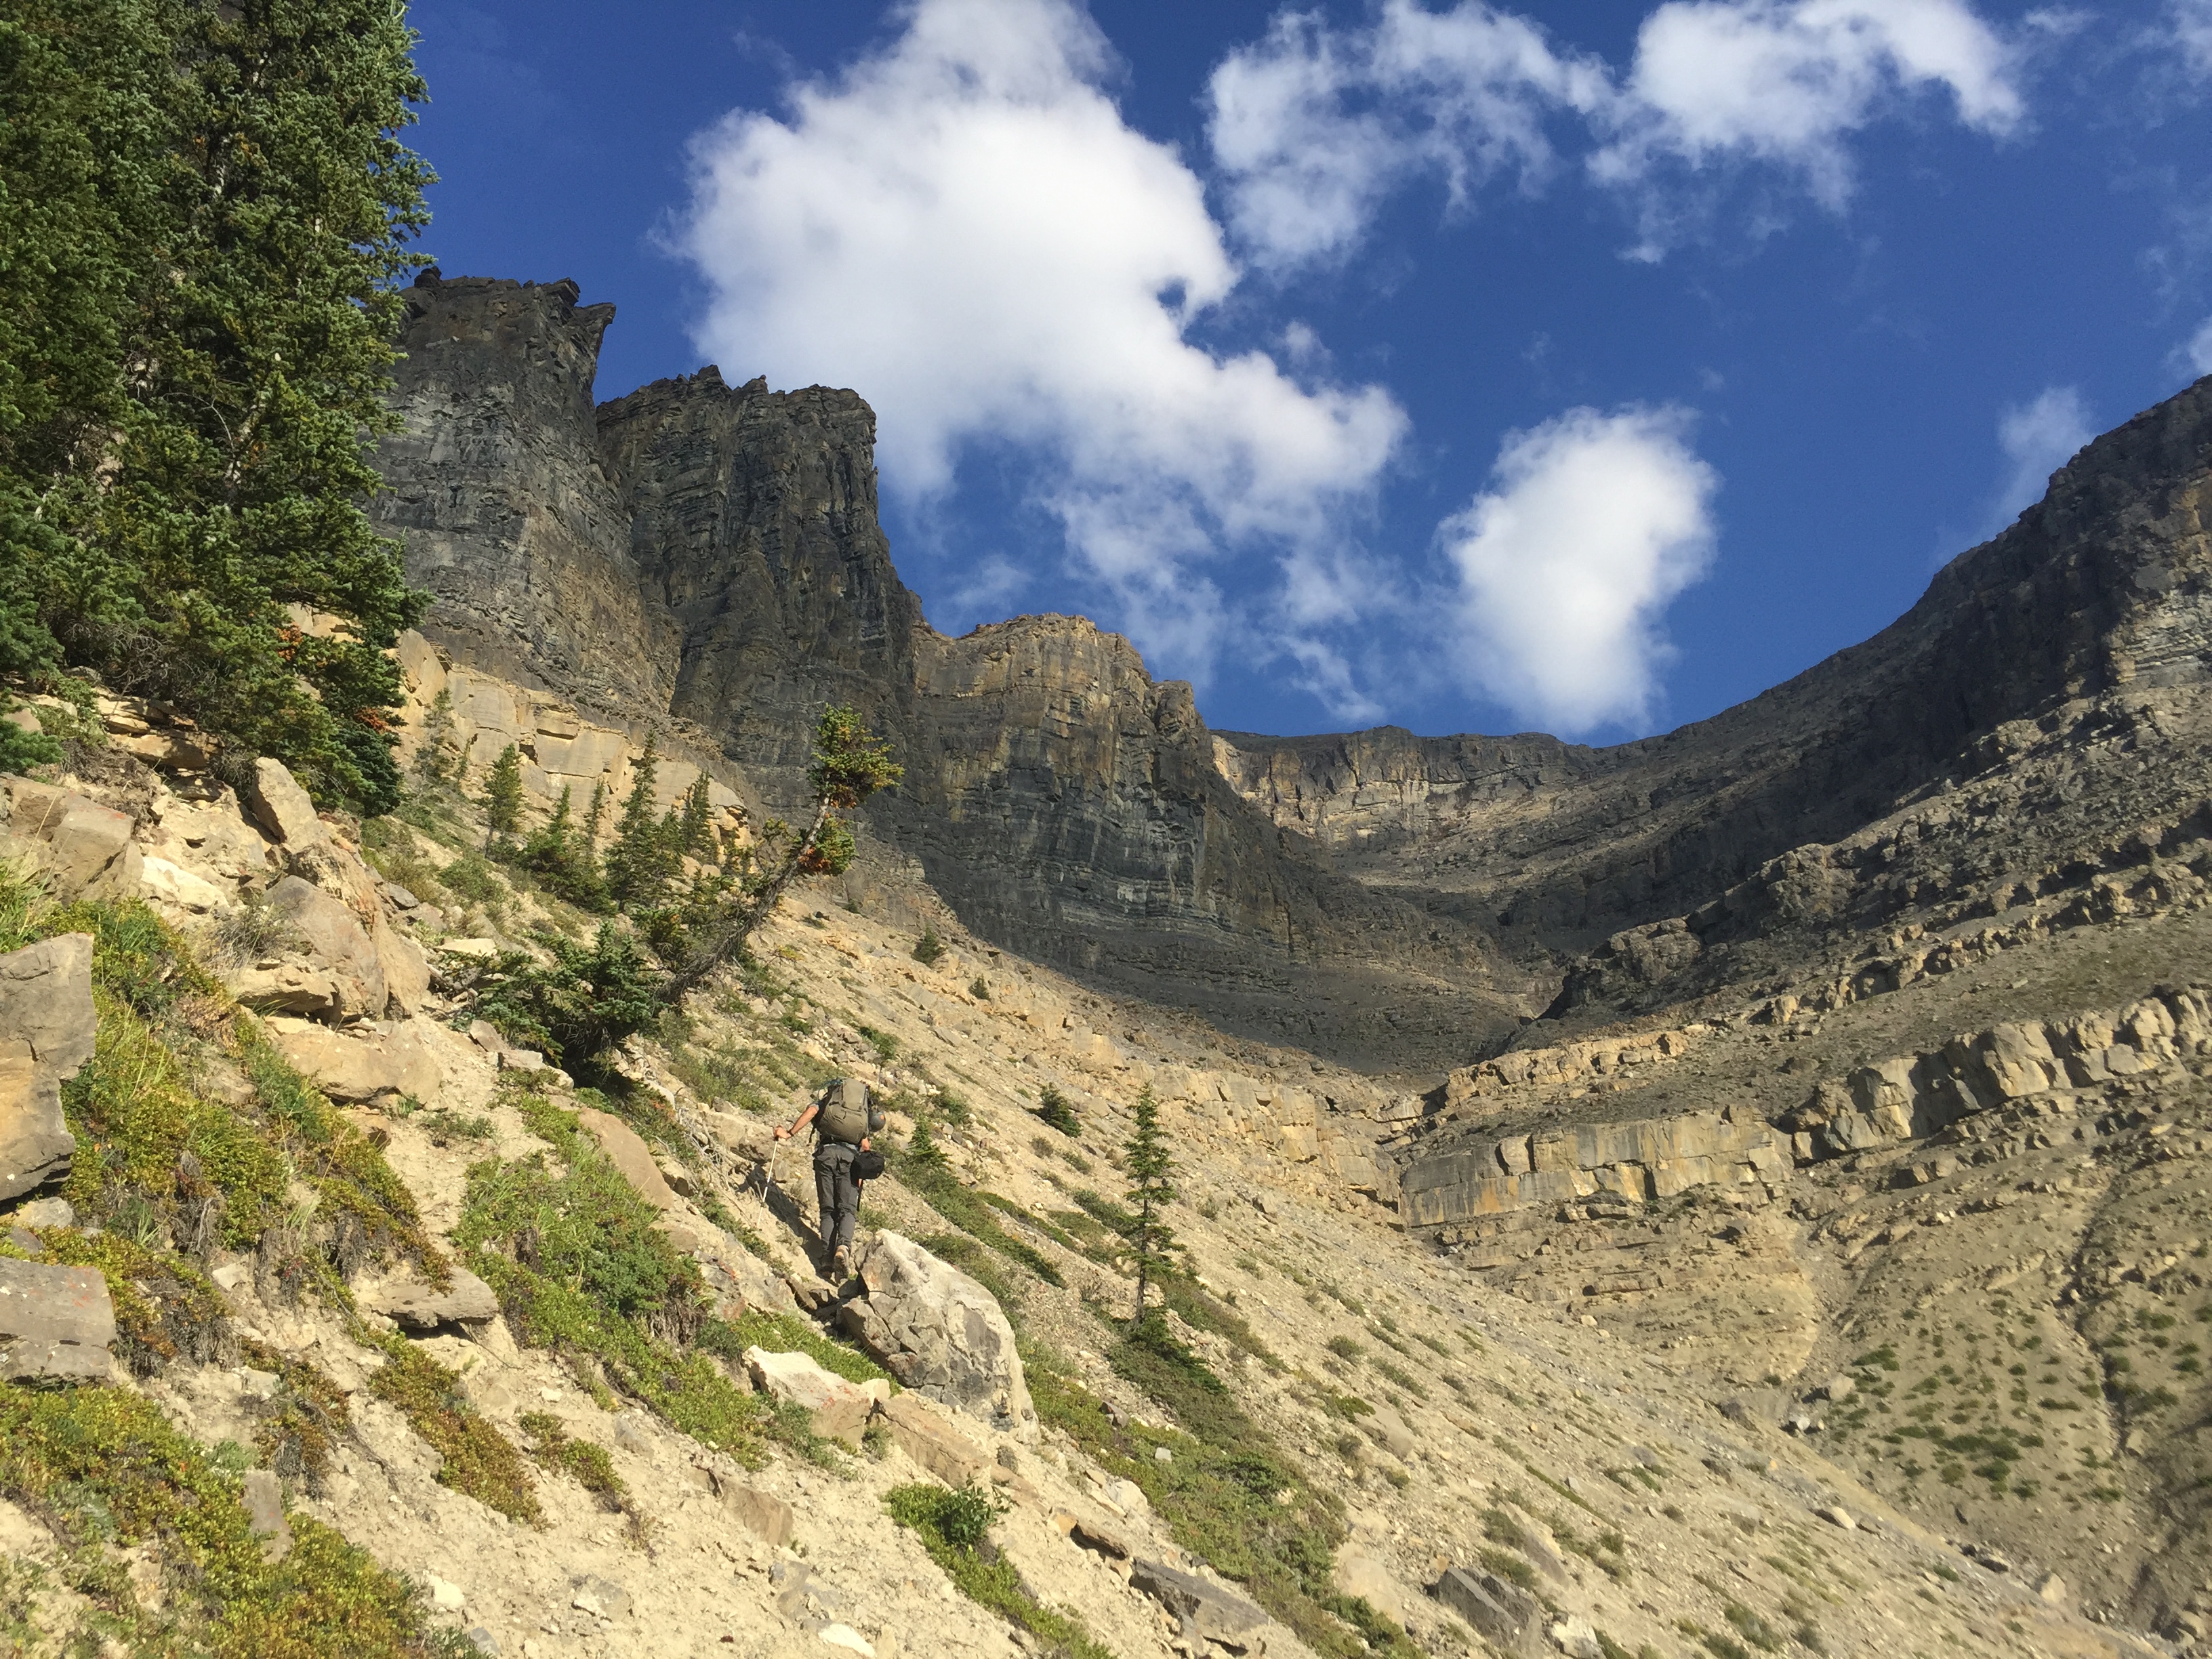
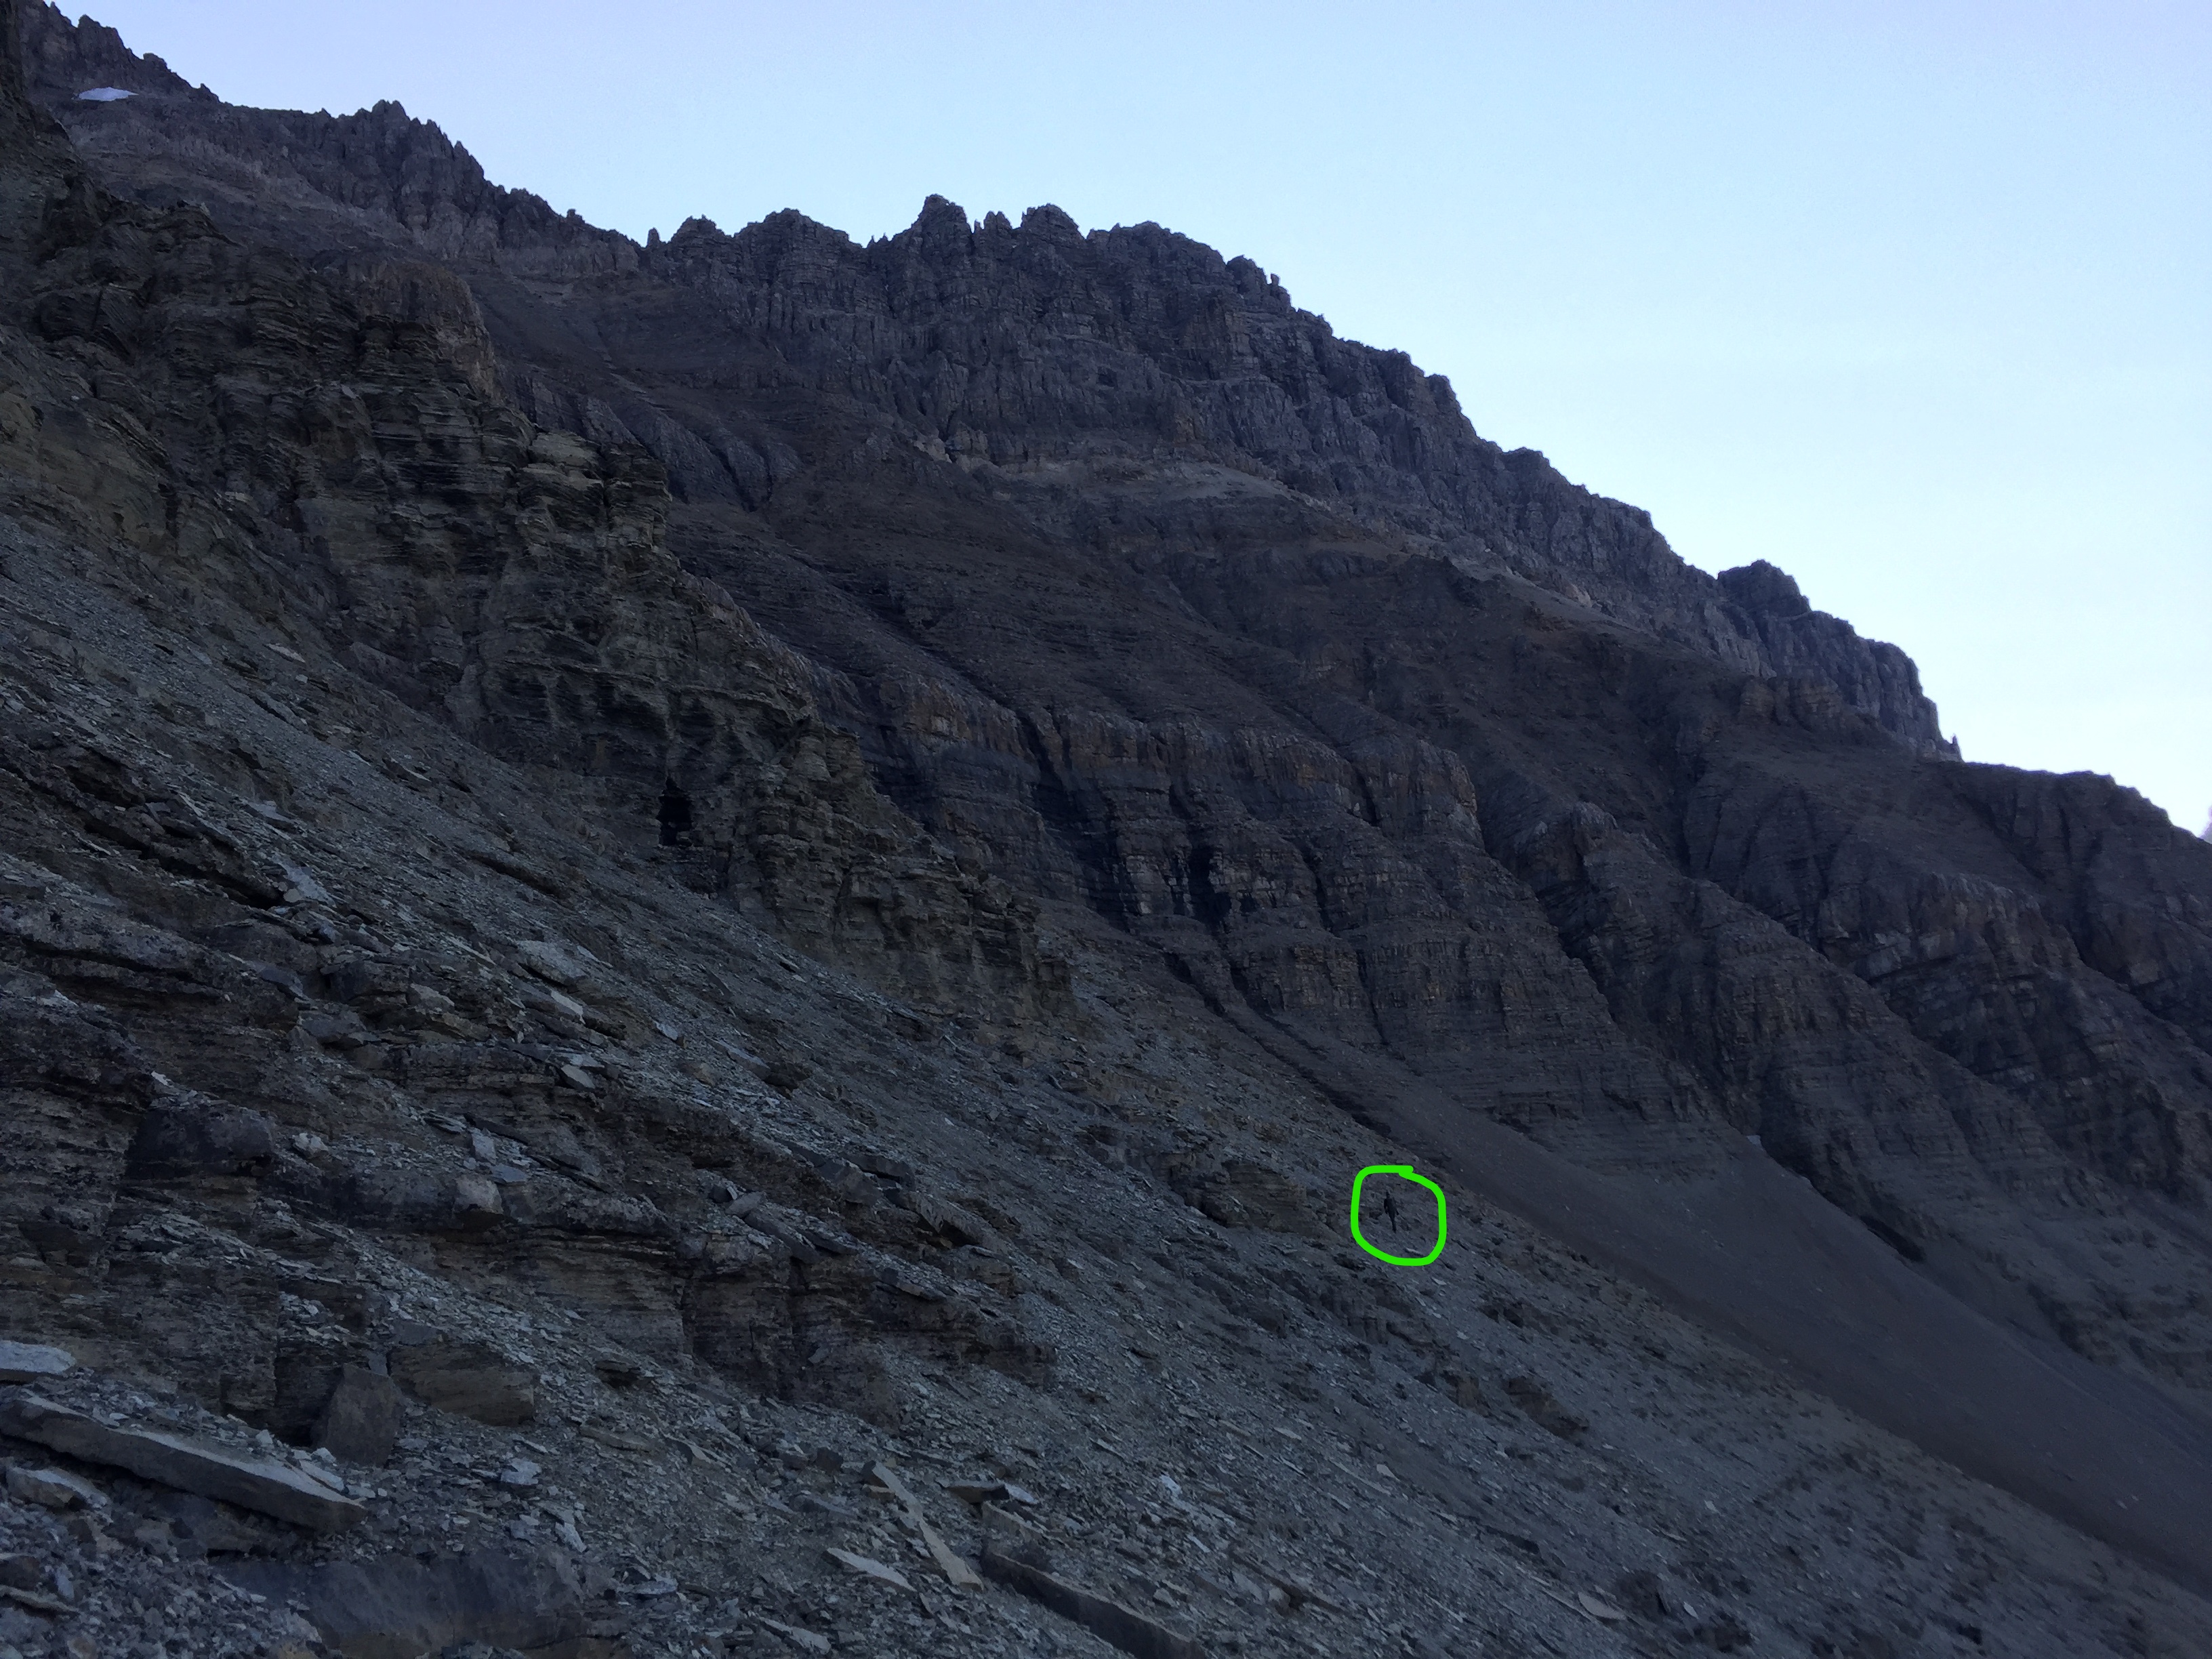
We kept low of the three towers and slowly veered to the right. This involved zig-zagging across a series of ledges. Mostly moderate scrambling up through these however a fair bit of route finding was involved in navigating the weakest points to scramble up. Just before ascending the last few ledges there is a crux section to surpass the one cliff band – there are several options. We found at least two both marked with cairns.
We opted for the weakness that was further on the climber’s left out of the two potential options. The cliff band that contains the crux is nearly 5m in height making it stand out from the other ledges – you will know it when you see it. The crux itself involved a few awkward difficult scrambling moves to obtain.
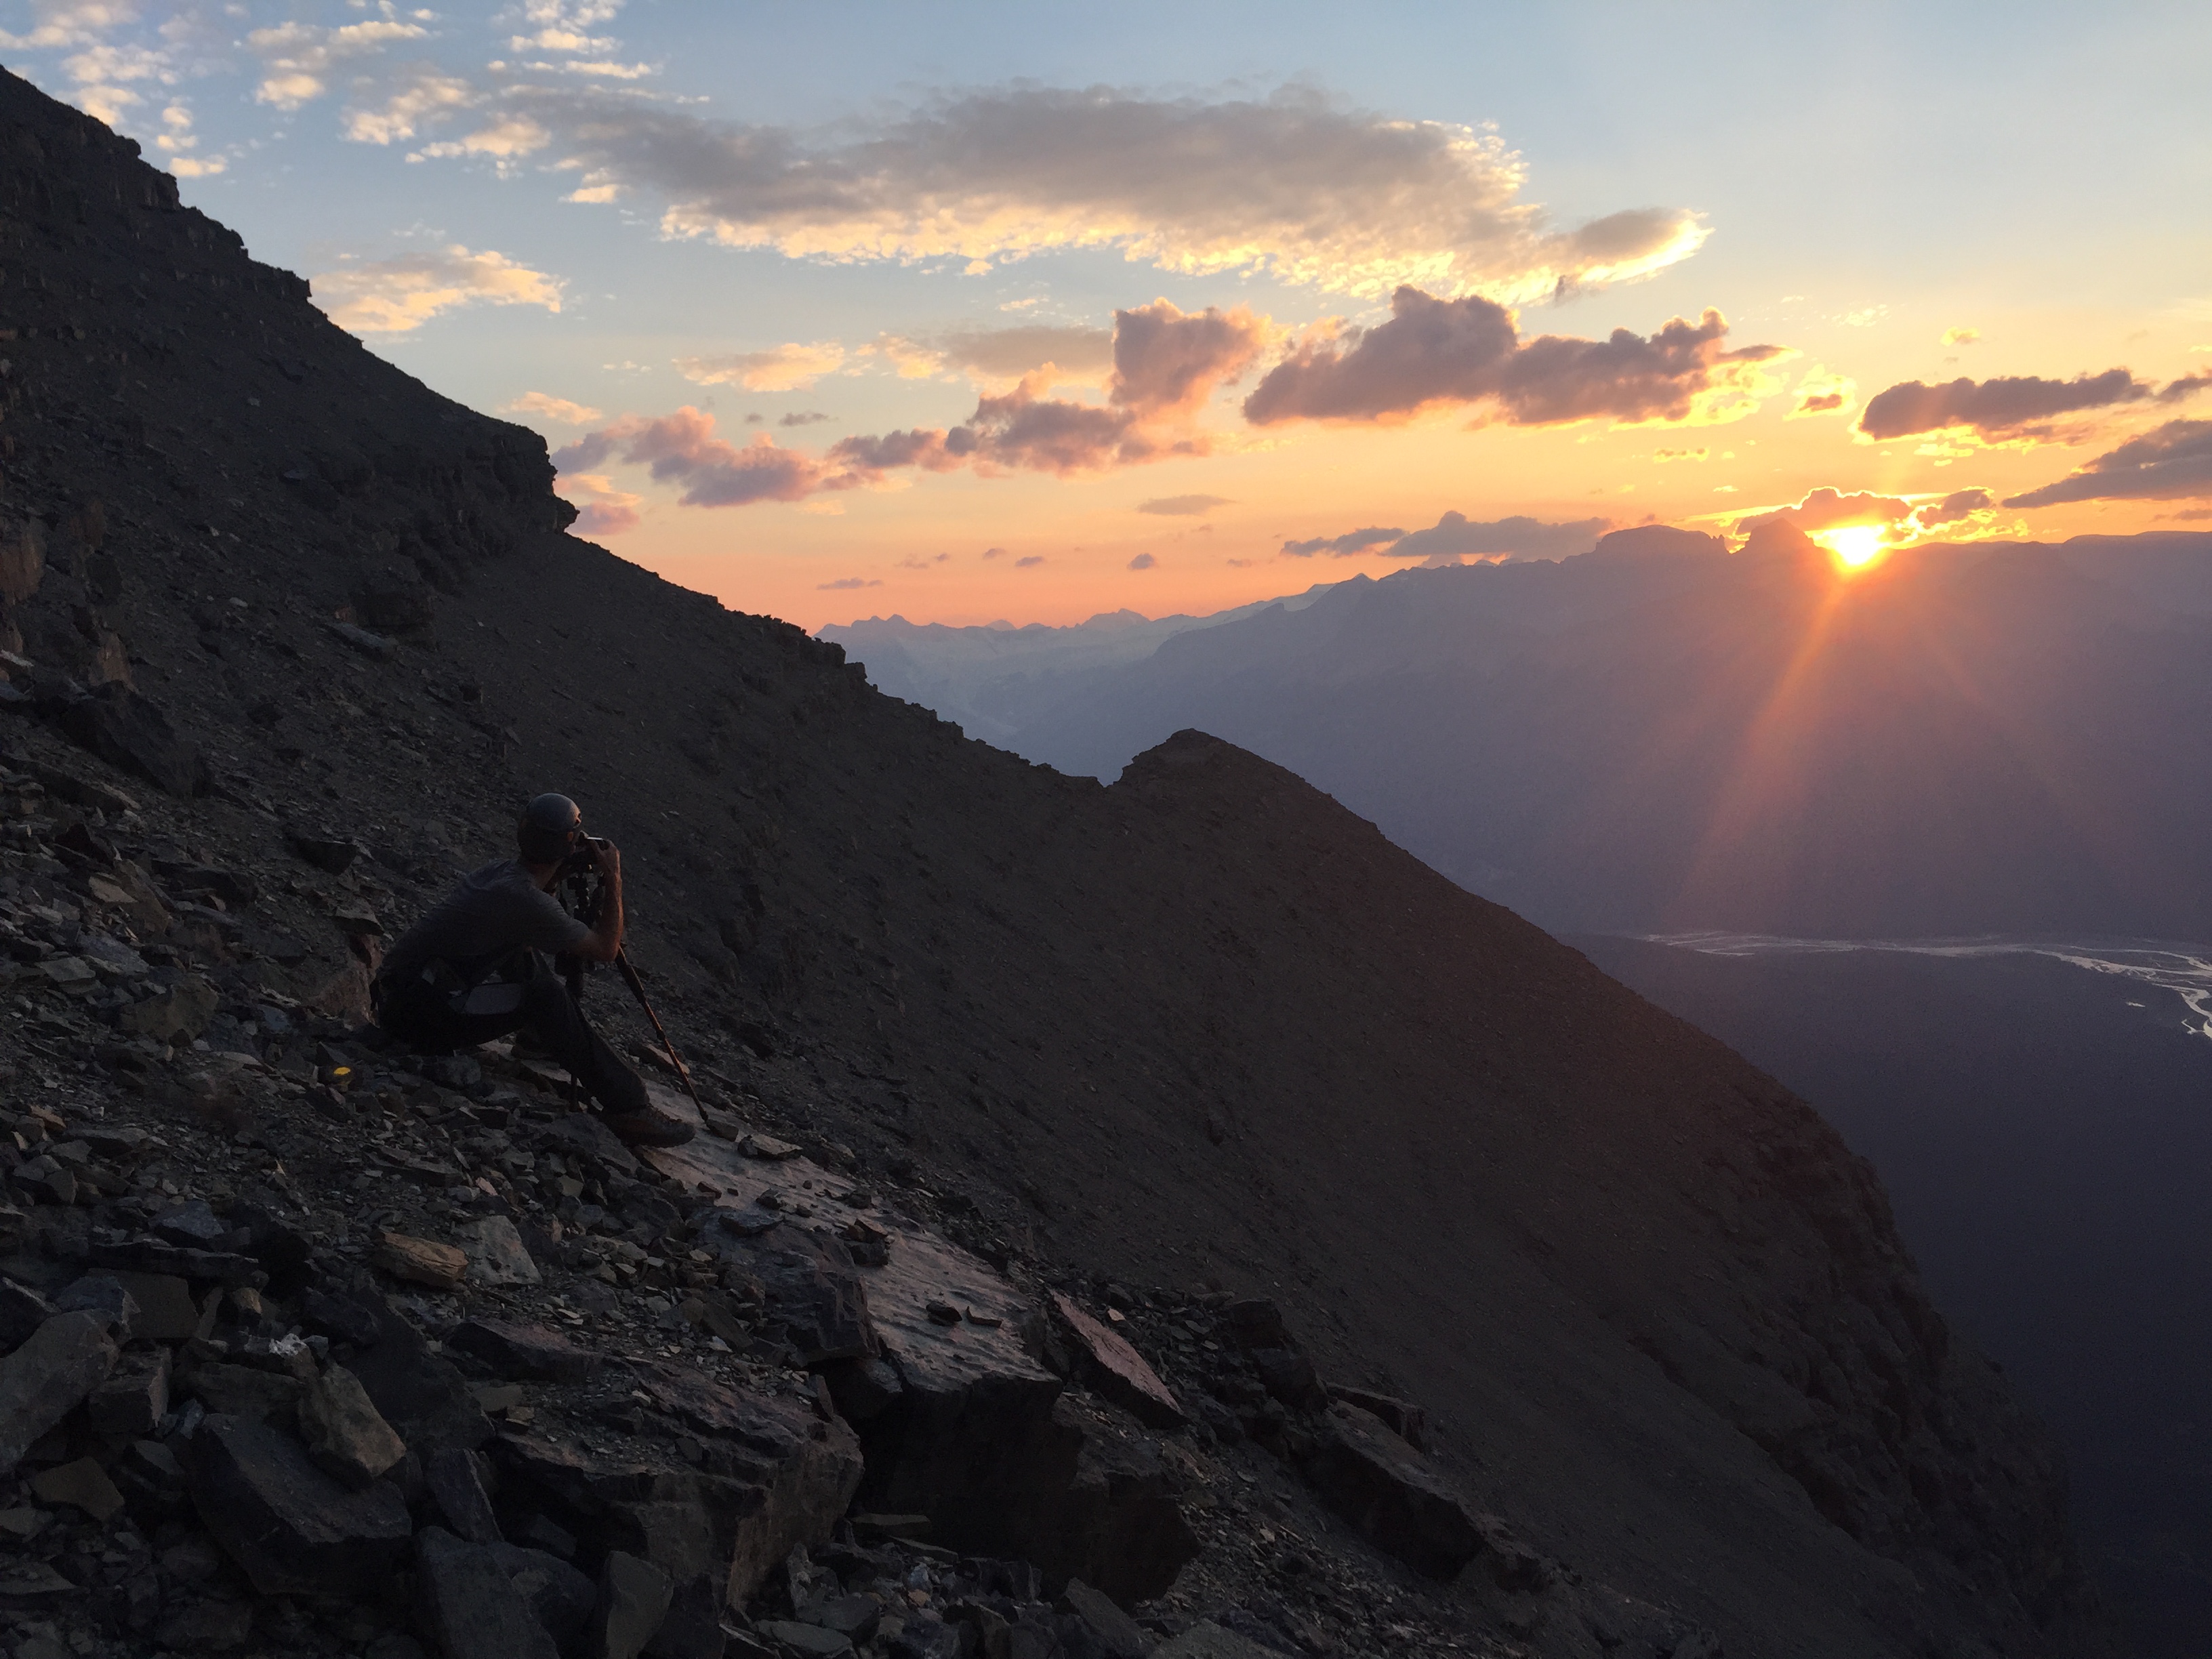
We reached our bivy site around 9:30pm and I was ready for a good snooze. It was a very active night for star gazing – Nick woke me up a few hours later to inform me that the aurora was active! Absolutely epic. Head over to Nick’s photography website to see a glimpse of what we were treated to that night: https://www.nickfitzhardingephotography.ca/Galleries/Night-Skies/i-GqSfQmg
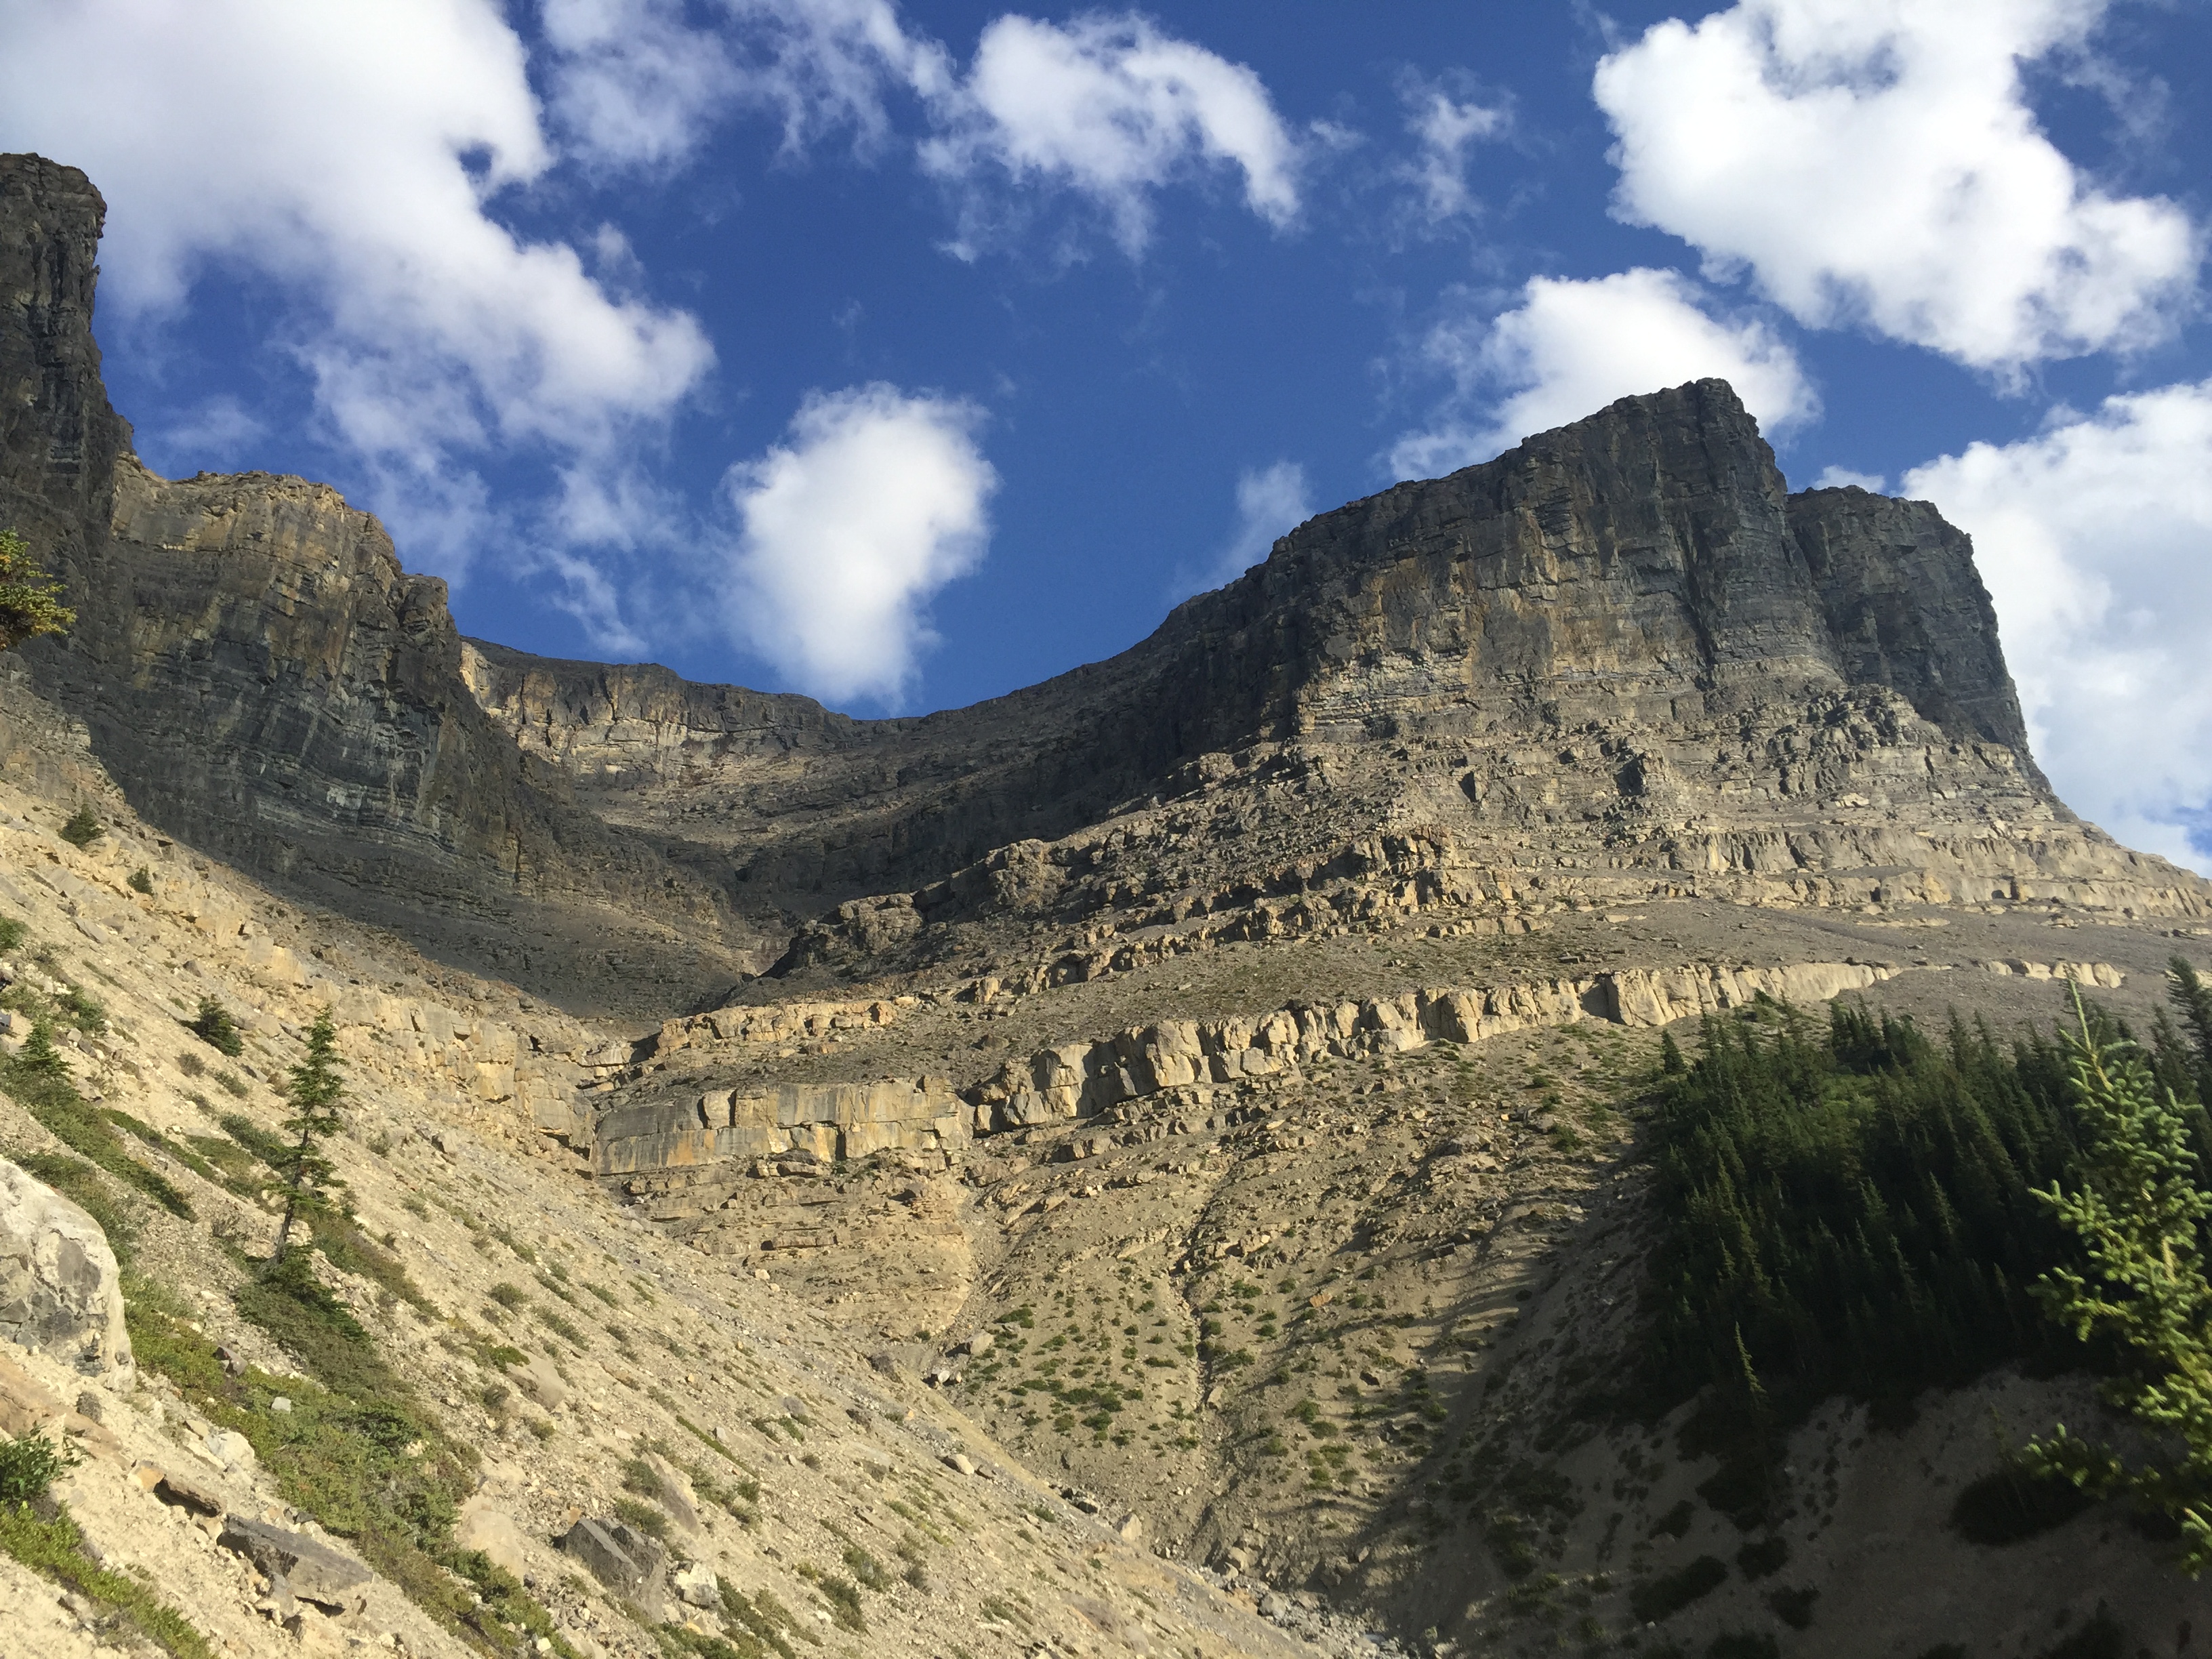
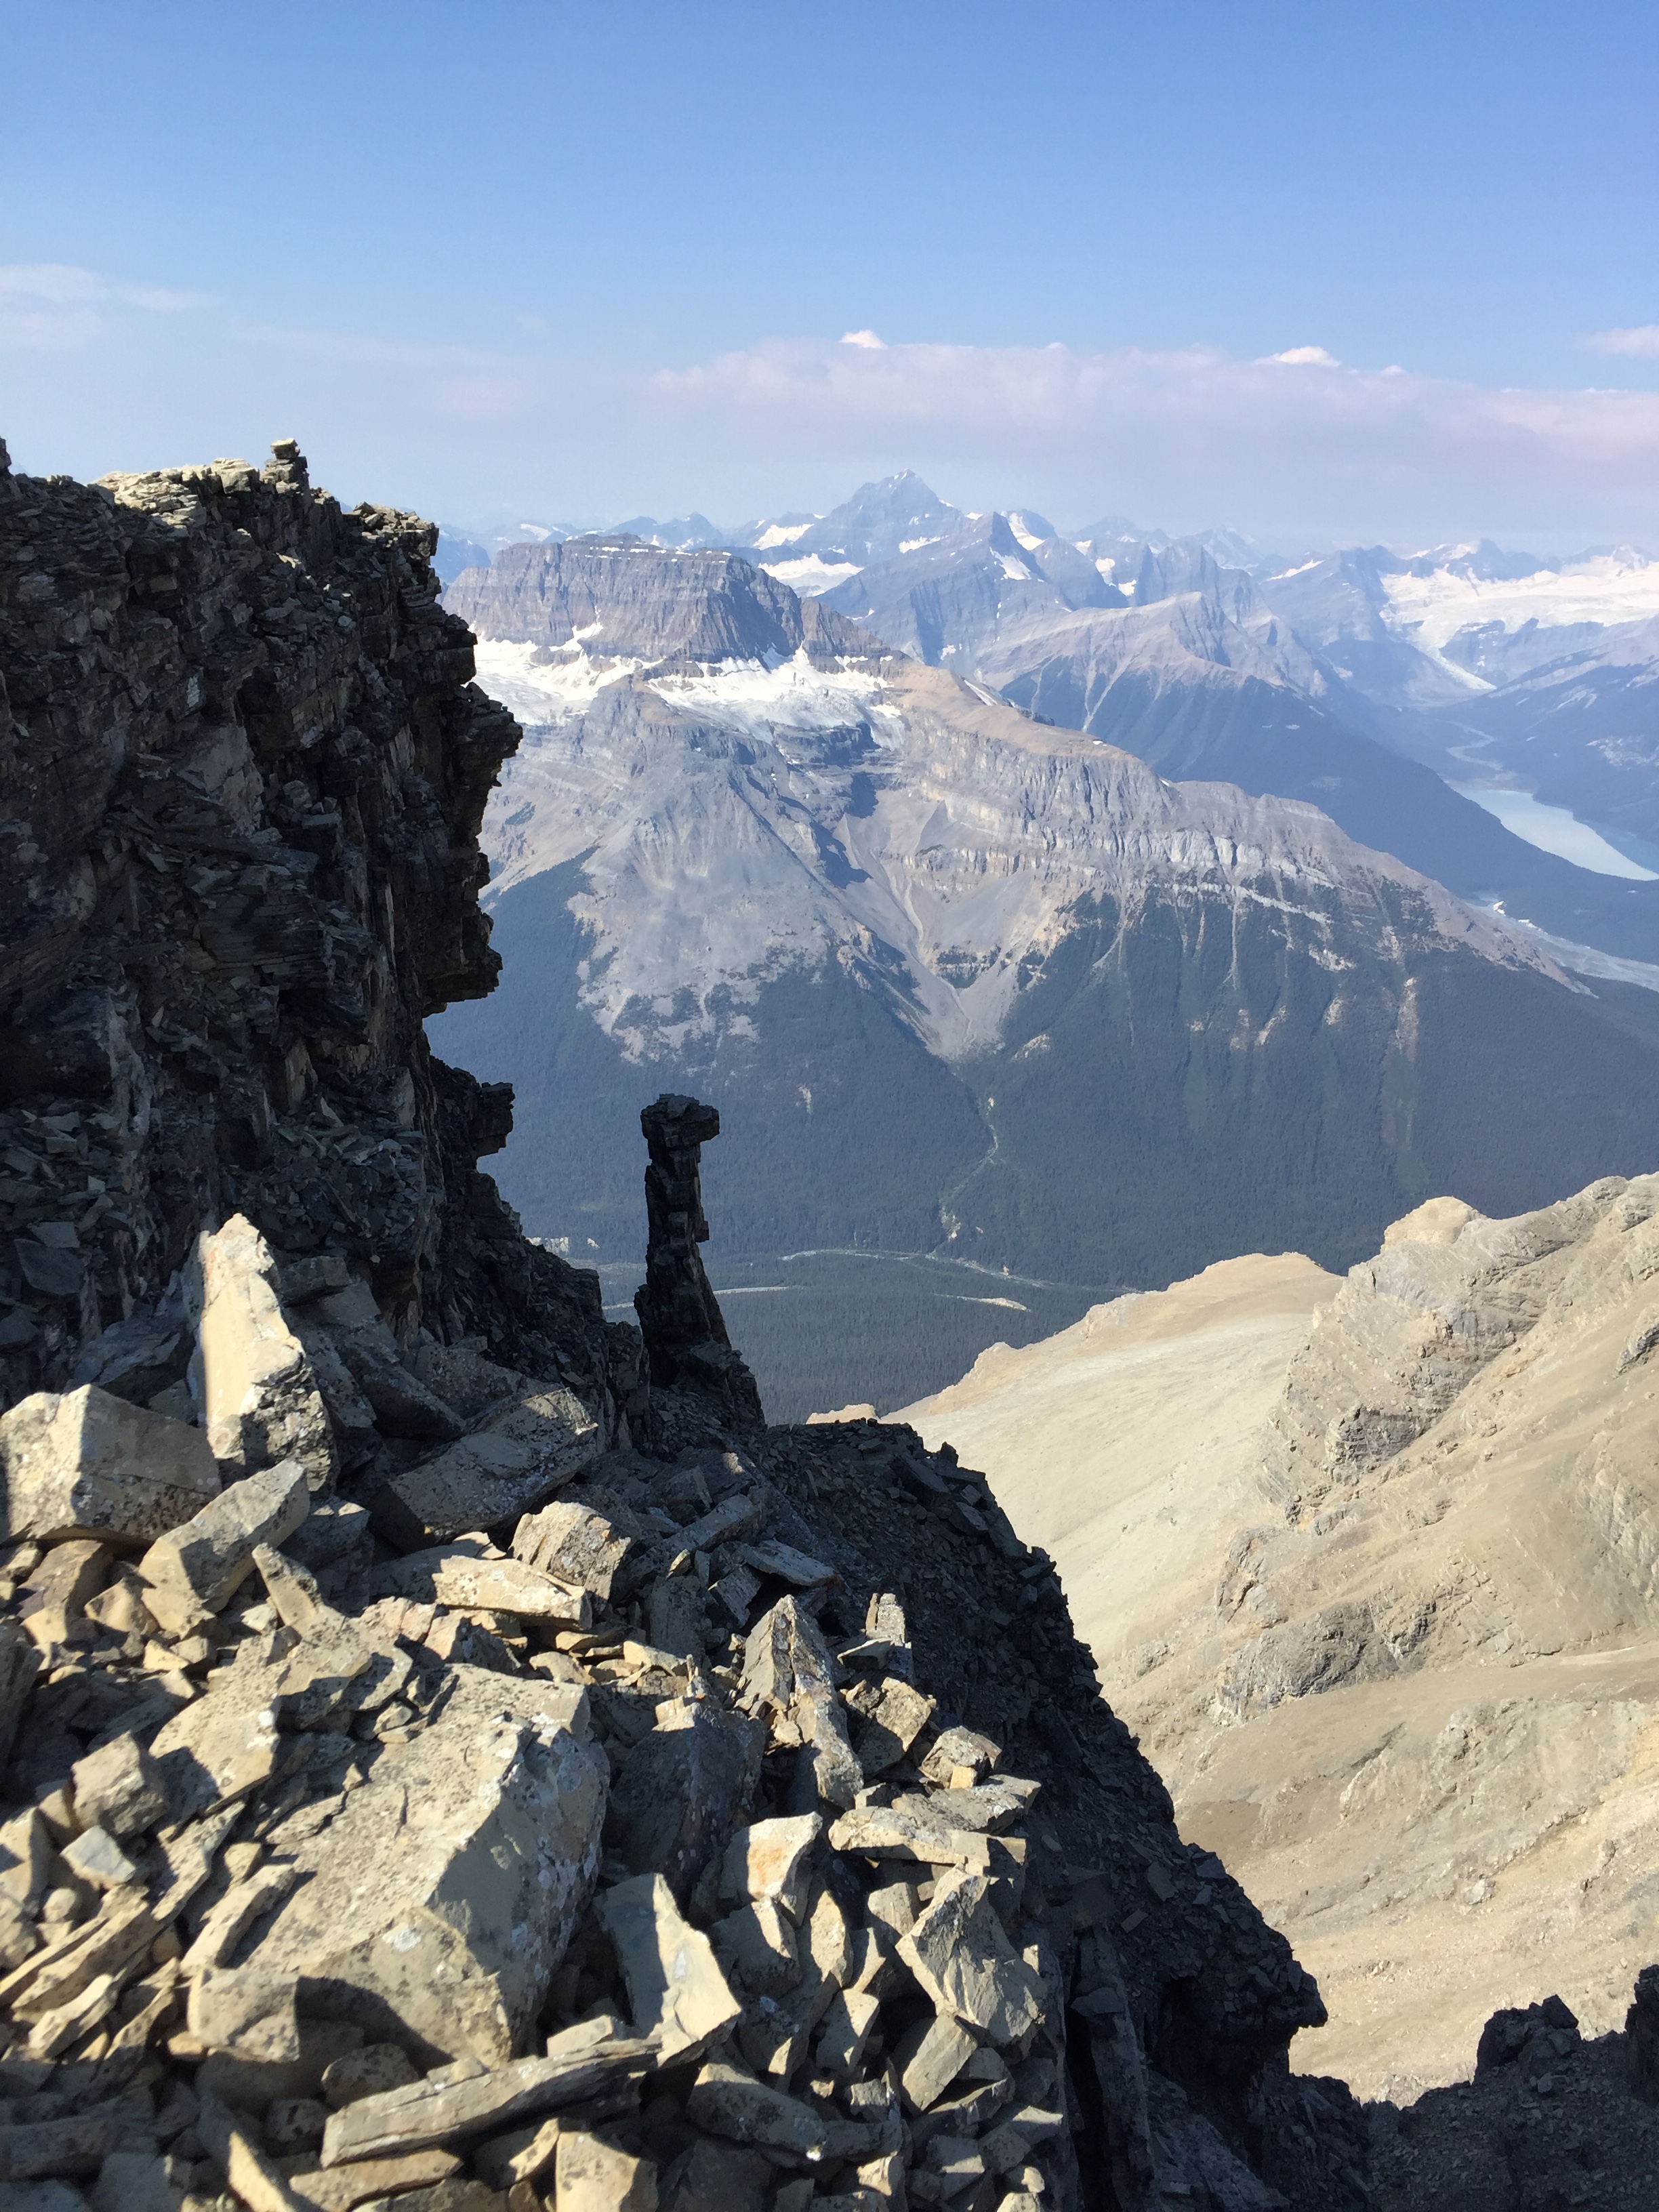
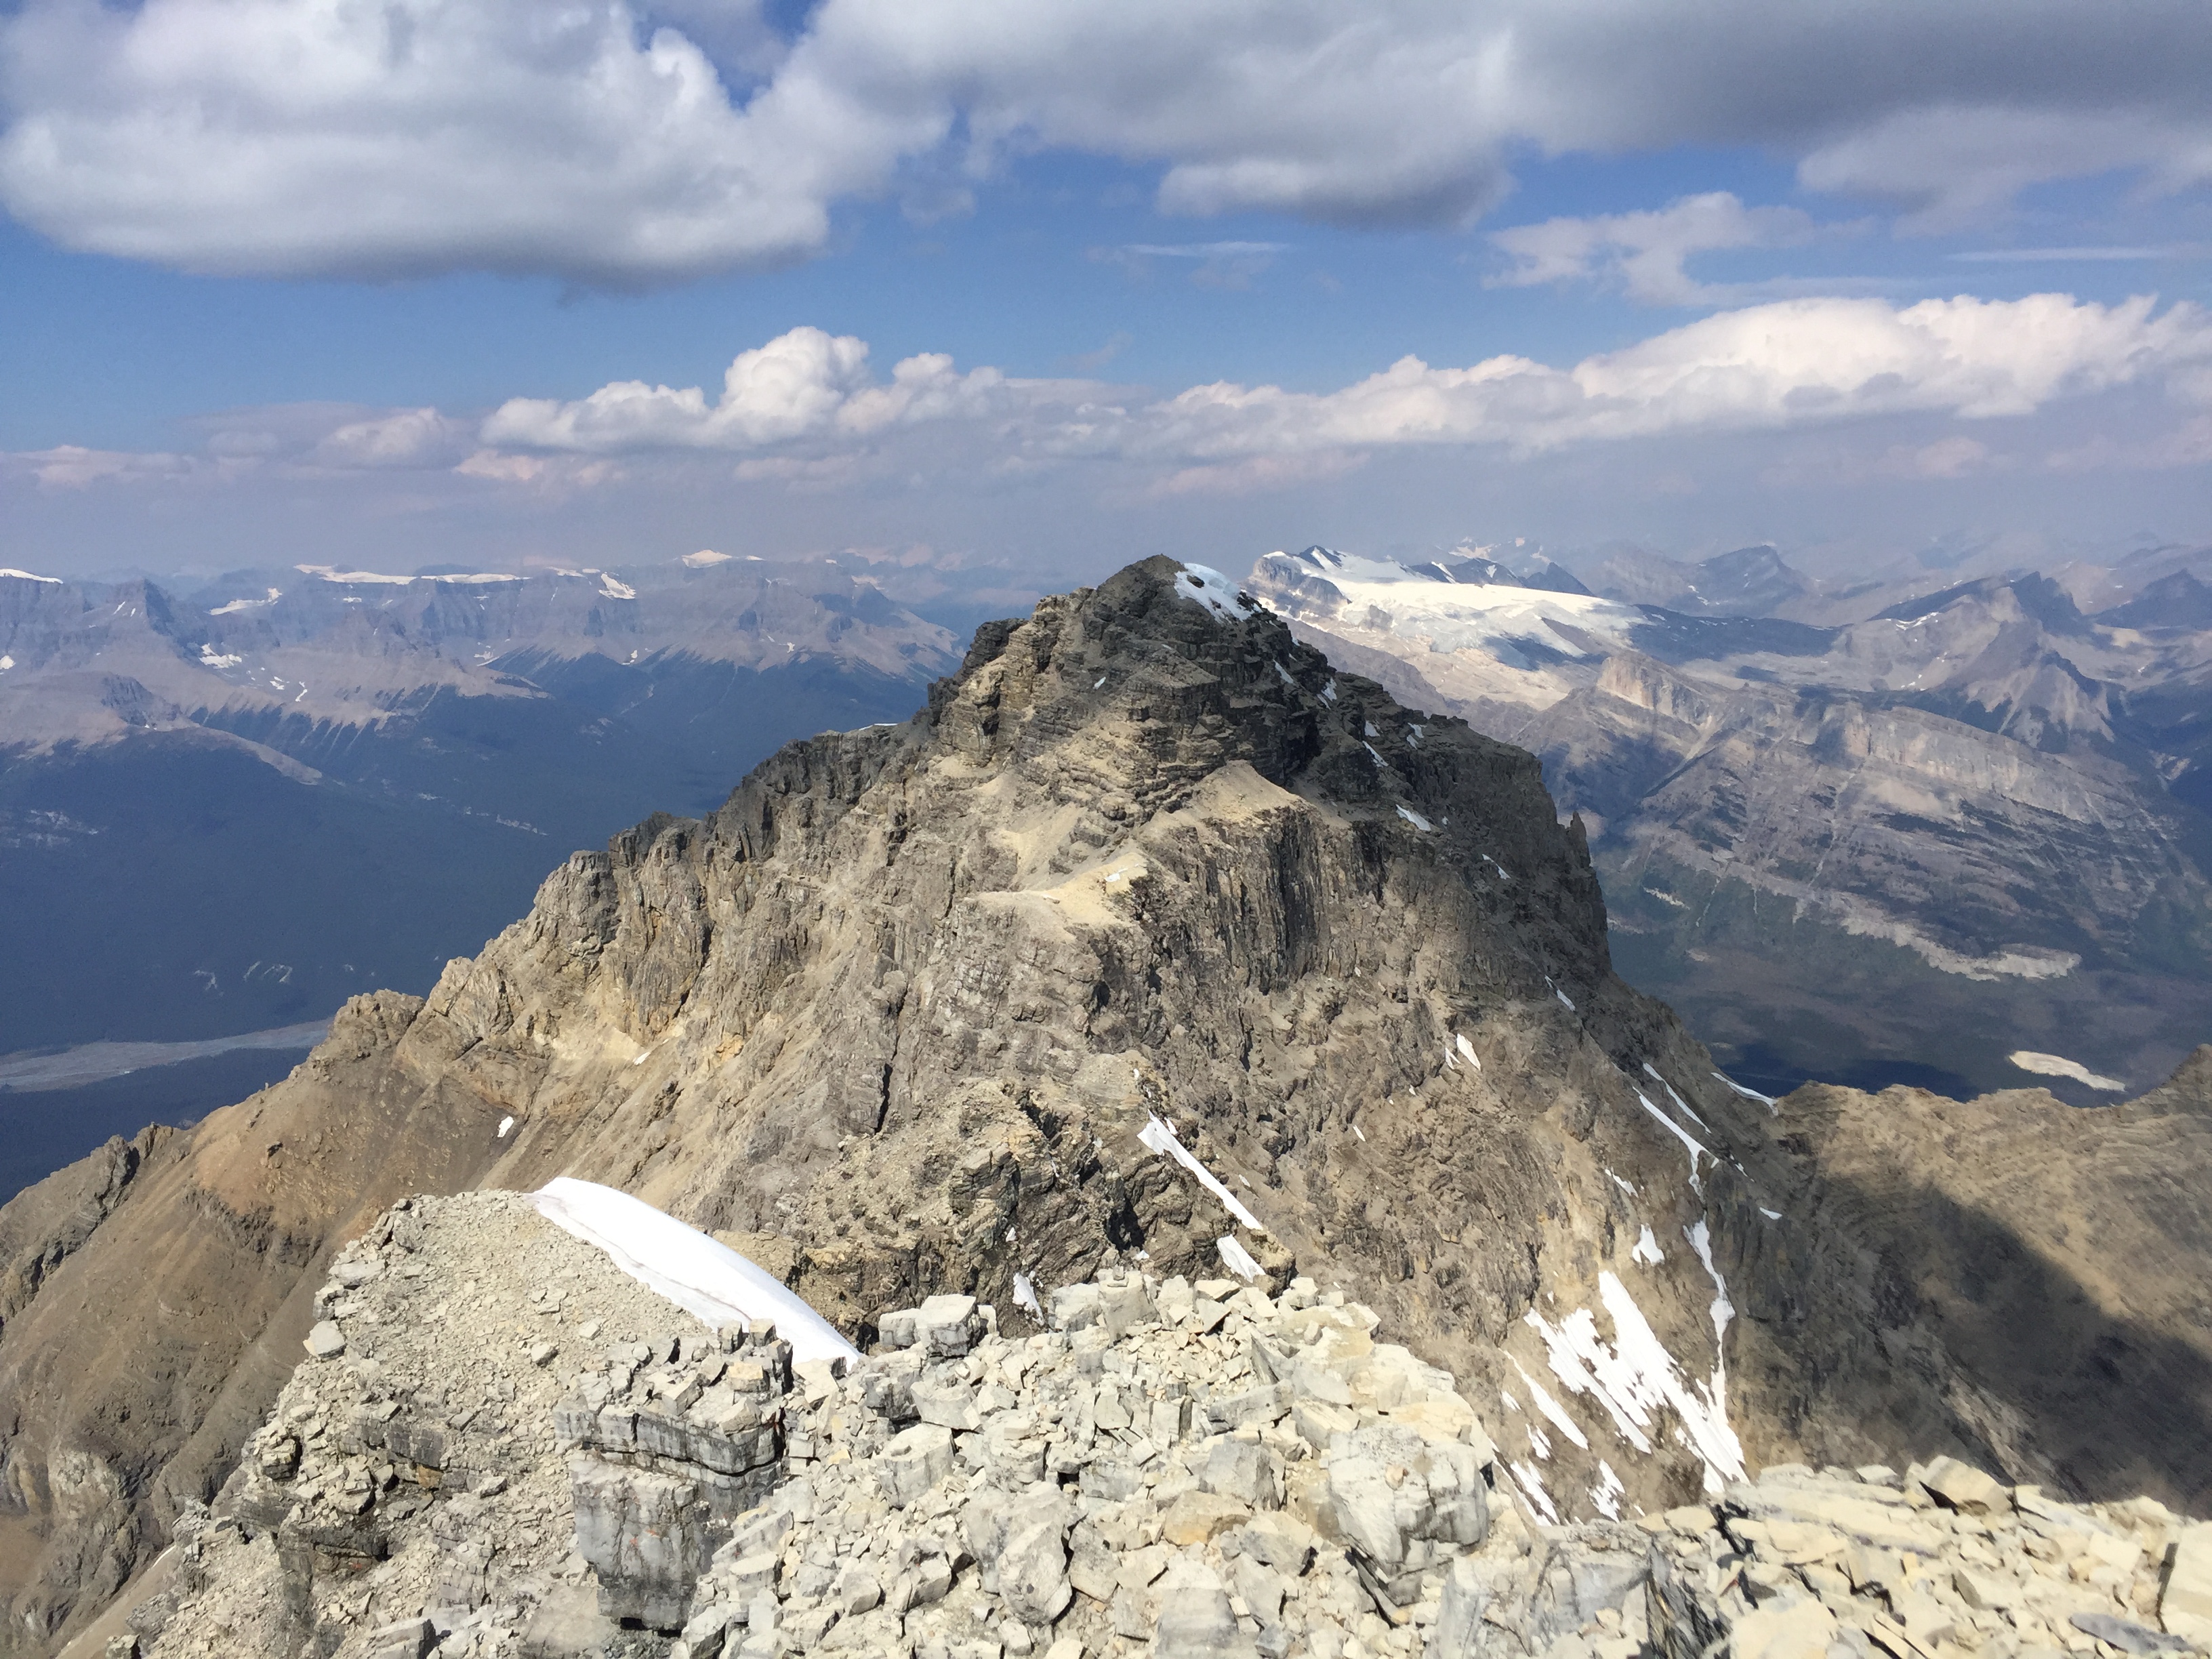
The next morning we set out by 7:30am. From the bivy site we had to circle nearly a kilometre under the north summit around to the first of two ascent gullies. The Murchison Towers rise above in the distance. There are very few cairns the whole time during the ascent but the few that are there are critically placed so do keep an eye out for these.
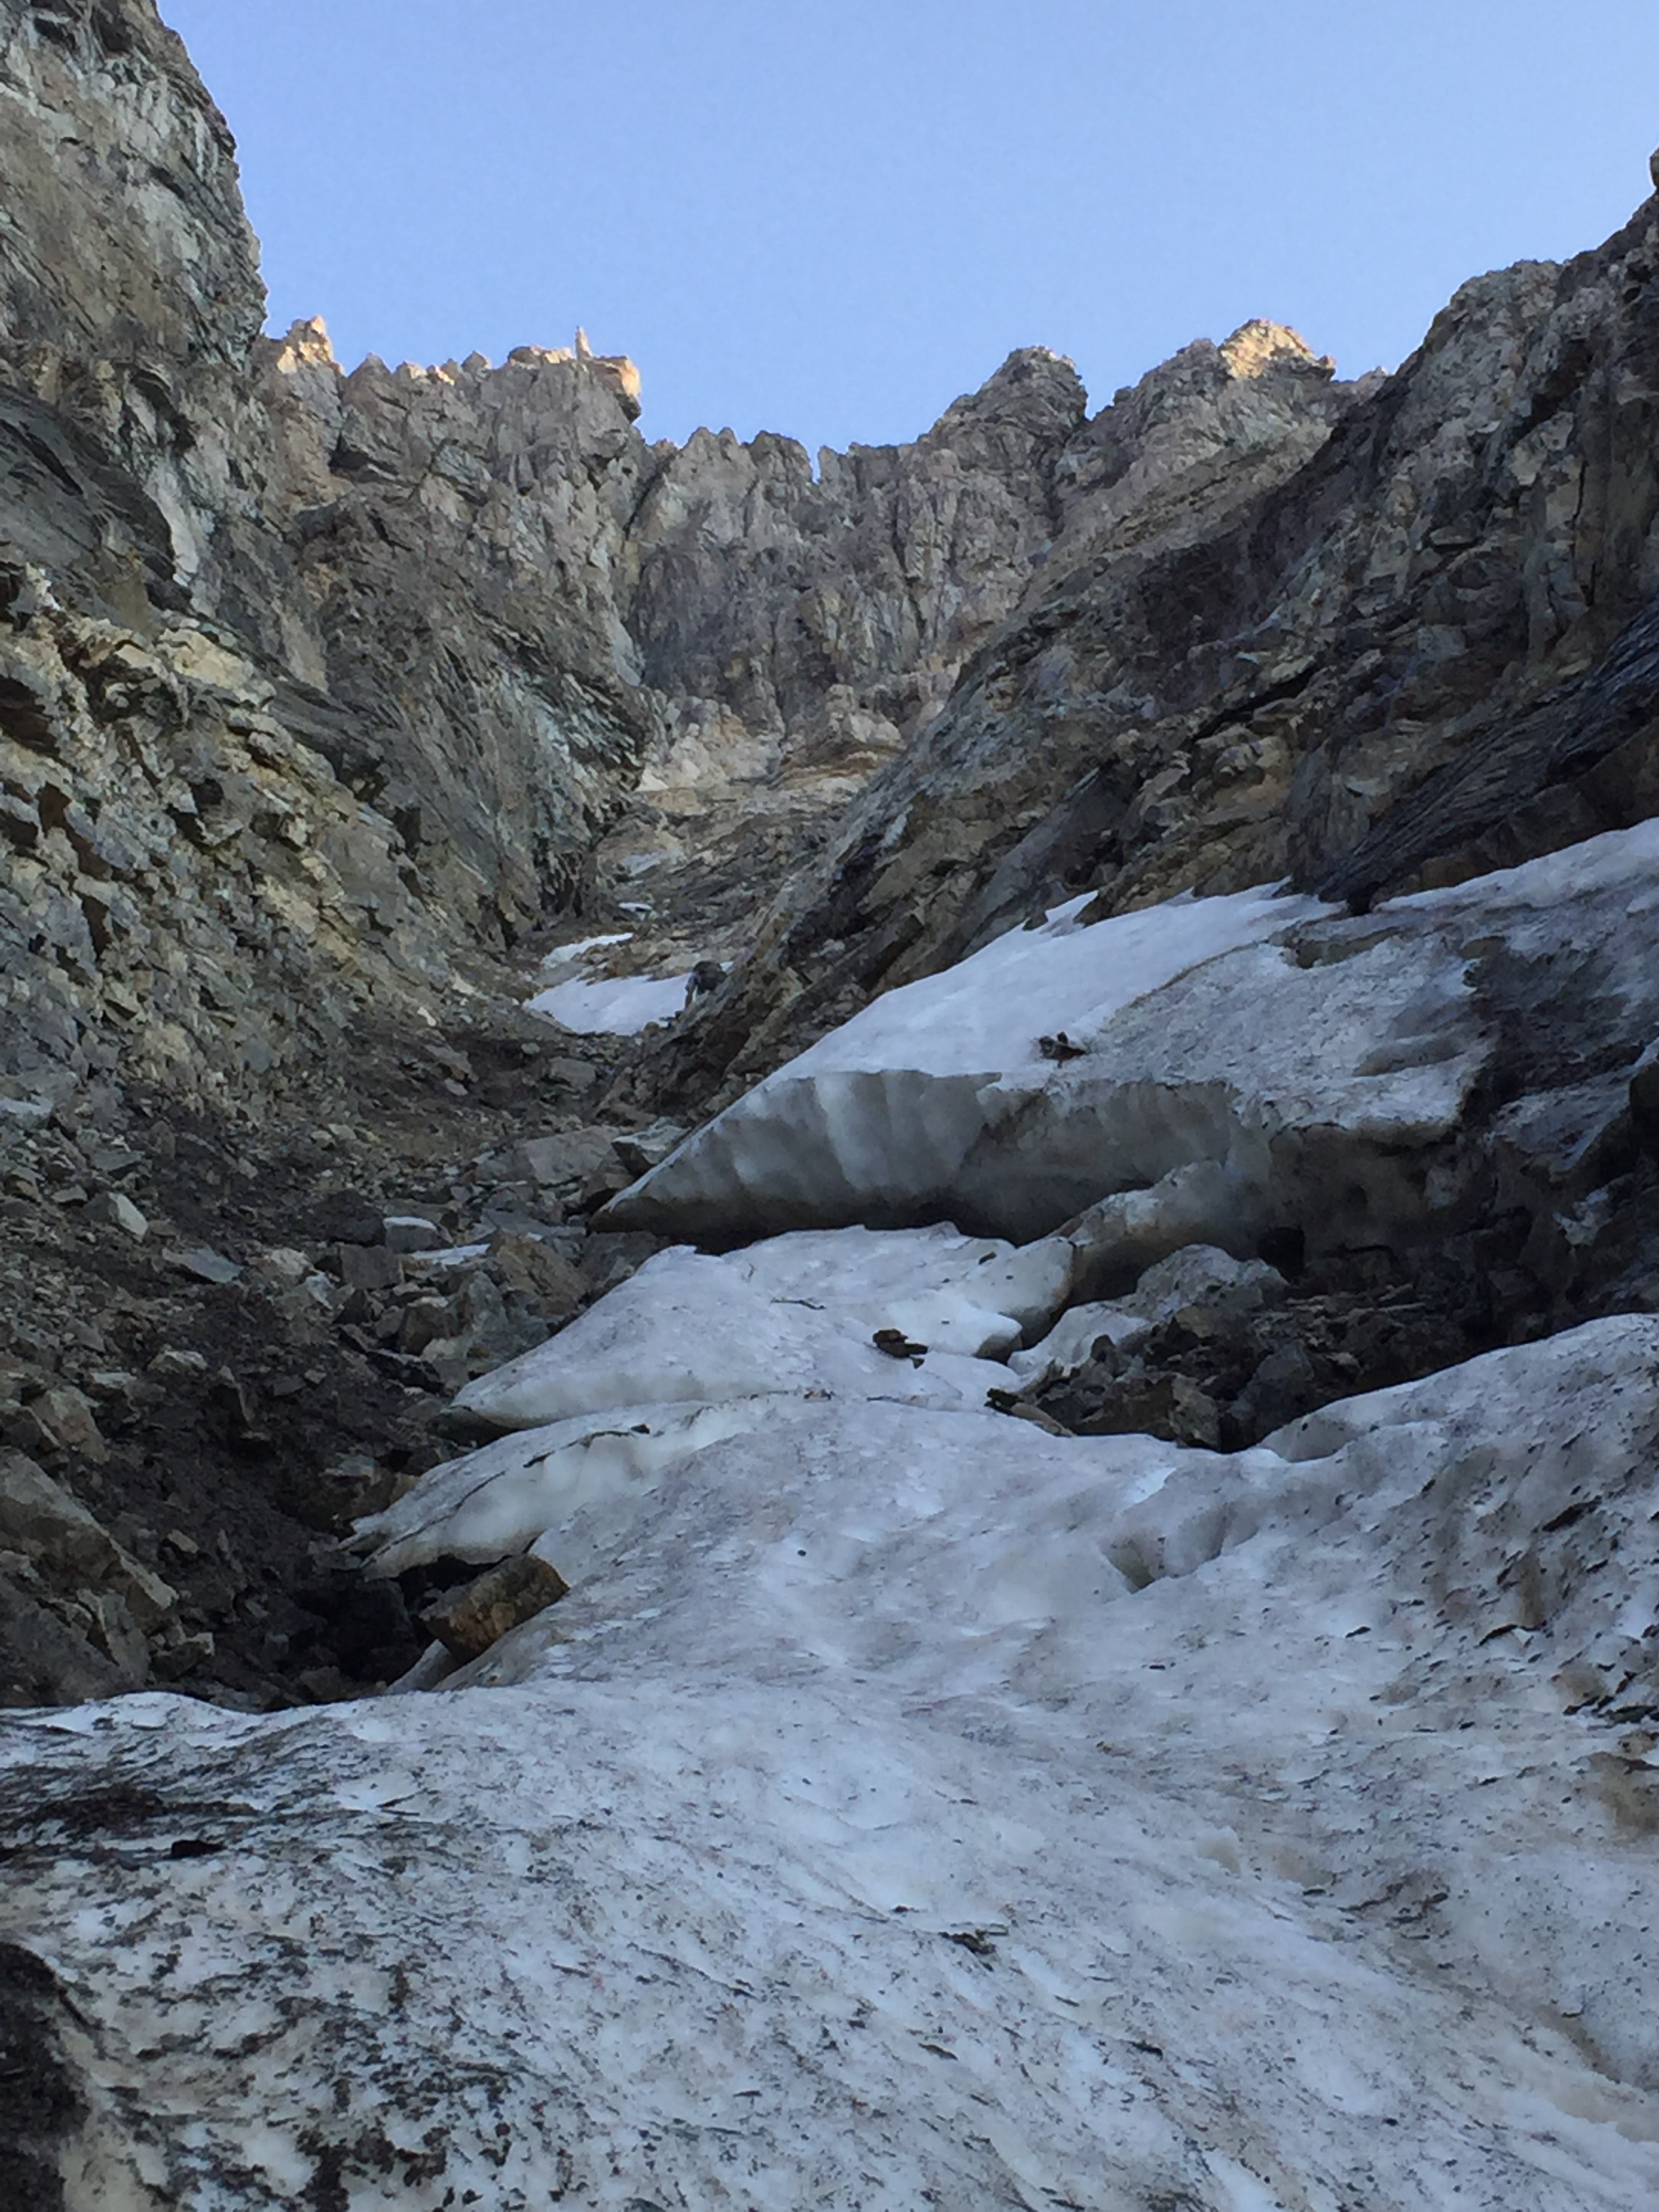
The first gully is straight up nasty. Steep, rotten rock the whole way with a year round snow pack choking the upper reaches. Anticipate difficult scrambling from the bottom of the gully for the remainder of the ascent. Substantial elevation is gained through here which is really the only positive attribute to the gully.
We took our chances by leaving the crampons and ice axes behind in order to travel light. According to Corbett’s guide book for the 11’000ers, this snow generally lingers year round and pending on conditions can be solid ice requiring full kit. We lucked out that year in that we managed to post-hole our way up with our boots and hiking poles.
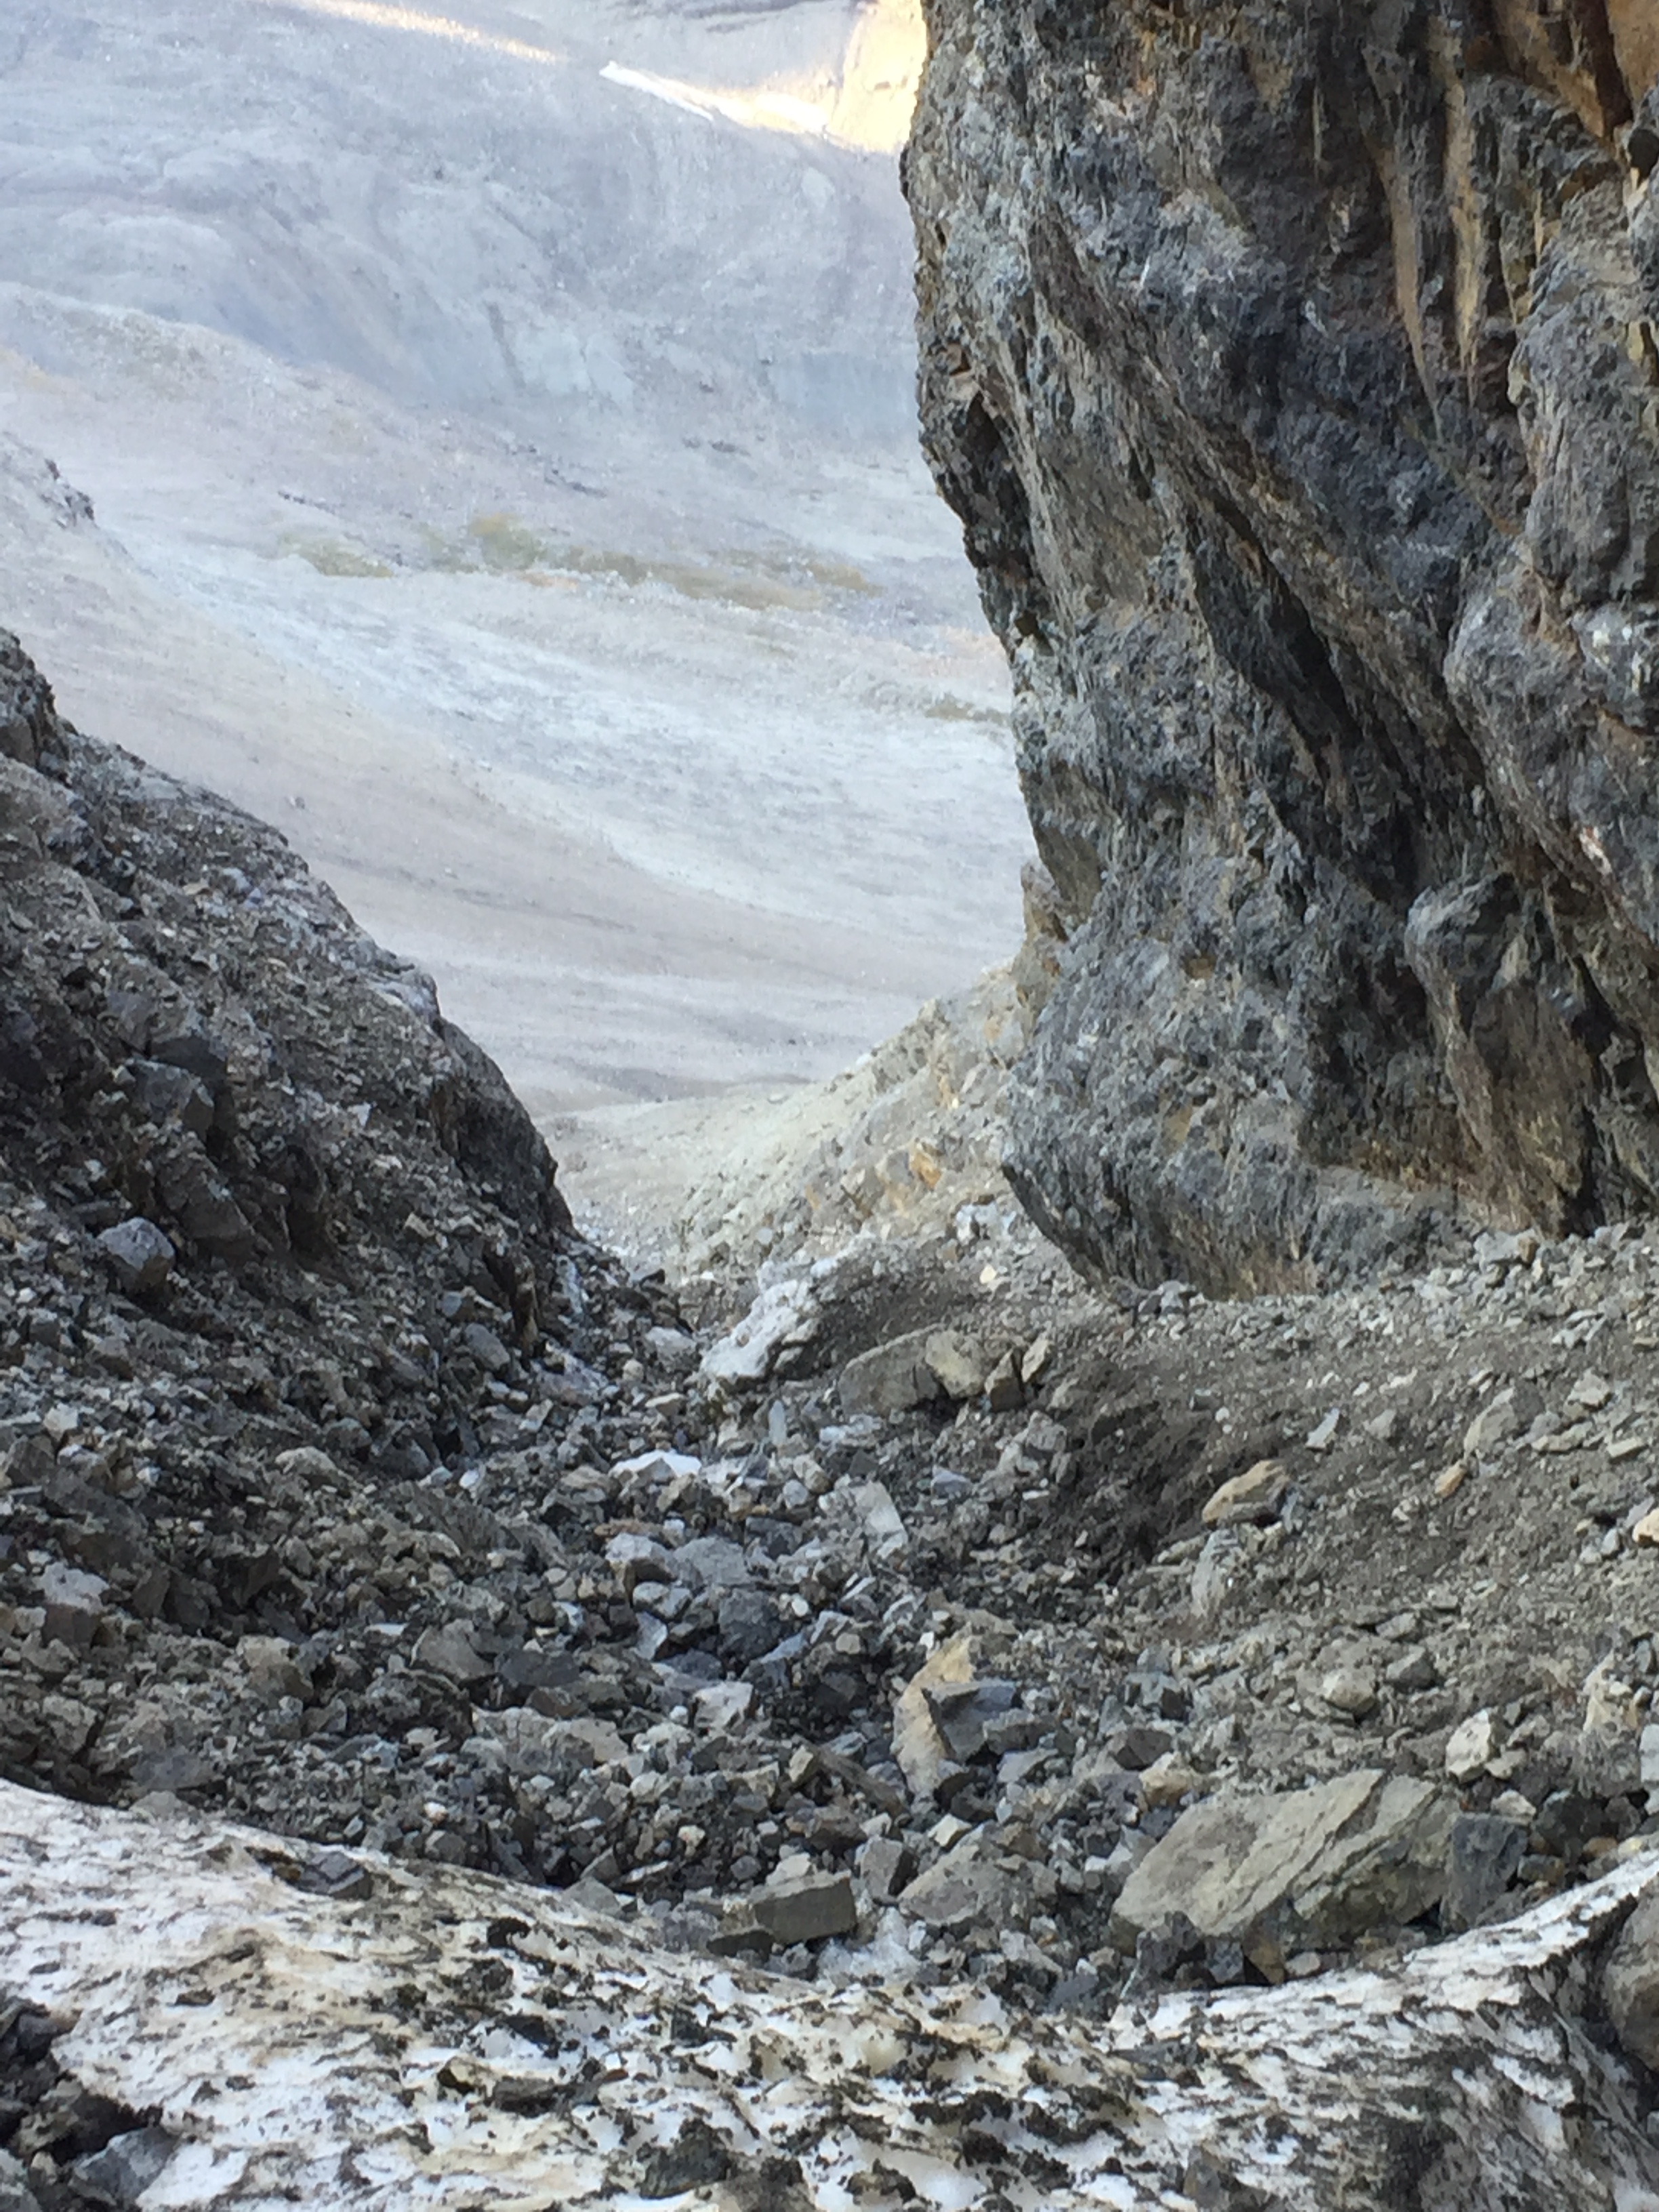
Once up and out of the first gully the scrambling eases to a moderate level. However, the exposure is relentless and we found ourselves carefully side cliffing across narrow shelves littered with shale debris. The second gully is not much better than the first except that it is much shorter in height compared to the first one.
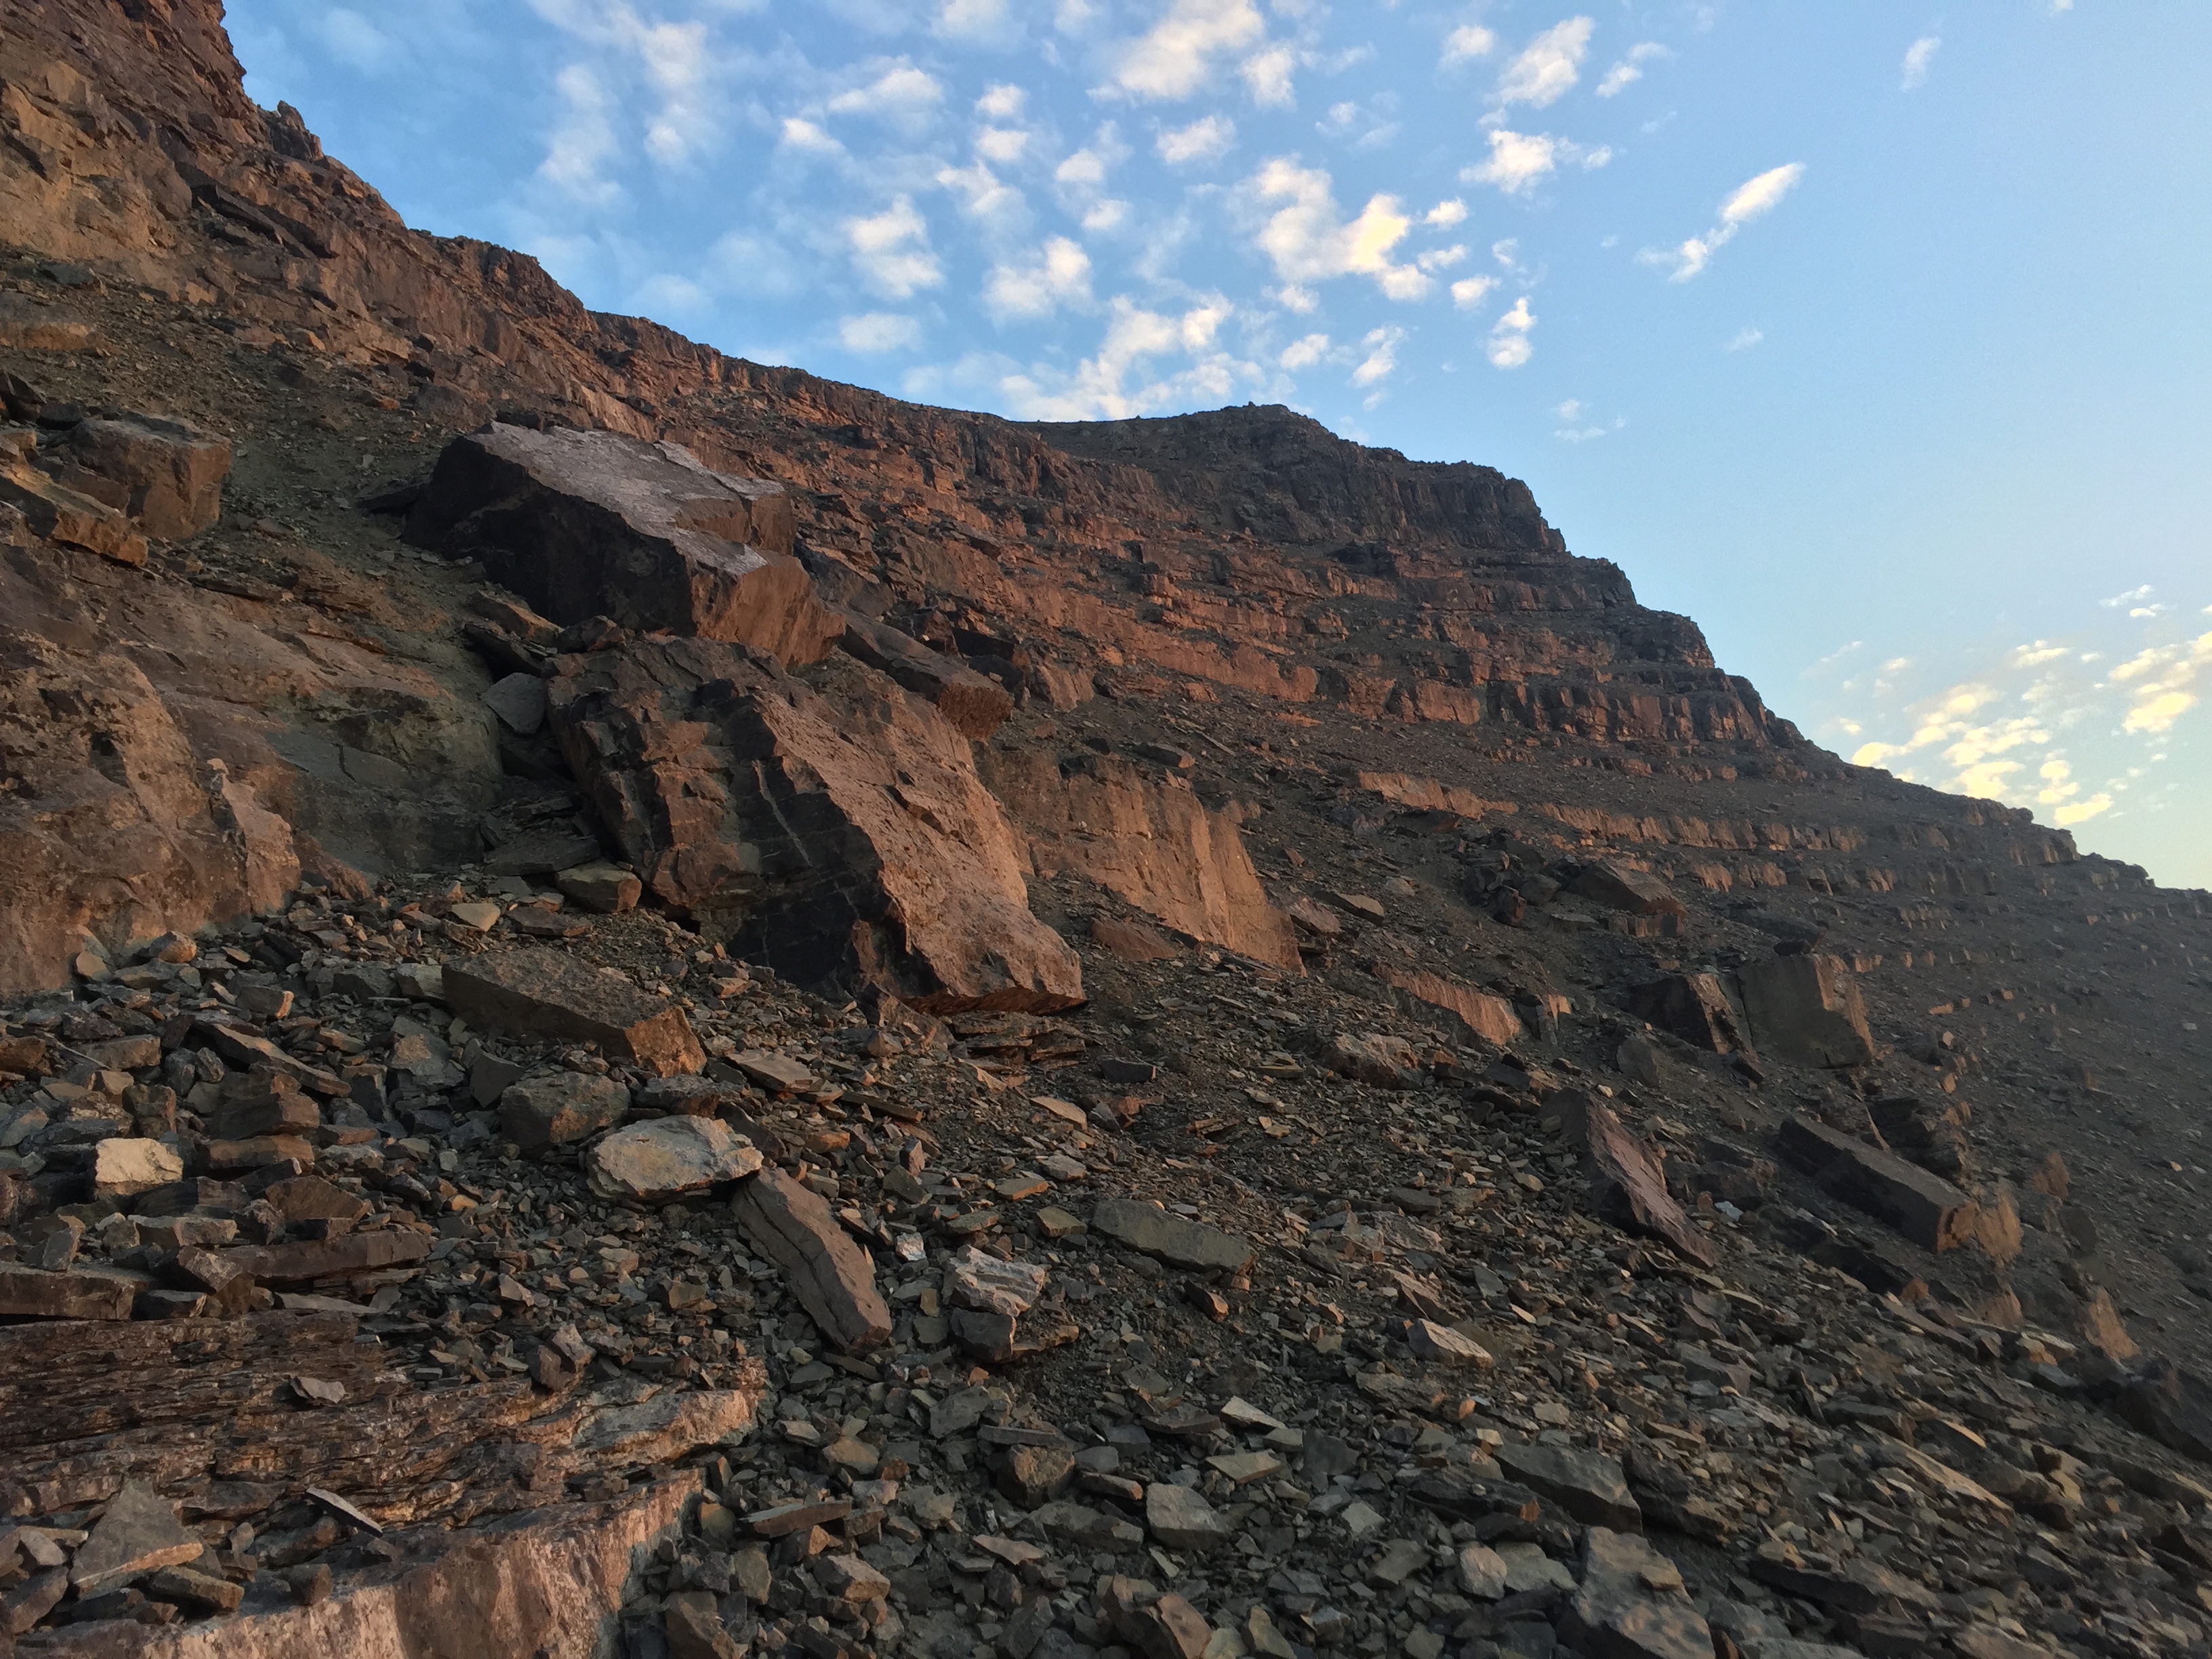
Above the second gully the side-cliffing resumes and you are in no-fall territory. A few crucially placed cairns eventually lead you to an apparent dead end in the form of sheer cliff face. This is the crux section. Supposedly there is an alternative crux that involves further side-cliffing around the base of the summit block. Nick and I decided against the alternative but to make sure we were at the correct crux we did explore the neighboring cracks and weaknesses in the cliff face.
Eventually we returned to the original weakness where we both spotted a cairn. Going up was intimidating but manageable – very similar to the crux on Mount Vaux. There are plenty of hand holds however only large enough to place a few fingers per hold. The ledges here are too narrow to break a fall if one were to slip.

We finally reached the summit a little after 11:30am making it a total time of 4 hours from our bivy site. If adding the time from the first day it would be approximately 8 hours from the highway to summit. The most time consuming element for us was the route finding. Luckily Nick had done lots of research first and we tend to work well as a team. We breathed a sigh of relief having reached the top which our GPS measured to be 3360m. Better yet – according to the summit register Nick and I were the 31st and 32nd persons to top out on the south summit!
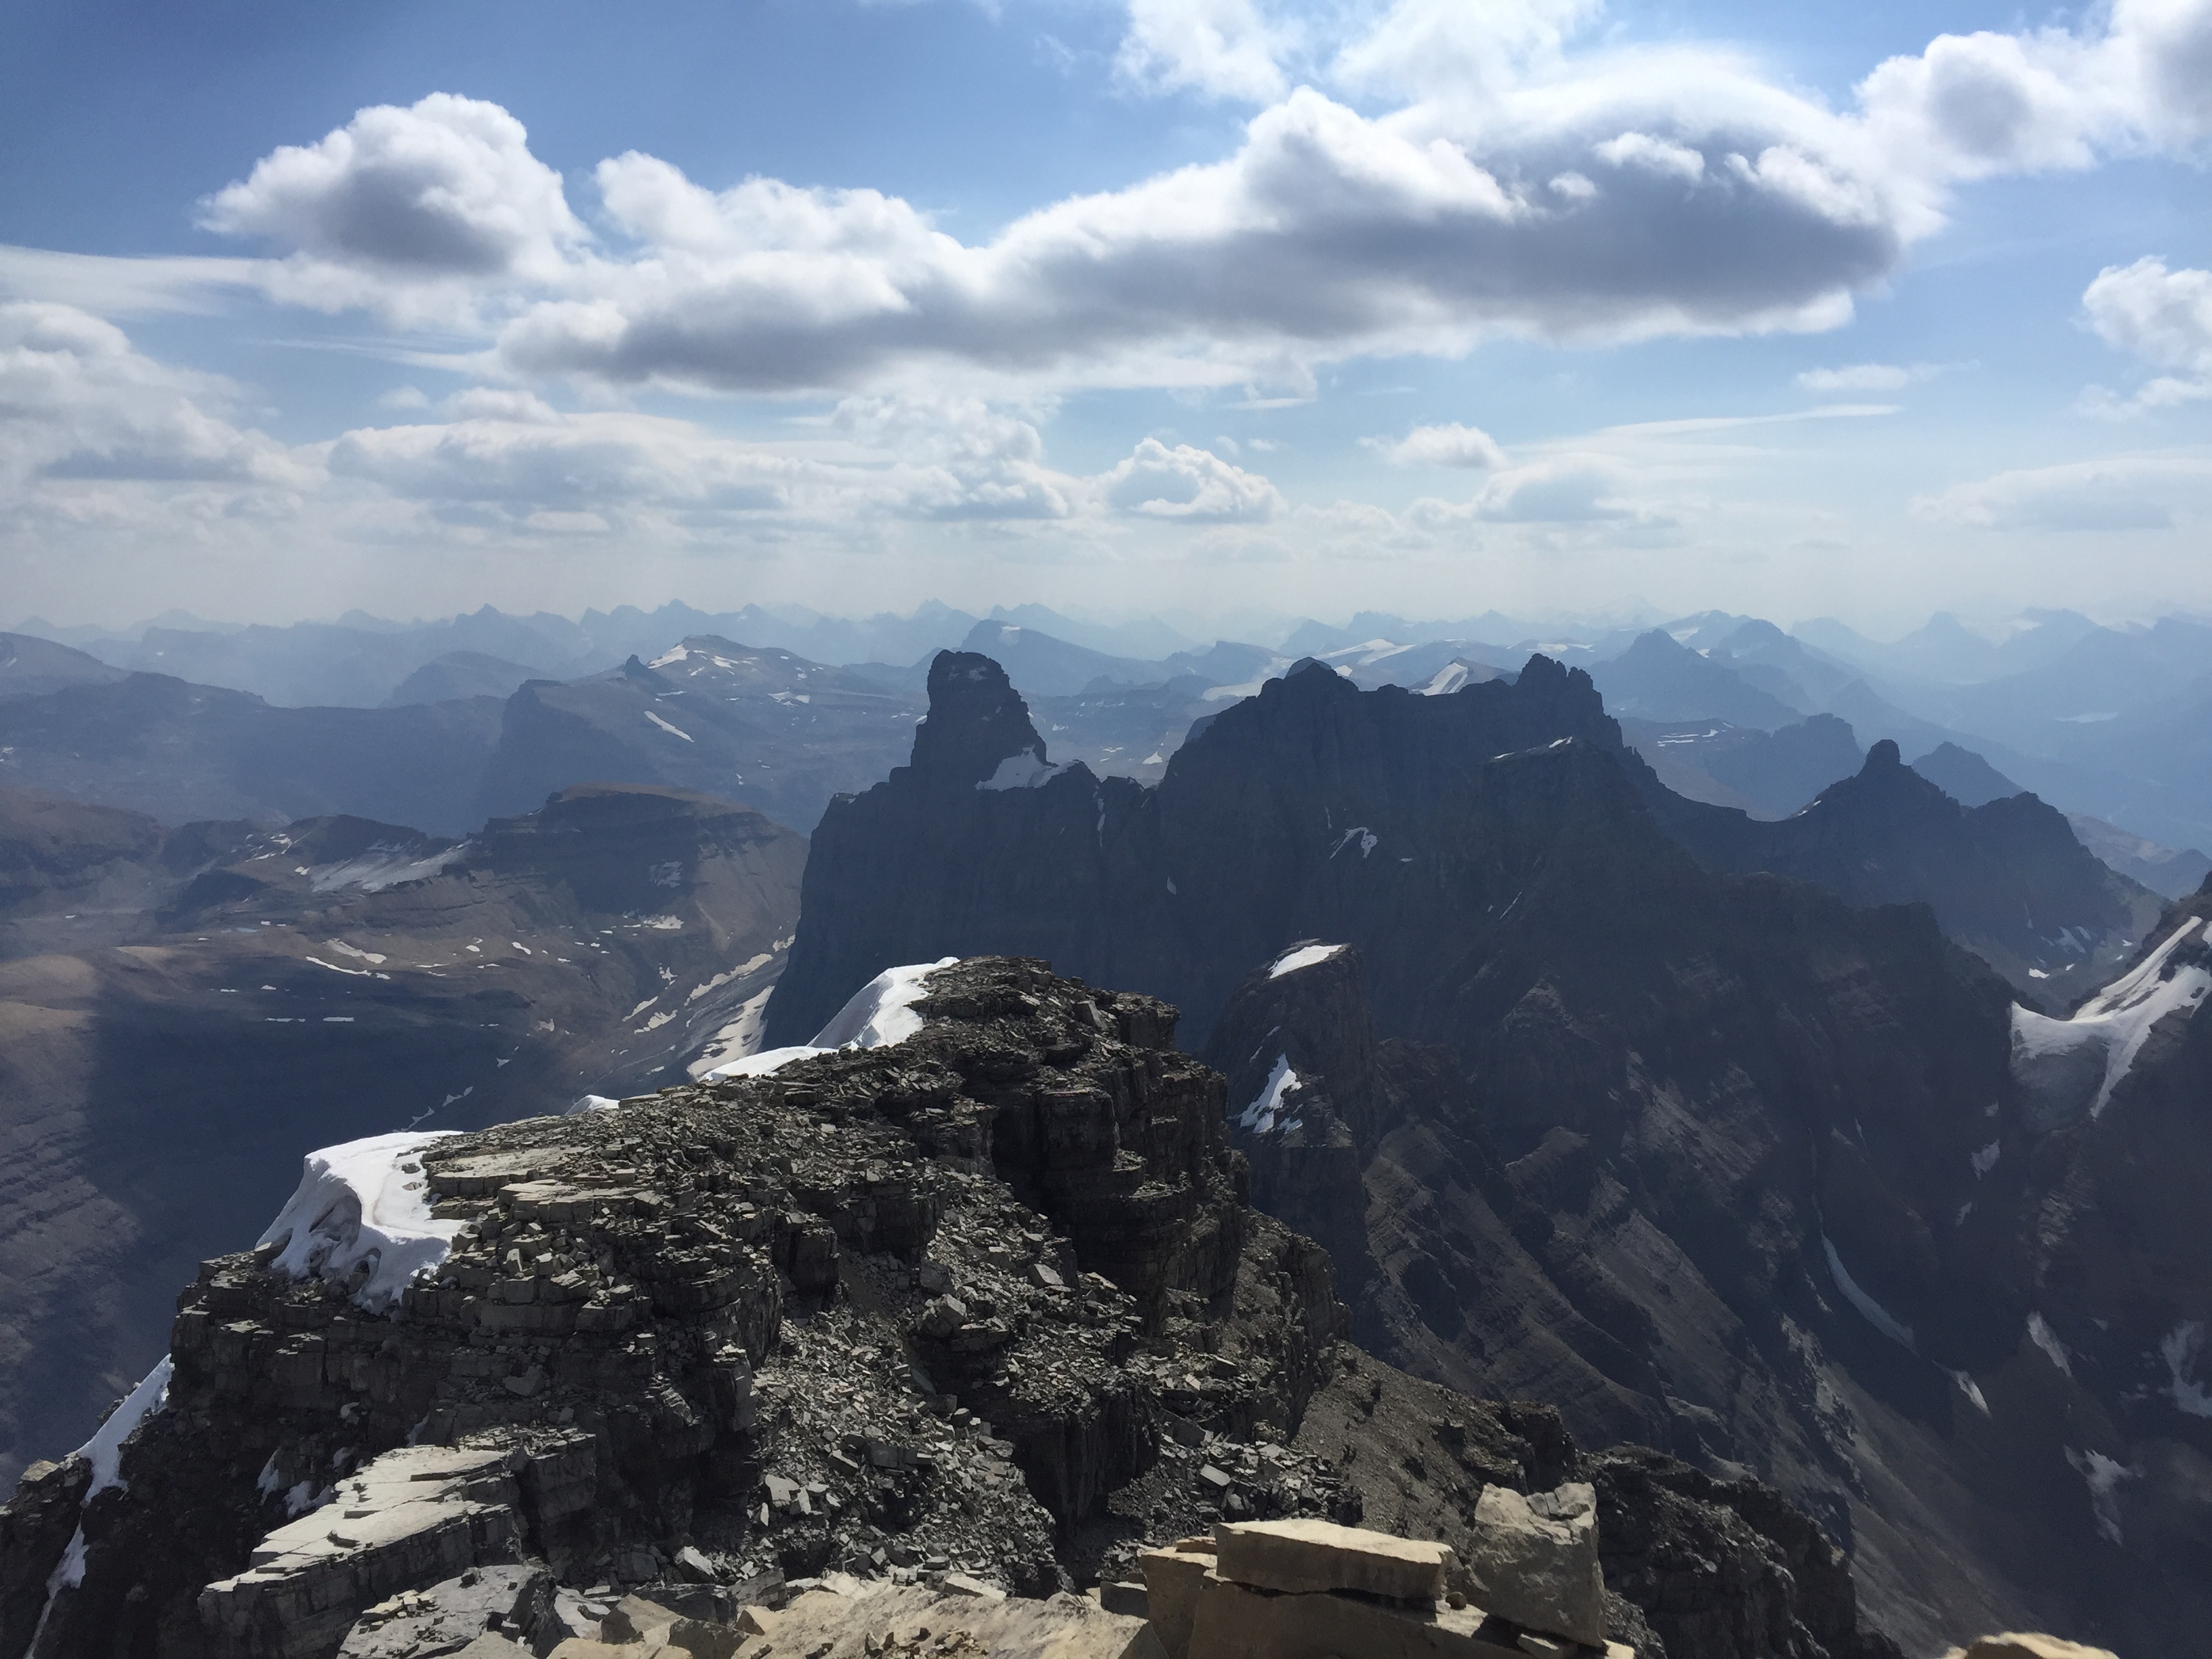
After taking in the summit views I put my phone away for the descent but we did clock ourselves back at the car around 5:30pm that evening. The return trip was somewhat easier in that we had a better idea of how and where to go. The crux however was a nightmare to down climb… it took some serious coaching and patience from Nick to see that I made it down in one piece. A rope would have been ideal in hindsight. Additionally, the lower gully was equally a nightmare to navigate back down. We had to do so in turns to avoid the hazardous rock fall. It took us both half an hour each to down climb the lower gully. From there the side cliffing back to the bivy sight felt easy. Returning down the ledges below the bivy sight was somewhat easier compared to the first day but in broad day light appeared quite different from at dusk the night before. A fair level of route finding was still required to navigate back down these. All in all it made for an epic trip but one to be taken seriously. It remains the most technically difficult scramble that I’ve completed to date.
