November 22nd, 2019. Grampians National Park, Victoria, Australia.
Round Trip: 4.5 hours. Elevation gained: 650m
Easy Scramble / Mostly Hiking
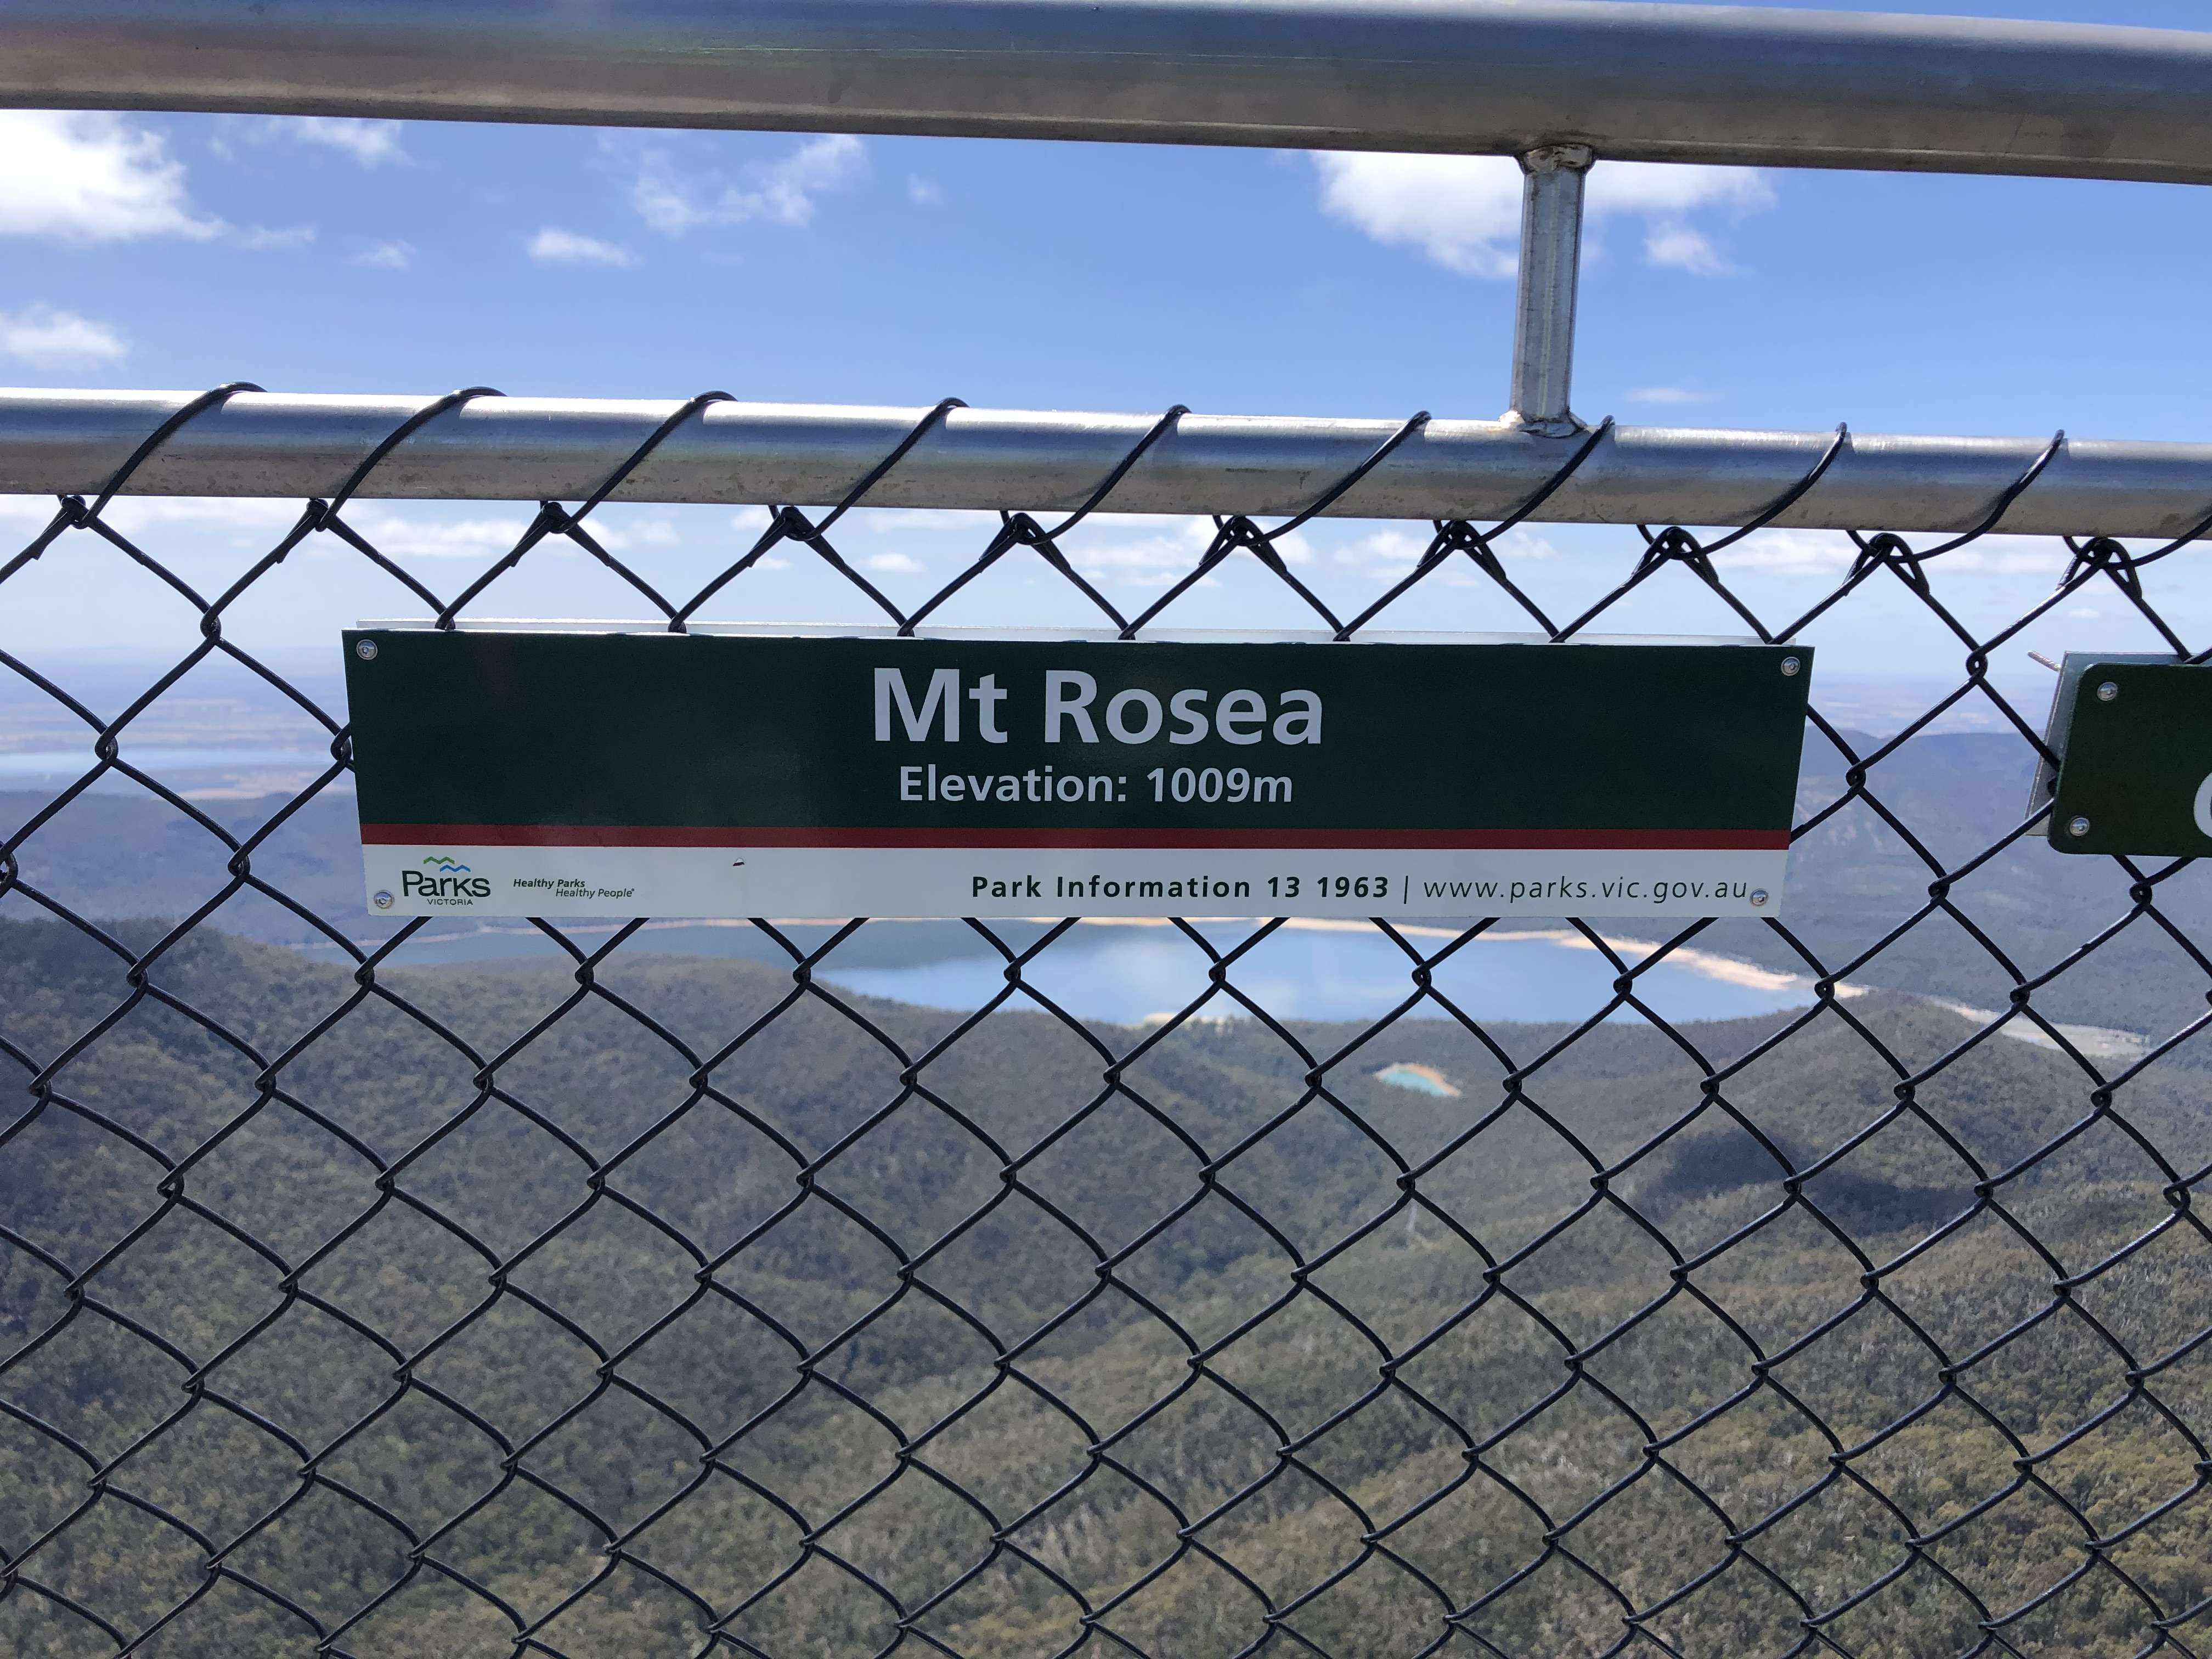
Mount Rosea at 1009m is one of the highlights within the Grampians National Park and is quite a popular hike. While not quite a true scramble, it makes for a strenuous half-day hike. Allow 4-6 hours pending on your fitness level. Further specs can be found at alltrails.com and on visitmelbourne.com. The two websites offer different difficulty ratings of either Moderate or Difficult. You’ll have to get out and try it for yourself to decide!
Oddly enough the Parks website for the Grampians is lacking in information on this hike, or rather does not have a specific write up on this trail. This information can be sourced at the local Brambuk Cultural Centre as well as maps and trail brochures.
Heading out from Hall’s Gap, there is a small parking lot specifically for Rosea. Follow signage for Stoney Creek Rd and Sundial but remain on C218 to reach this signed lot. The trail head begins just beyond the car-park and is well signed. Yellow blazers/triangles are thoroughly placed along the route up, so we had few problems staying on trail even when above treeline. Goes without saying in Australia but do remember some sun protection as the treeline (shrub line) does vanish early on in your ascent!
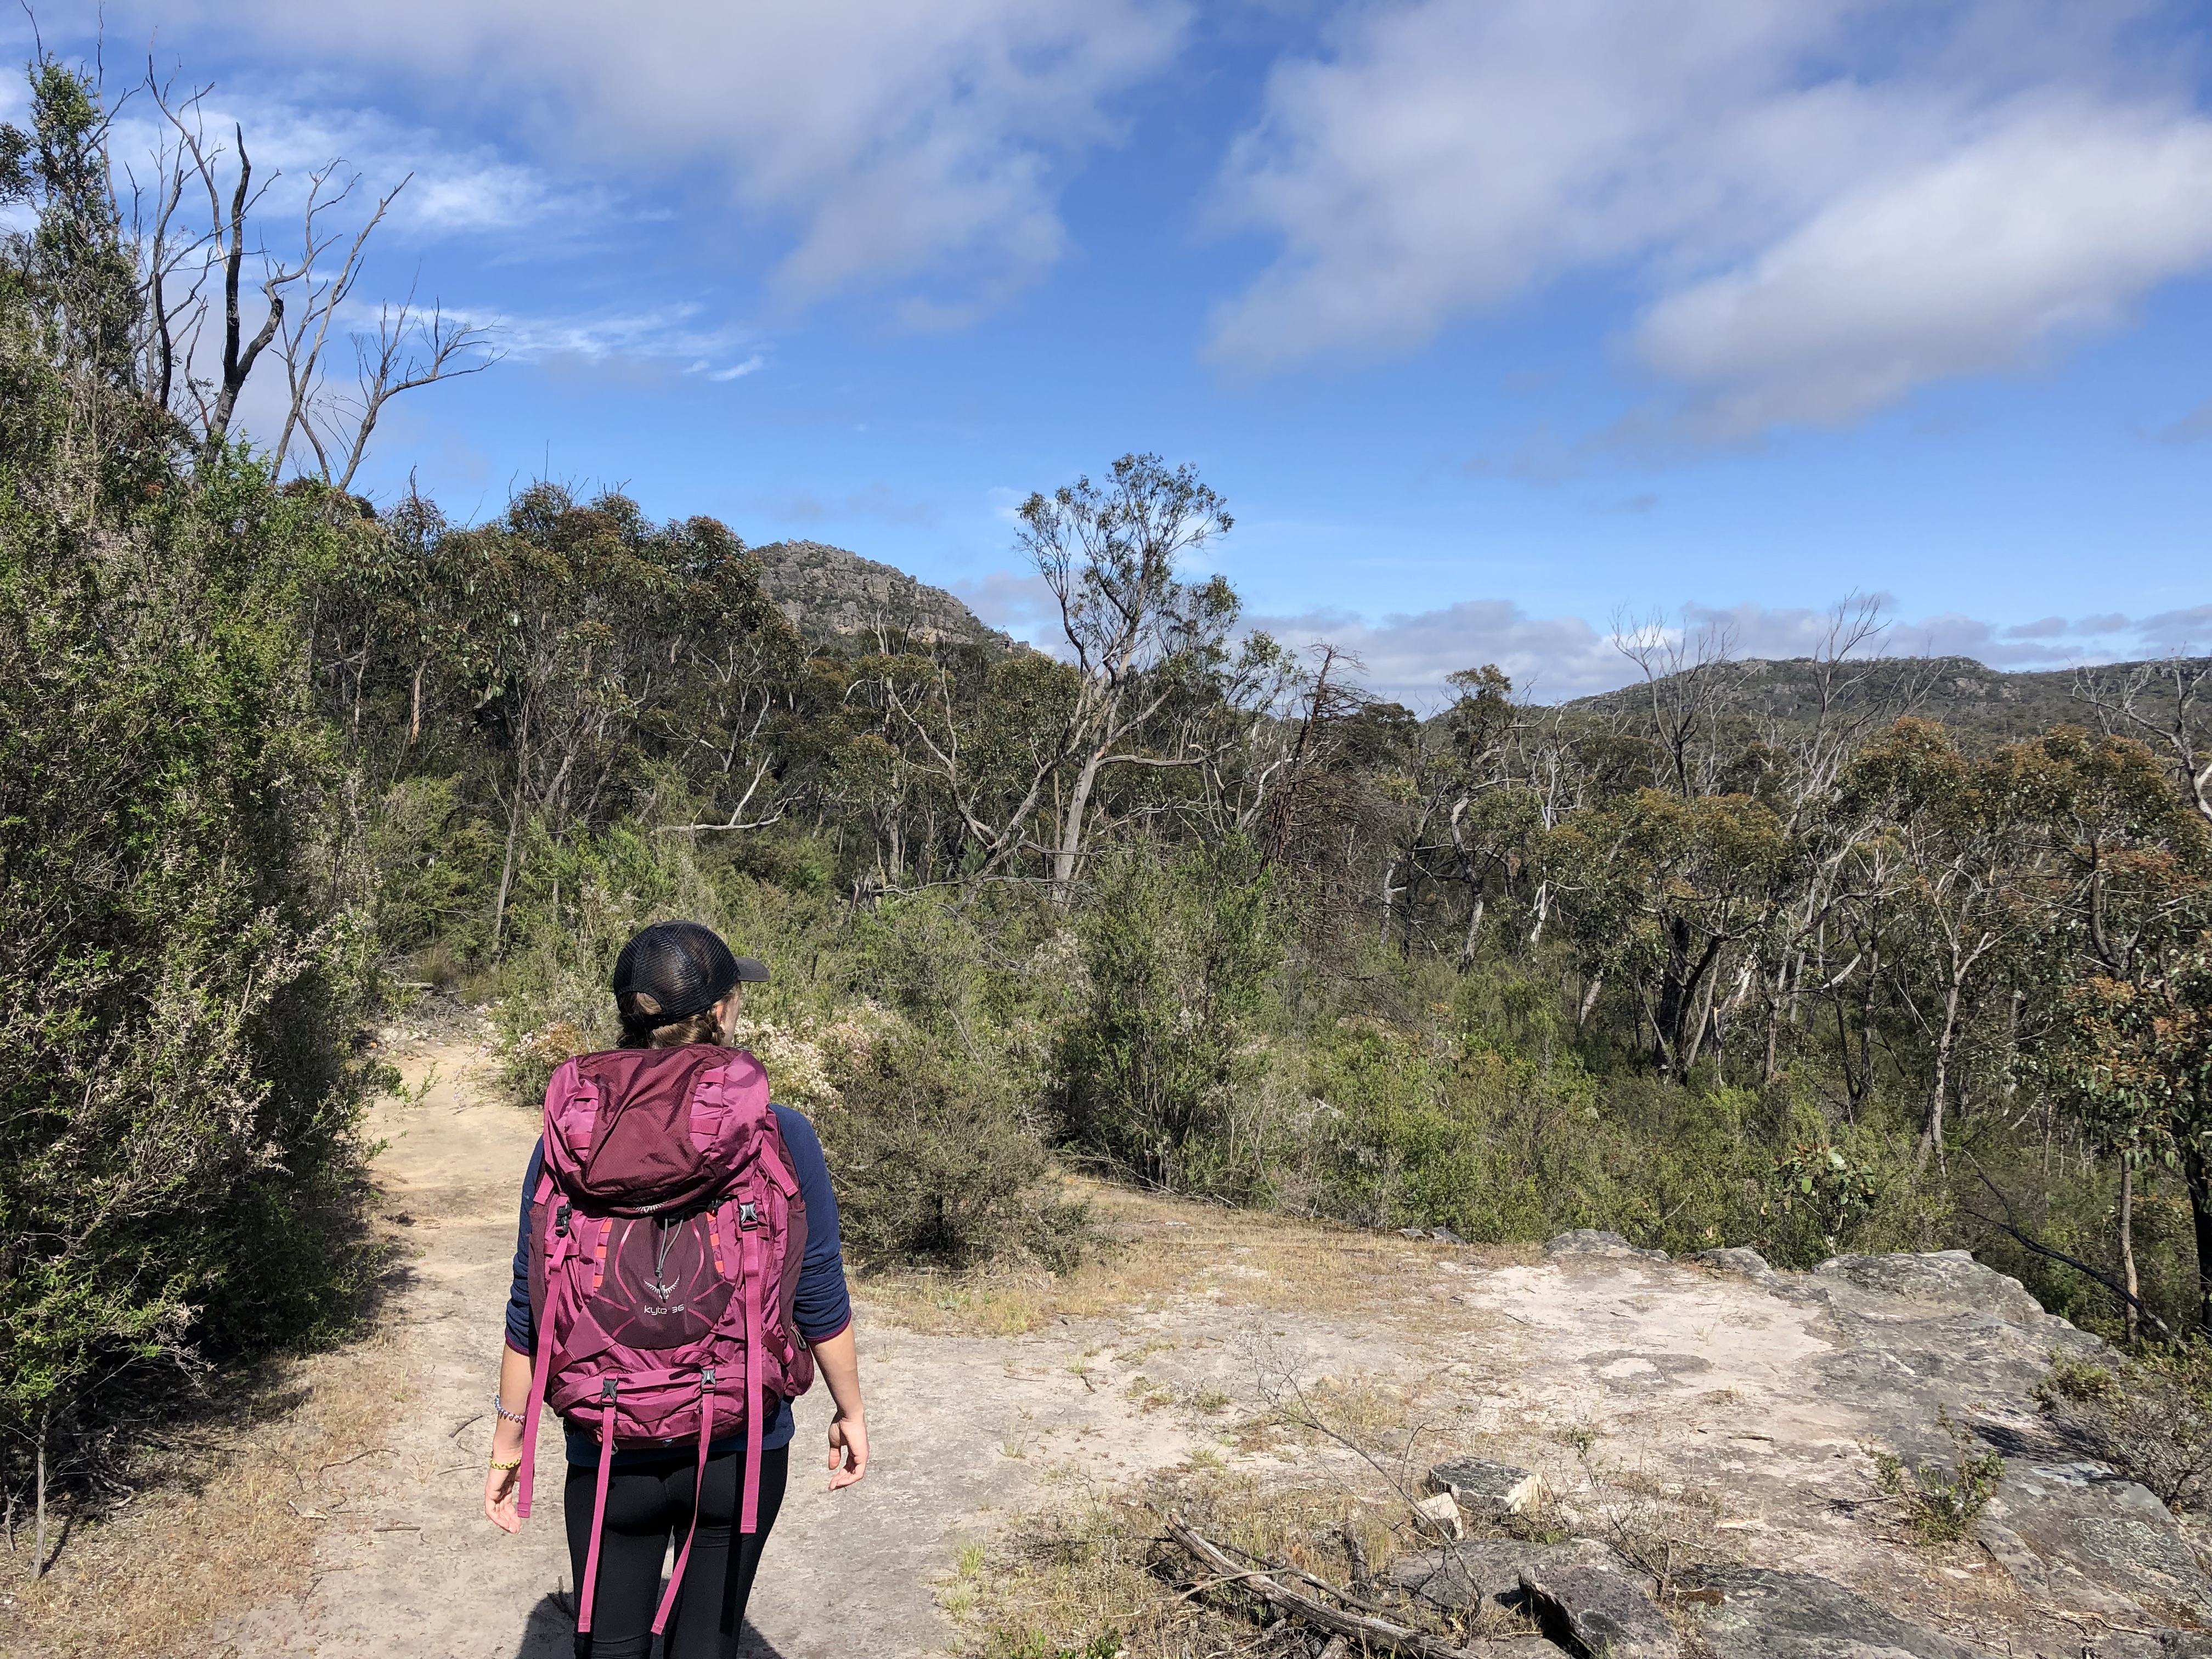
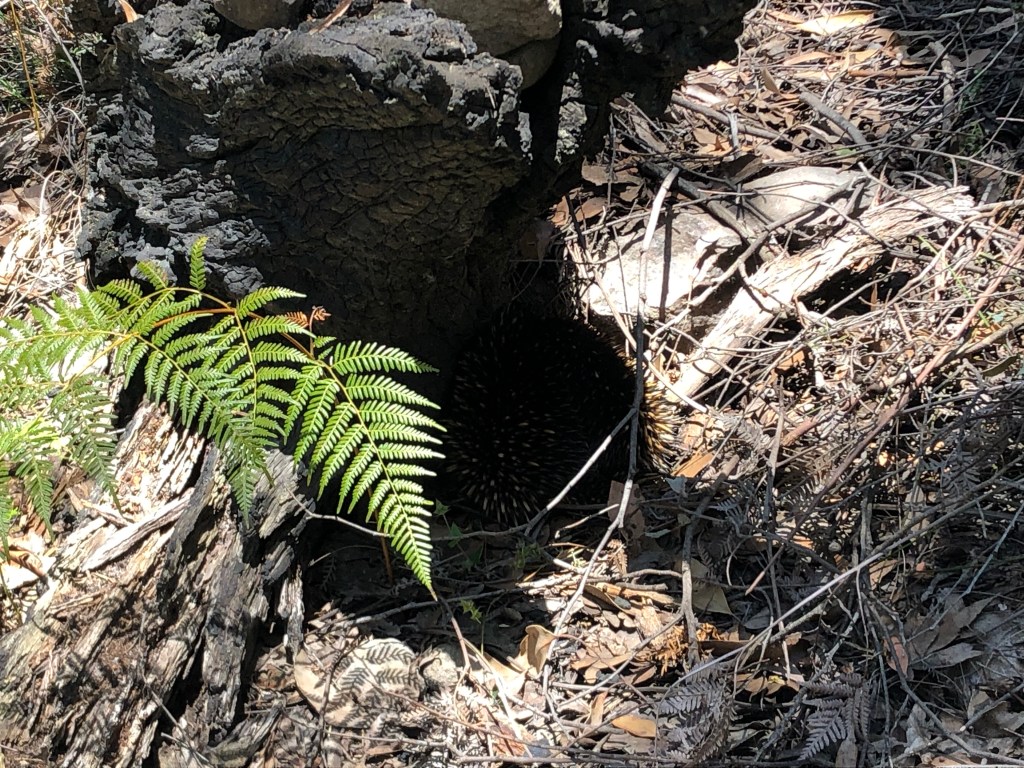
Enjoy the treeline while you can, as this is the easiest part of the hike. This is also where you have a chance of viewing some of Australia’s iconic wildlife – we lucked out and saw Kangaroo, Wallaby, Cockatoos, Lizards, and even a bashfully shy Echidna towards the end of the hike. Admittedly it was also a cooler weather day when we went and very late spring season so these may have been contributing factors to our luck.
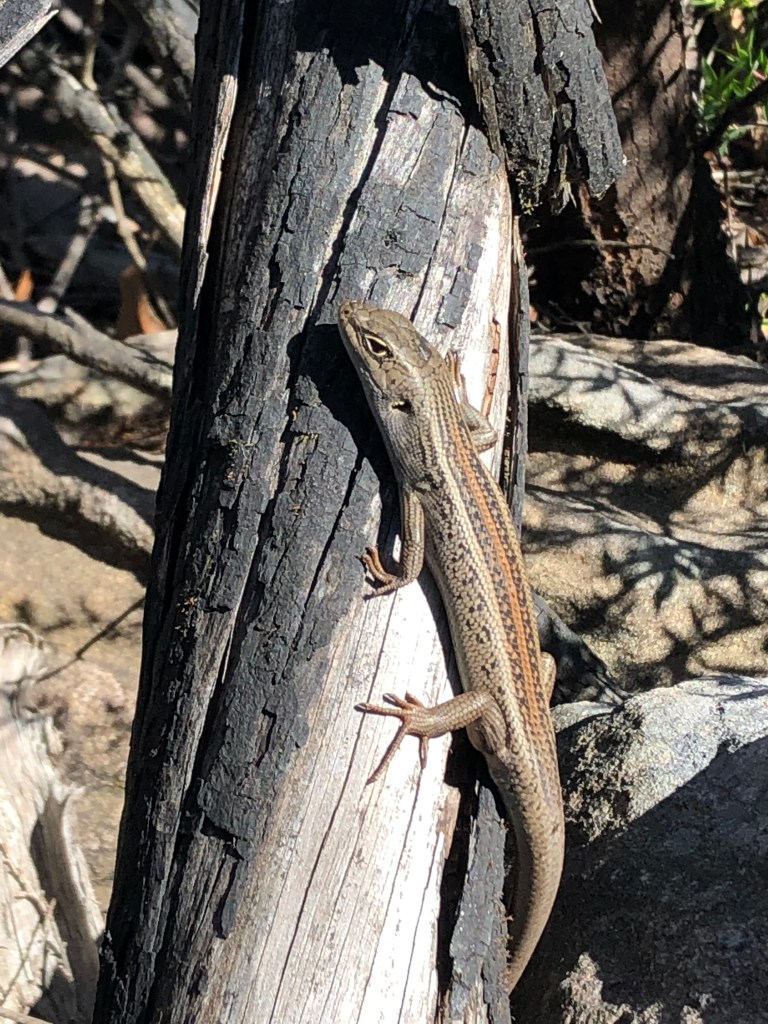
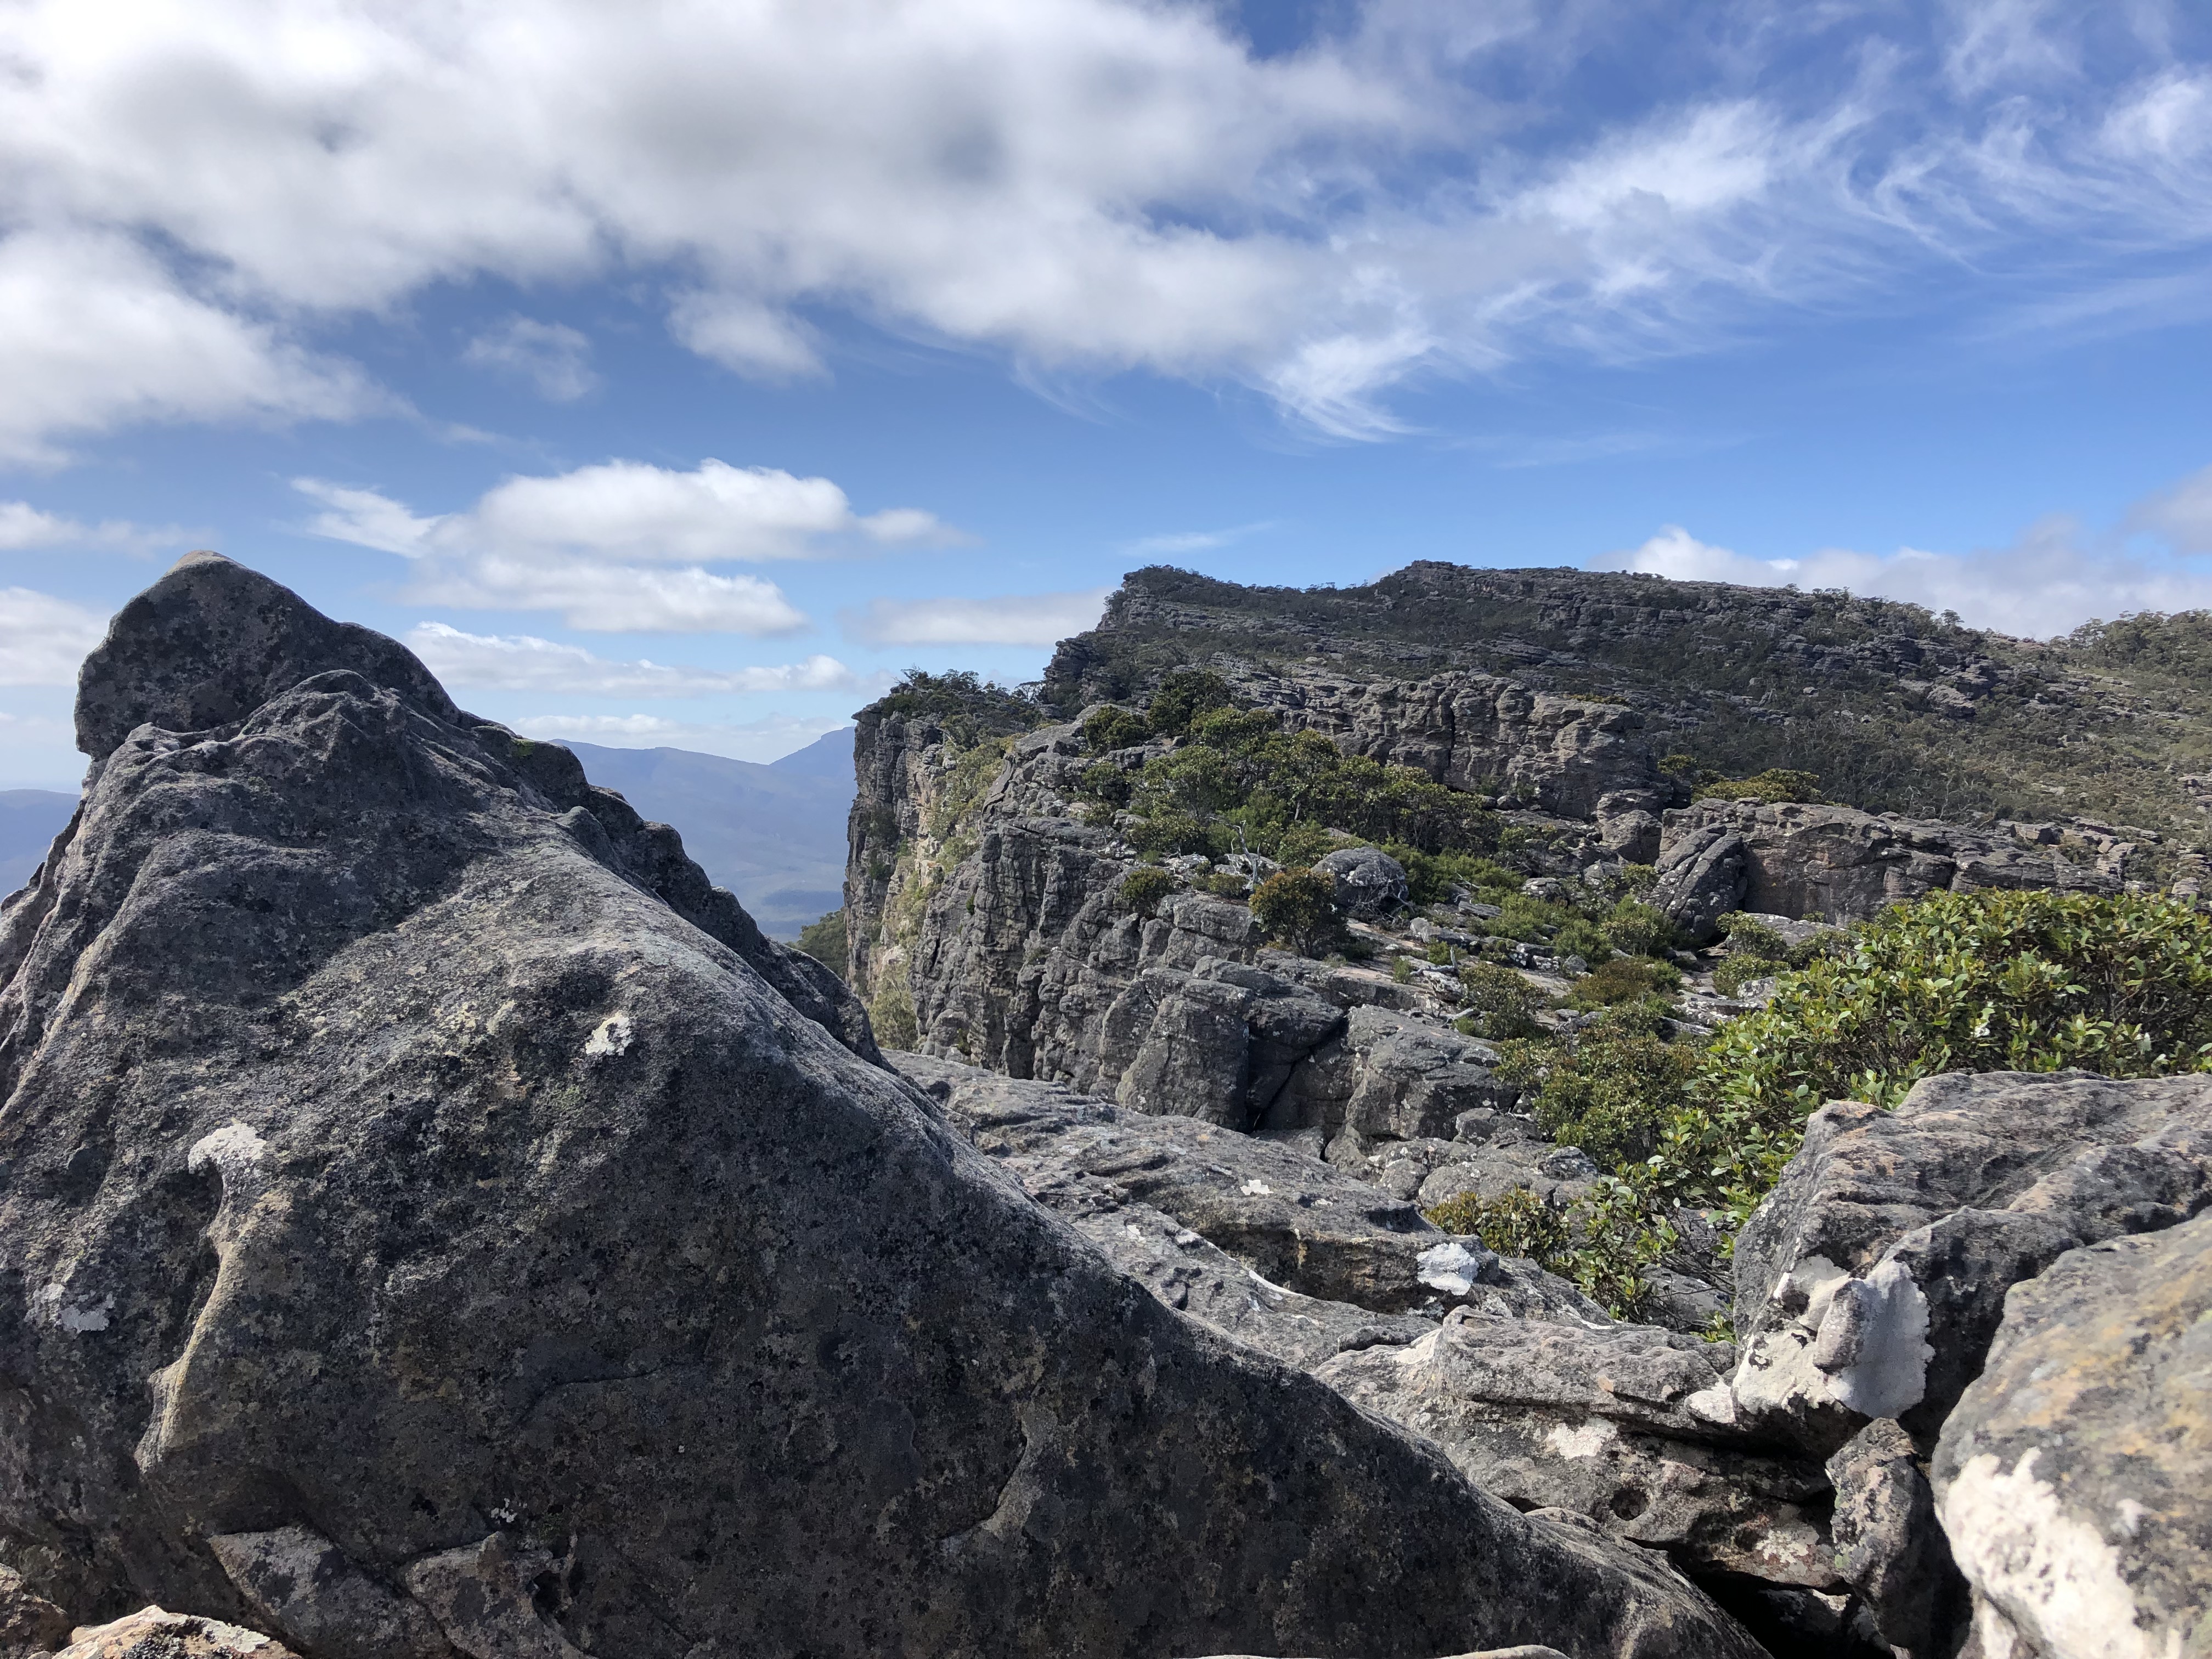
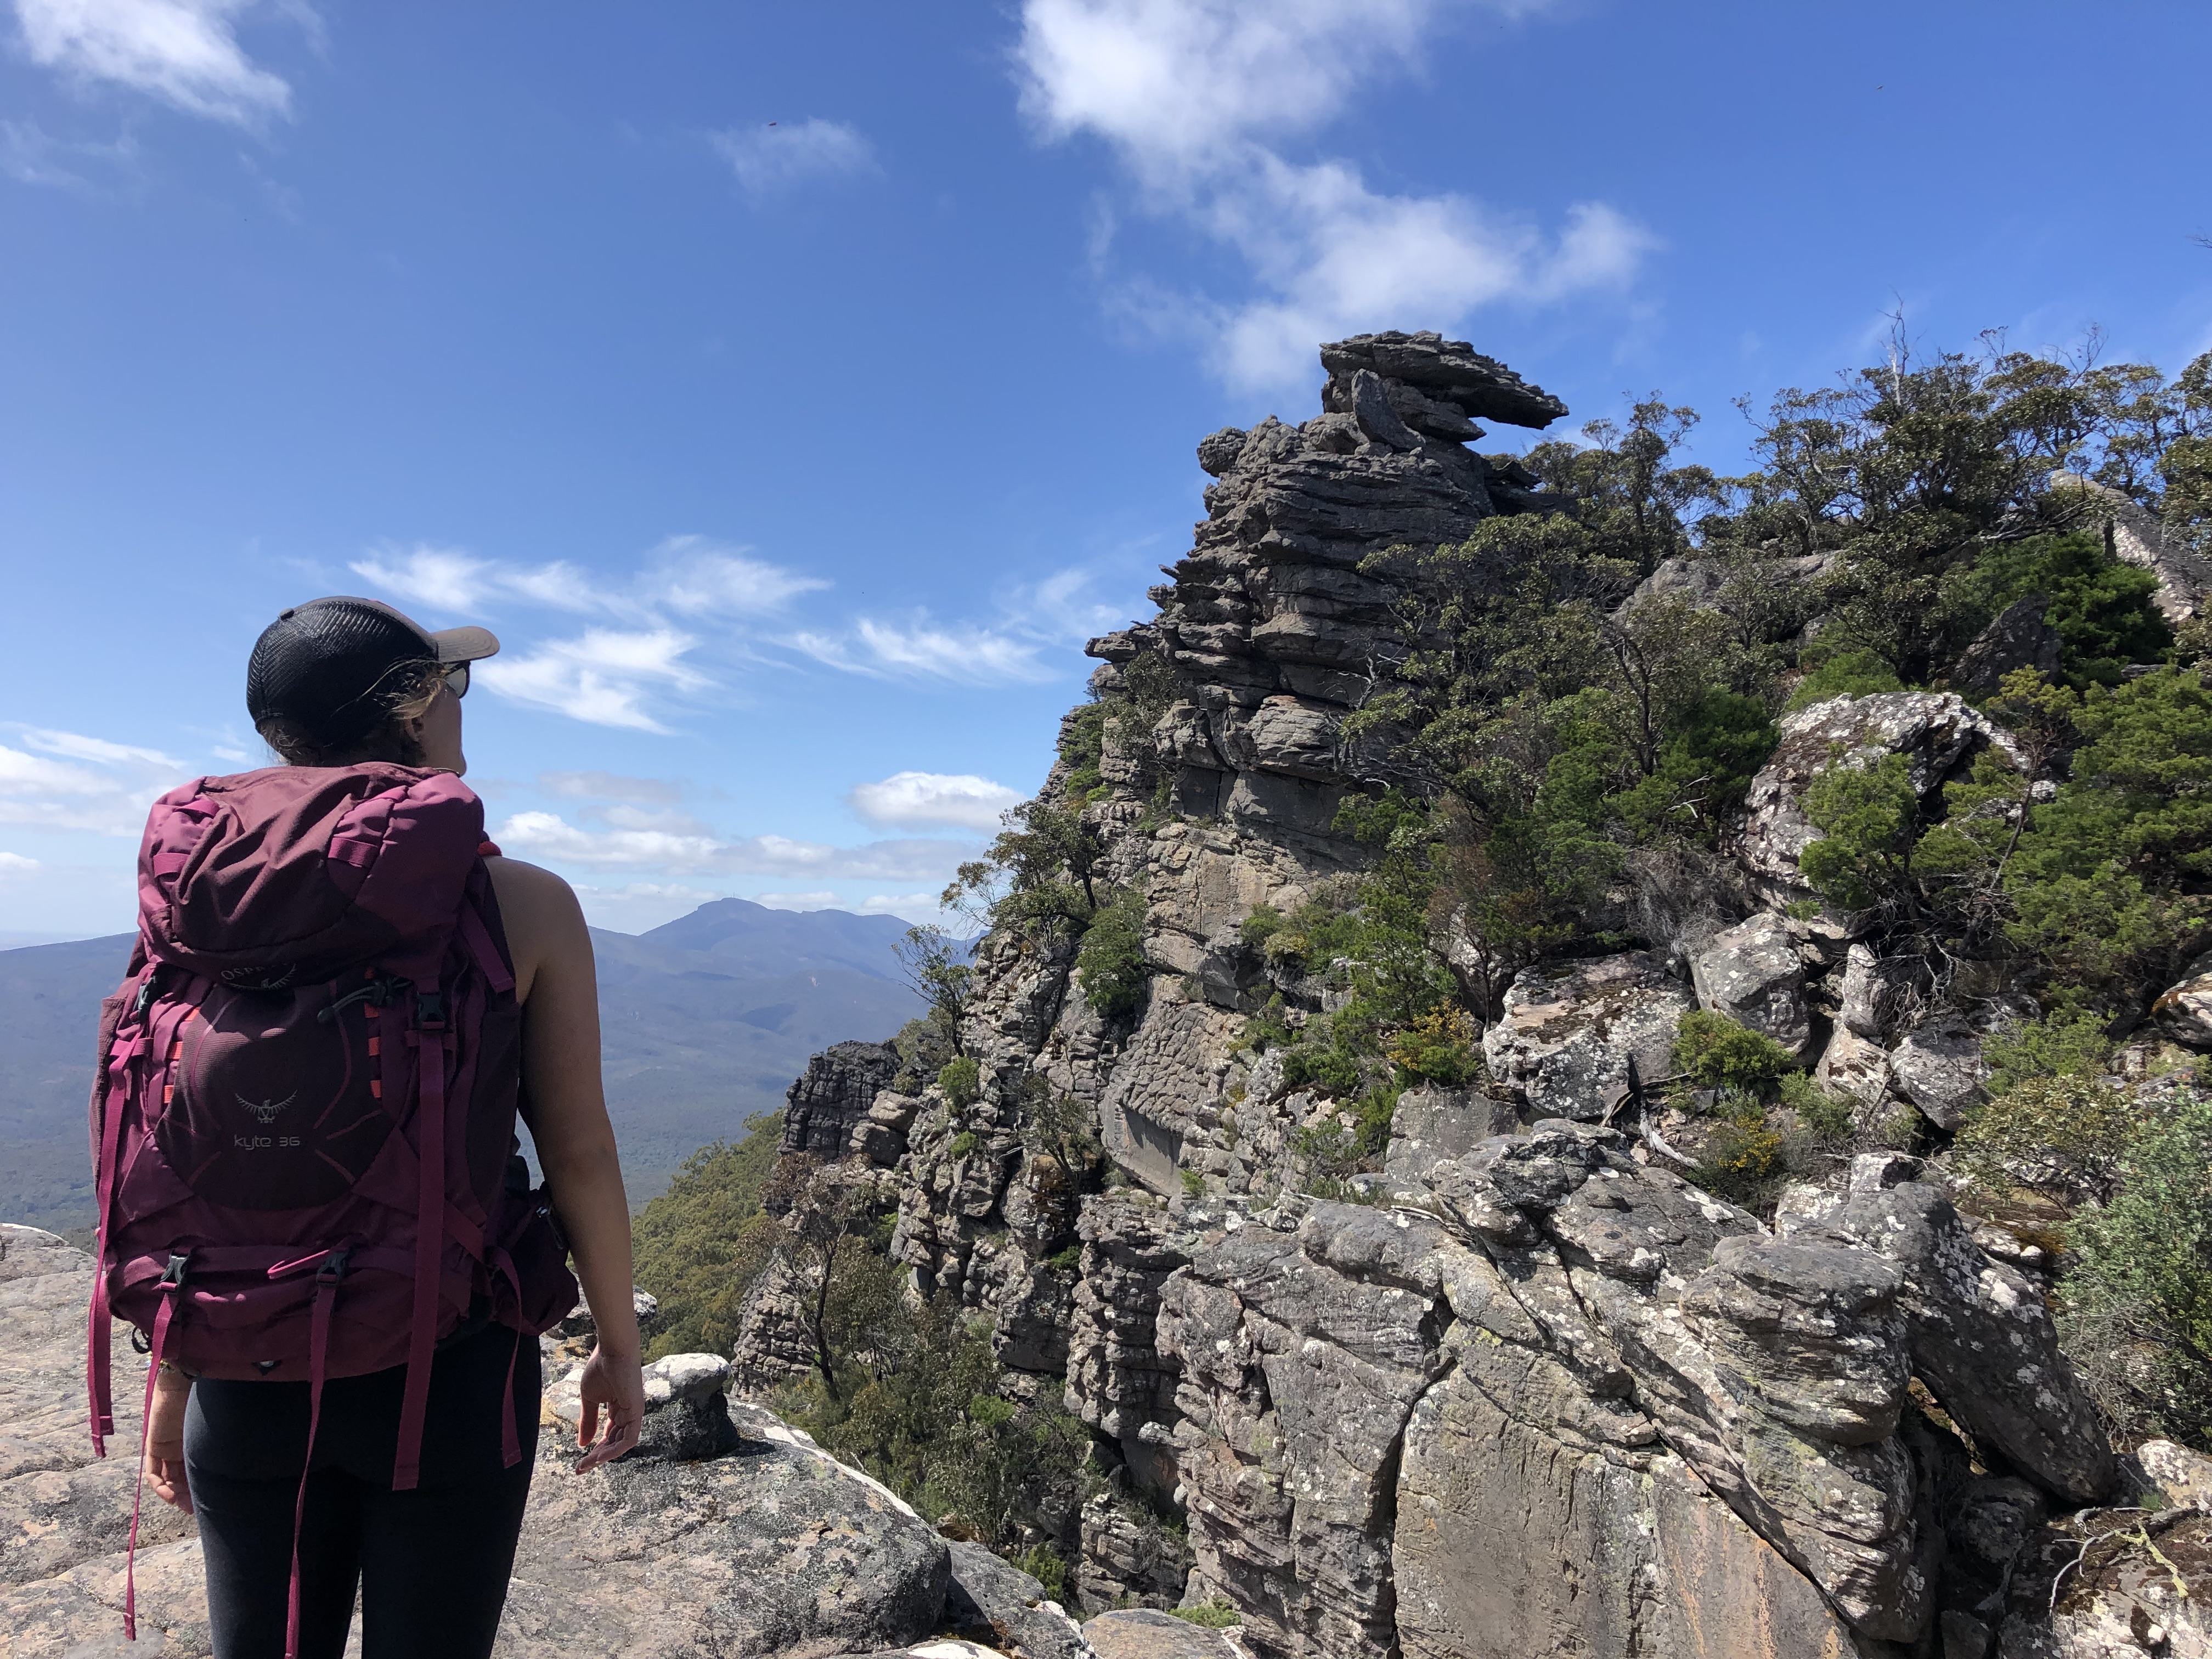
As you clear treeline, the trail does a massive switch back. You’ll now be traversing across the stony plateau-like ridge line towards the summit of Rosea. Watch your step for lizards bathing in the sun.
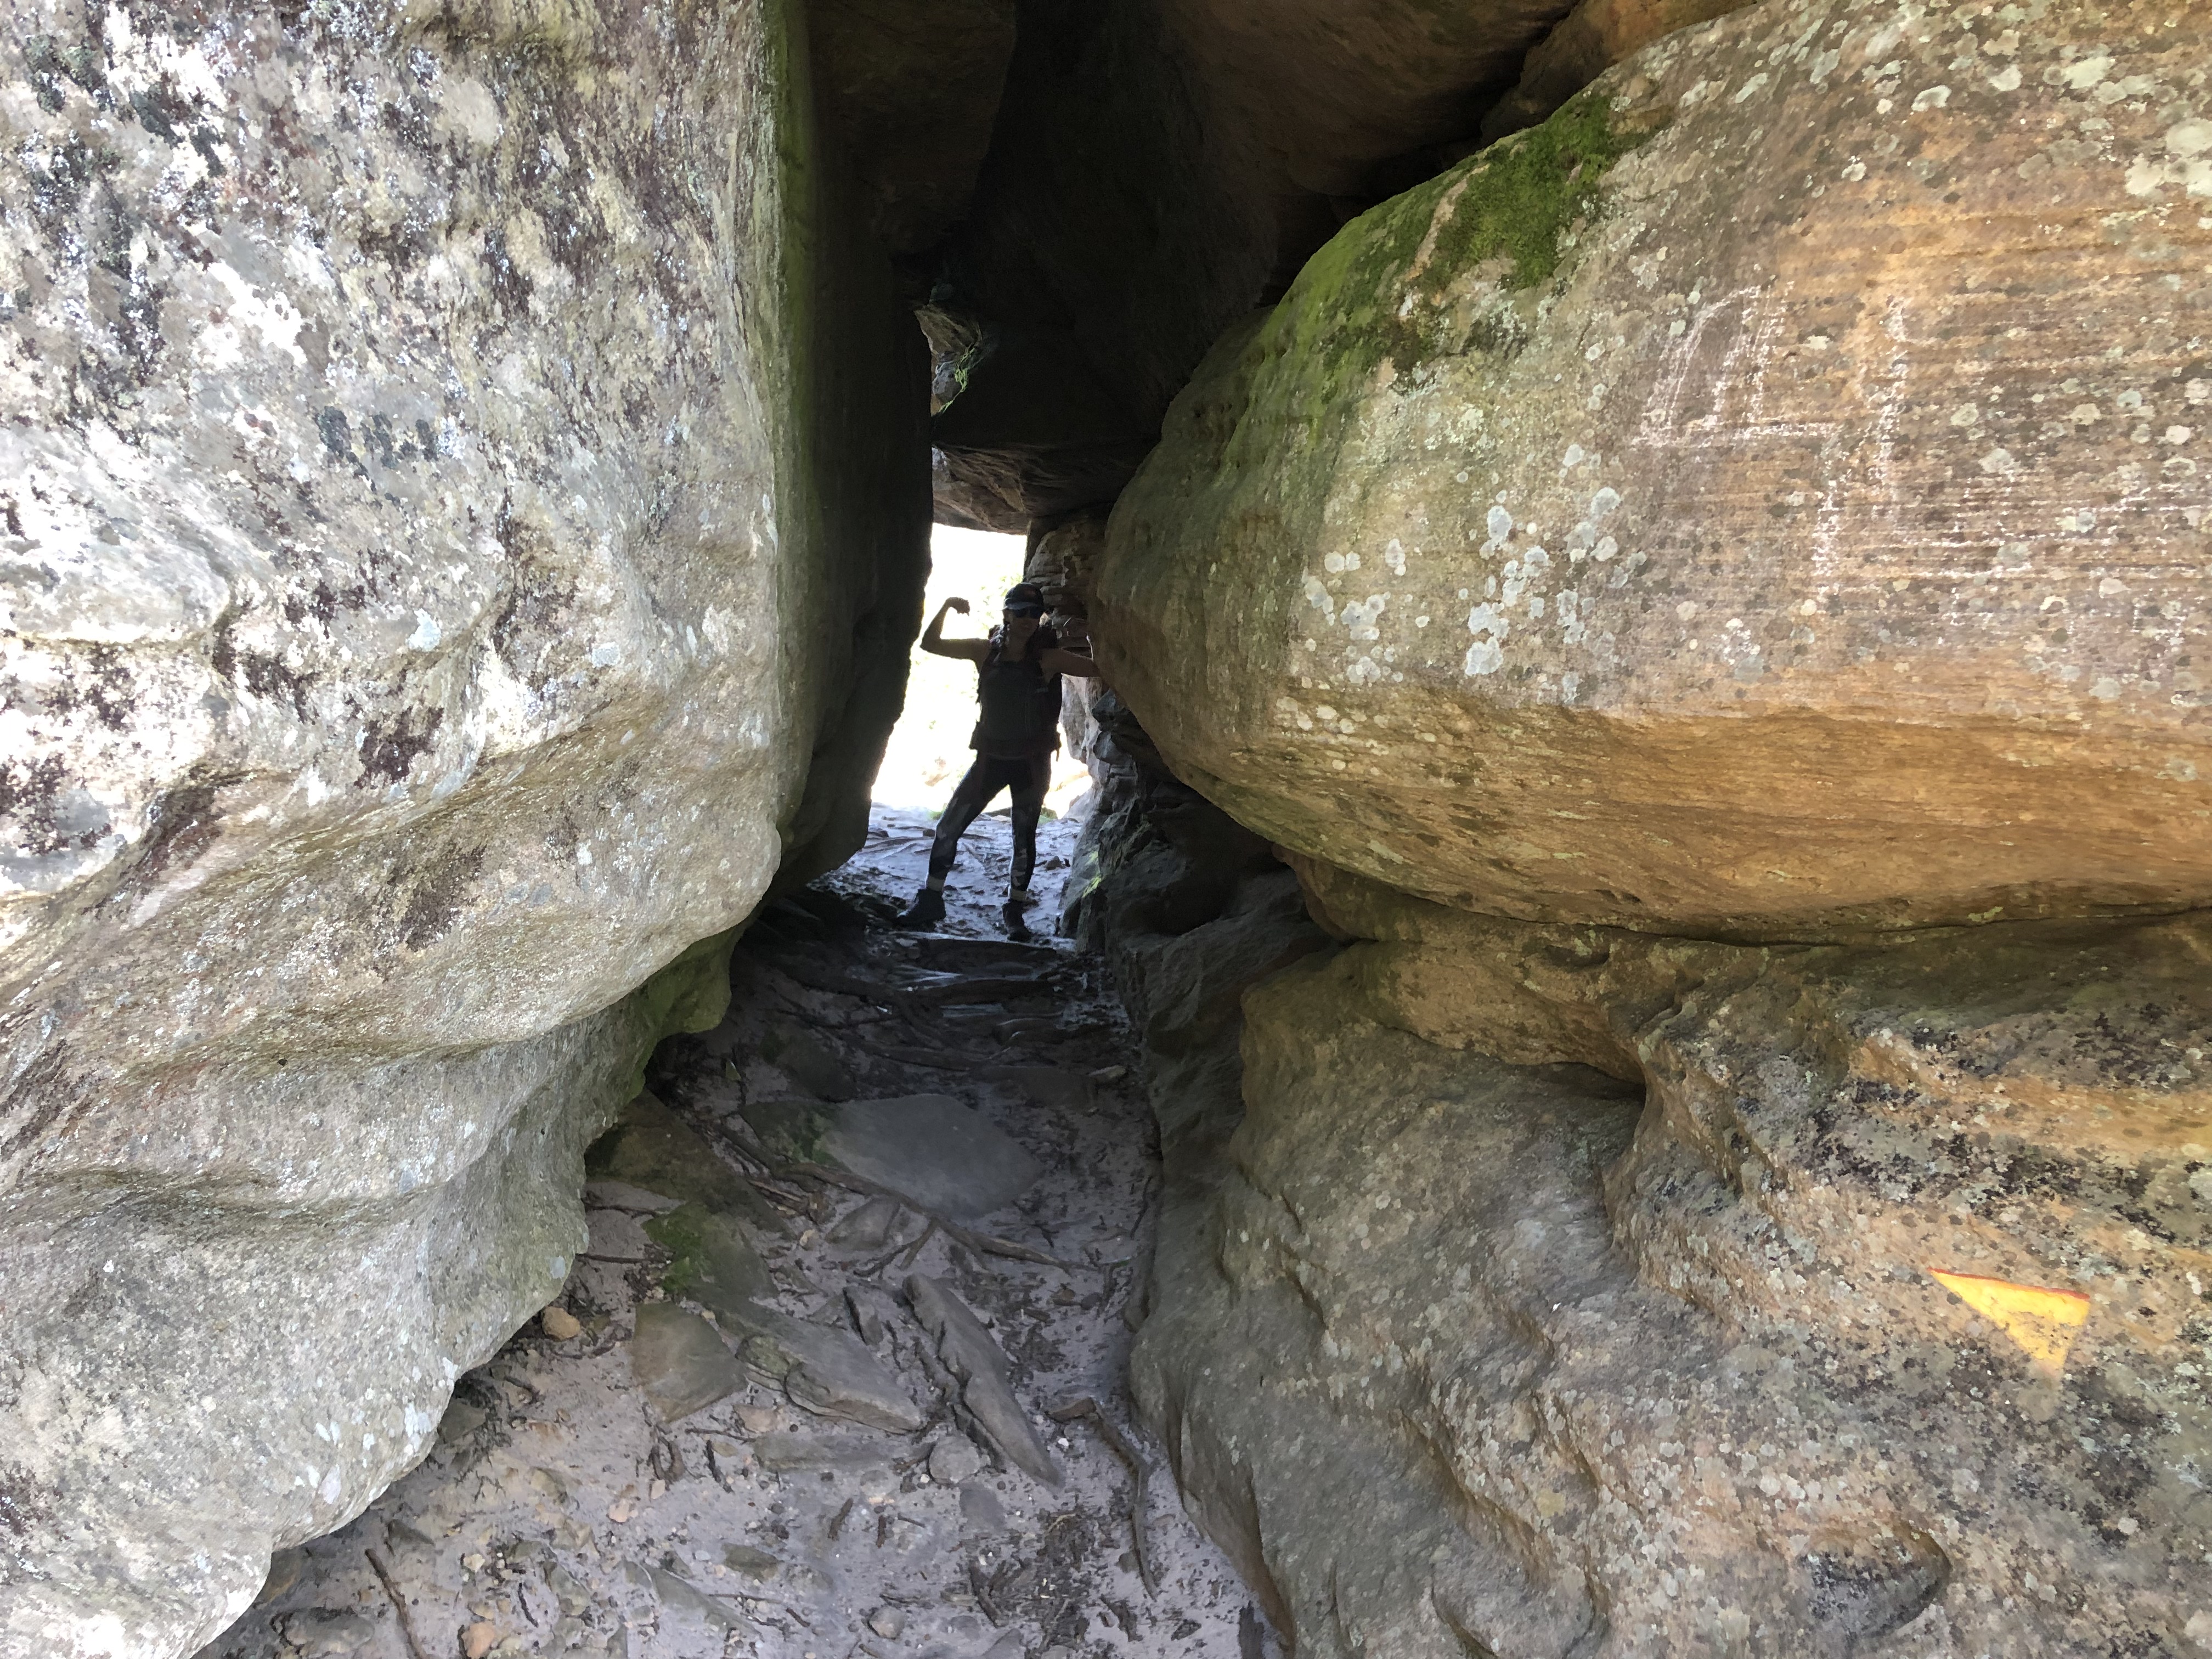
Keep an eye out for markings as you continue along the ridge. Yellow arrows and the occasional white painted arrow indicate the correct way through the various boulder outcroppings. Ample photo opportunities through these sections. Some of these passage ways become mildly hands on but nothing overly challenging.
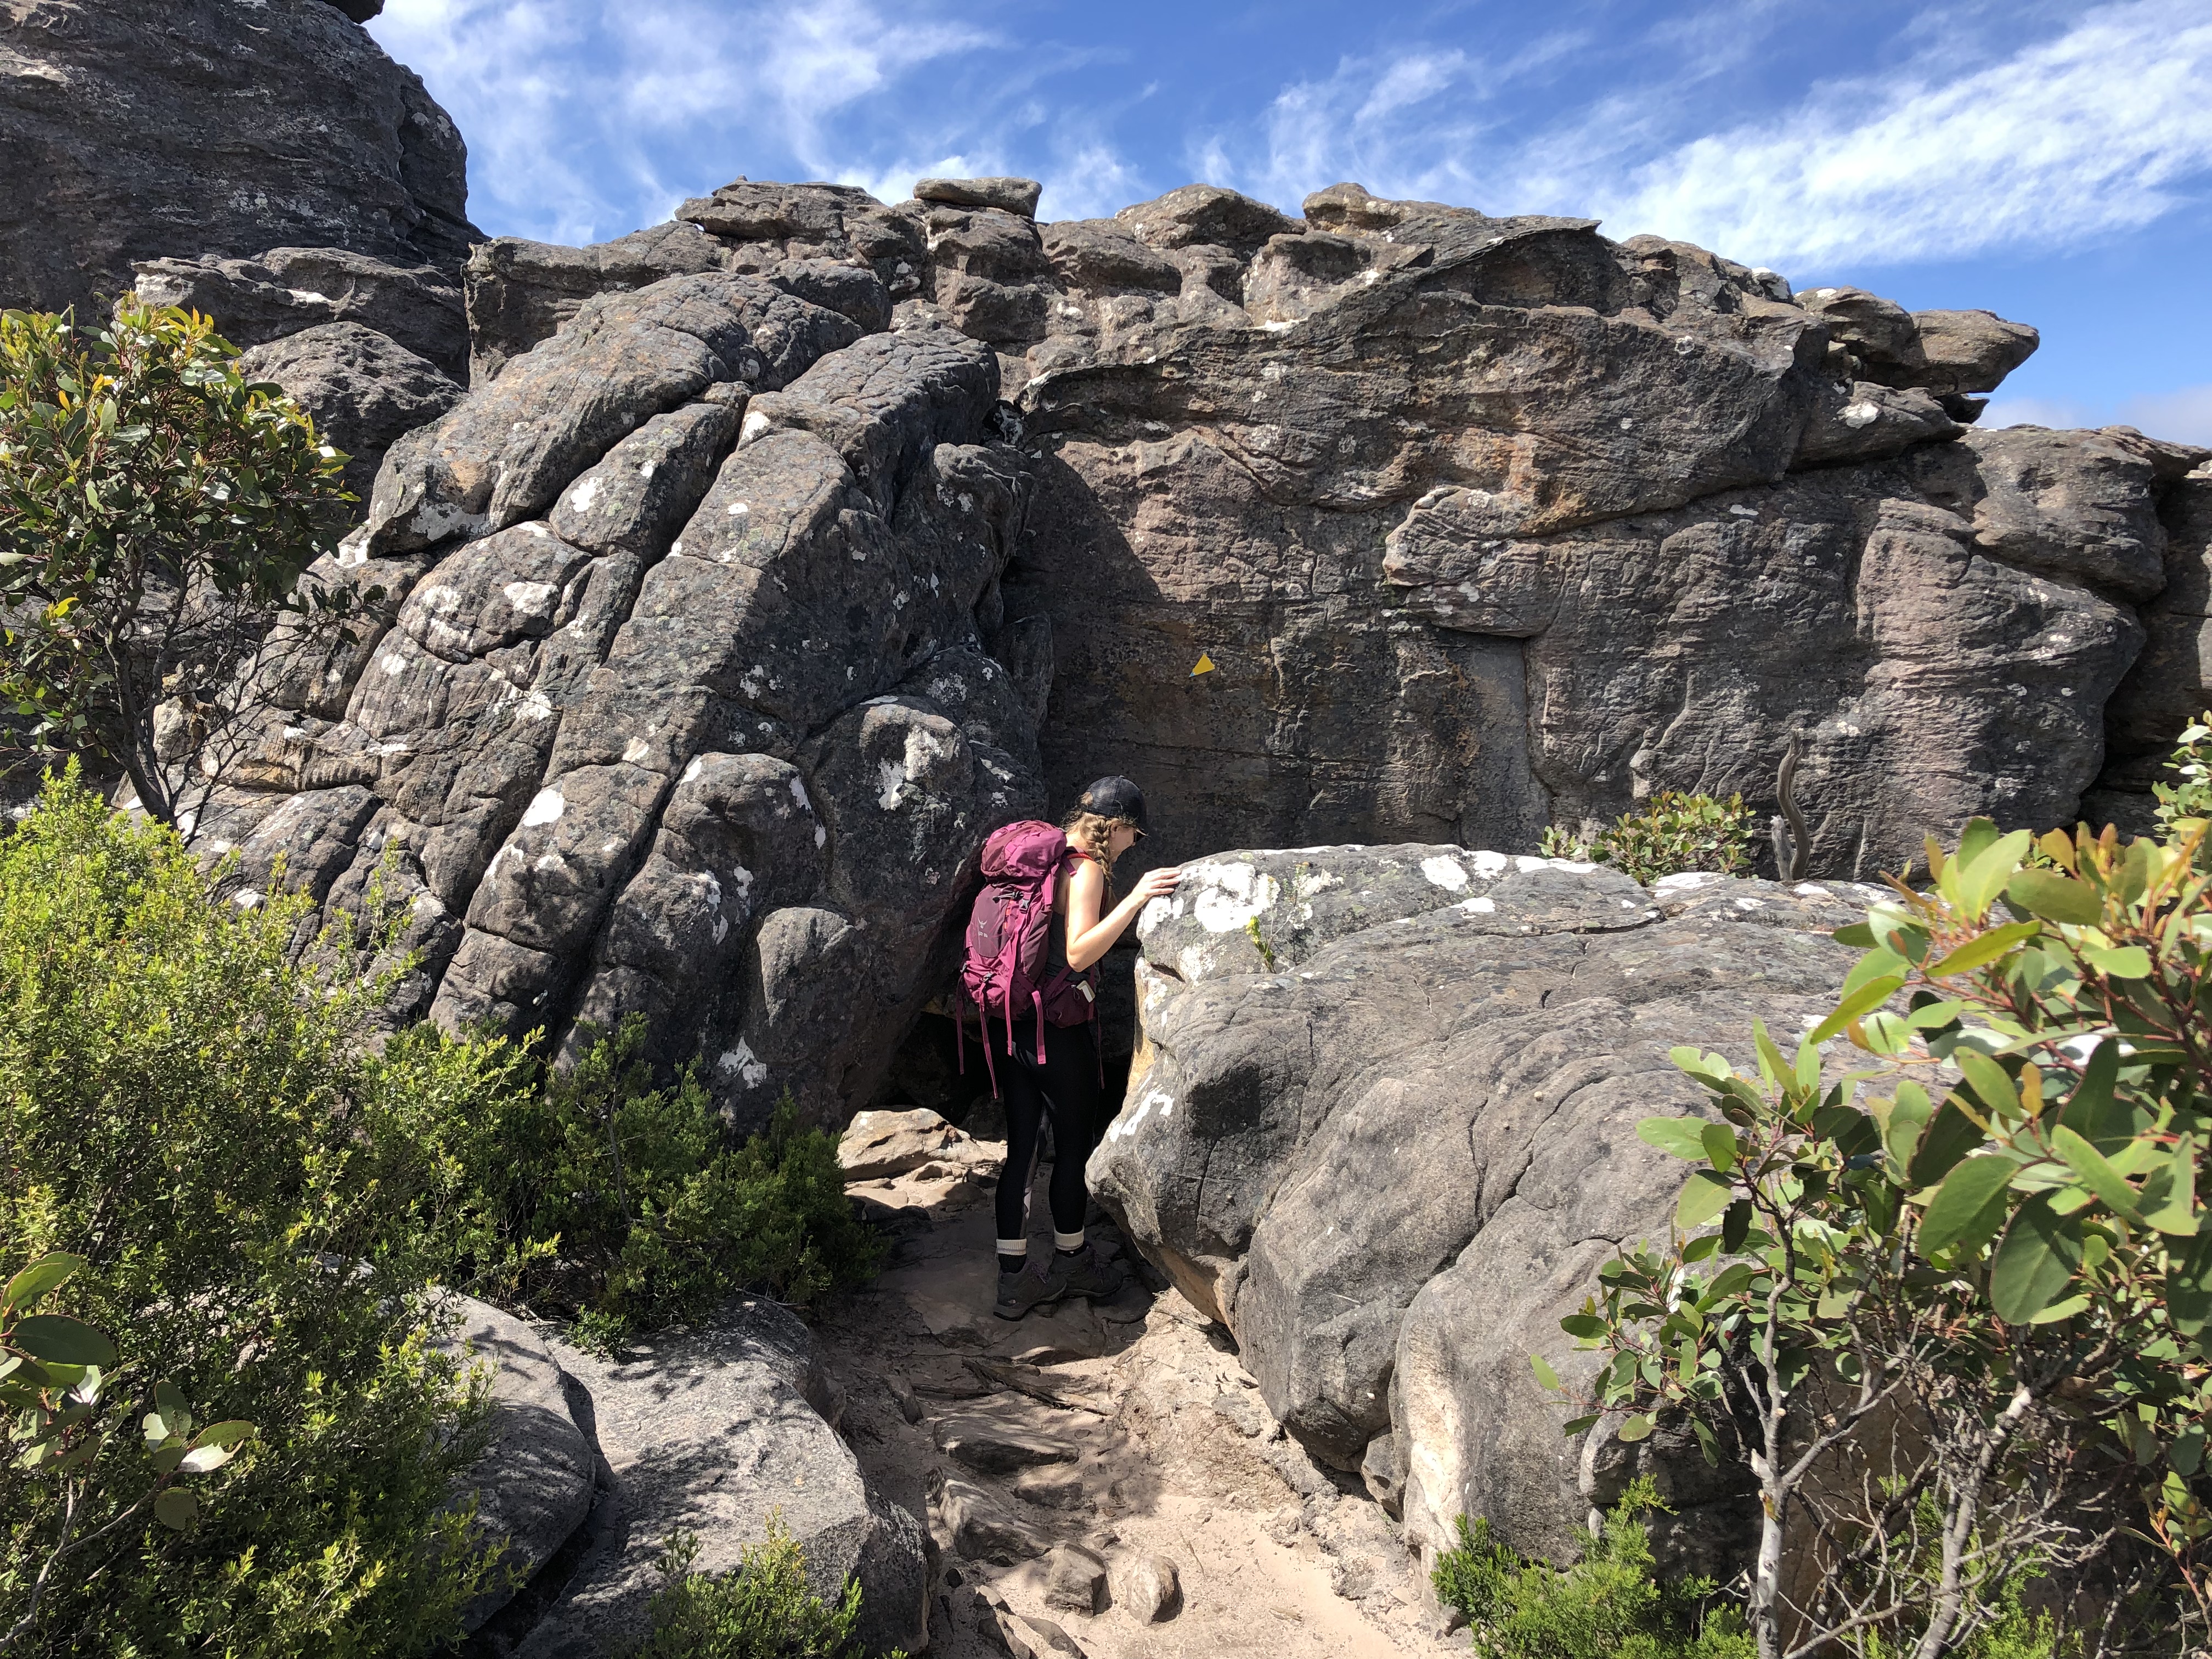
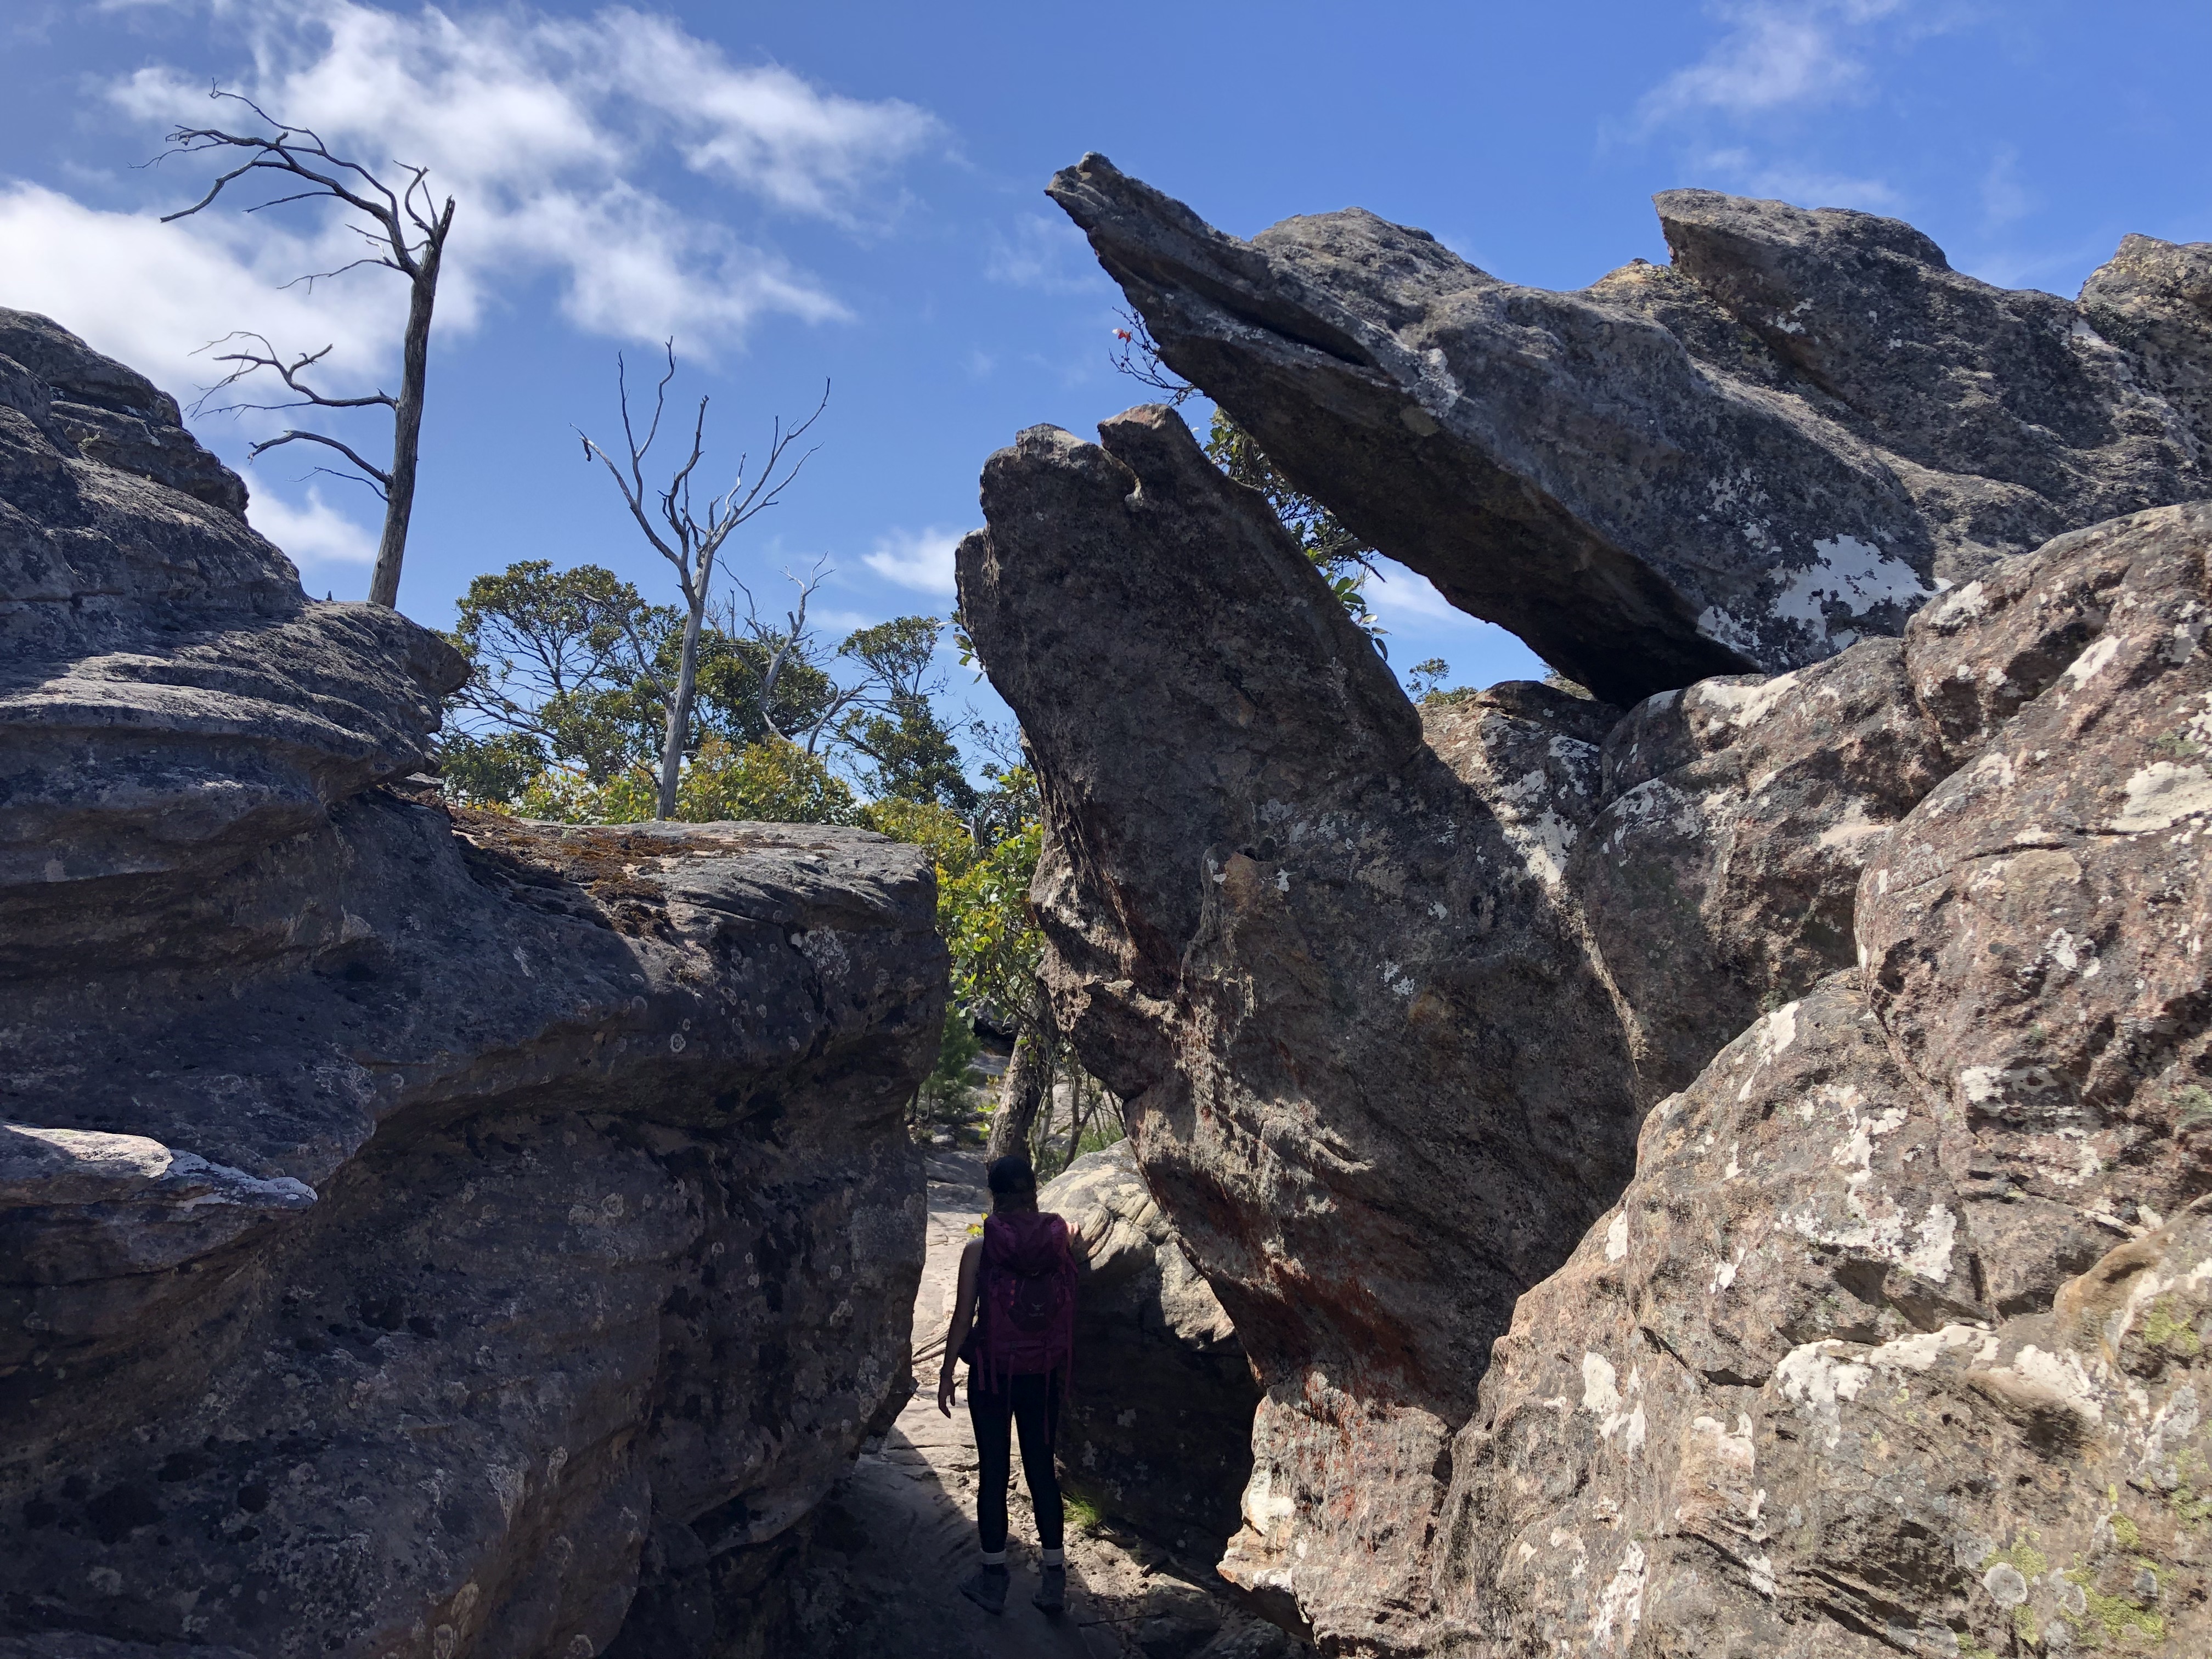
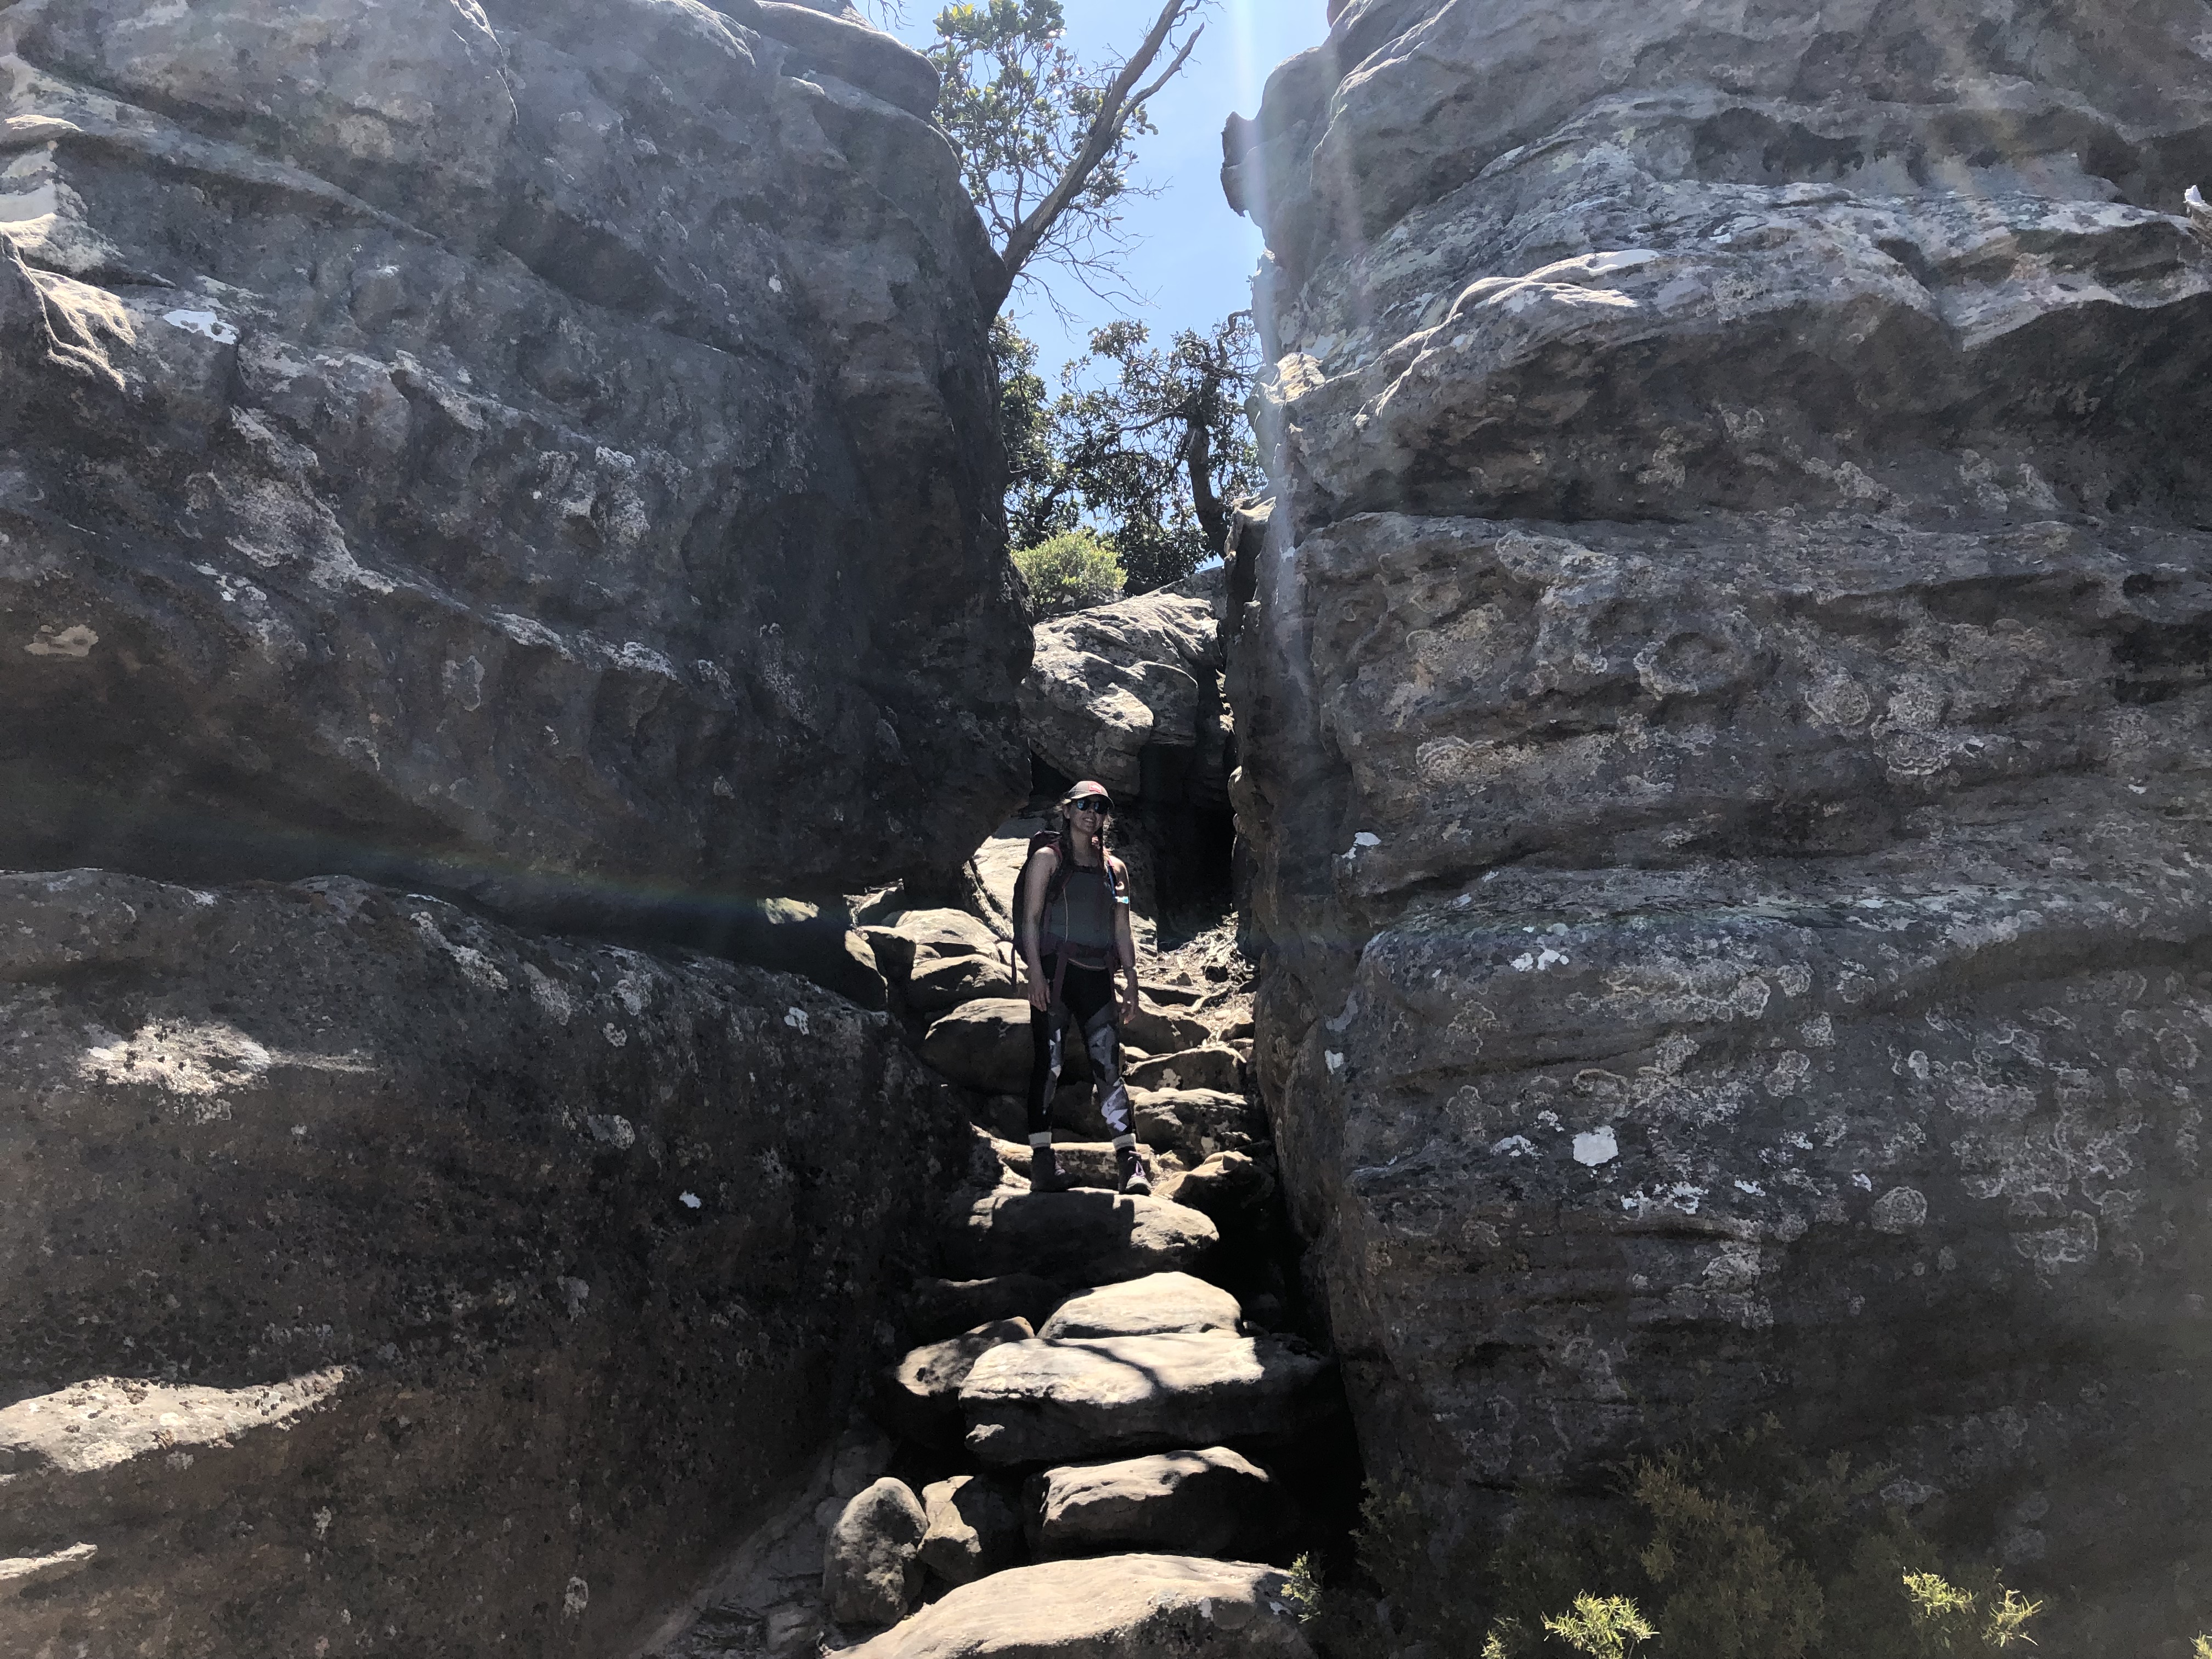
As previously mentioned, the ridge line up here has a very plateau-like feel to the landscape. The pathway snakes its way through open-tunnels, open scrub rock face and occasionally over a few boulder-made stairwells. In some of the outcroppings it is easy to become distracted by the many features and beautiful scenery – we managed to lose the way at least once on the return journey. Again, keep an eye out for the yellow triangles and its a walk in the park.
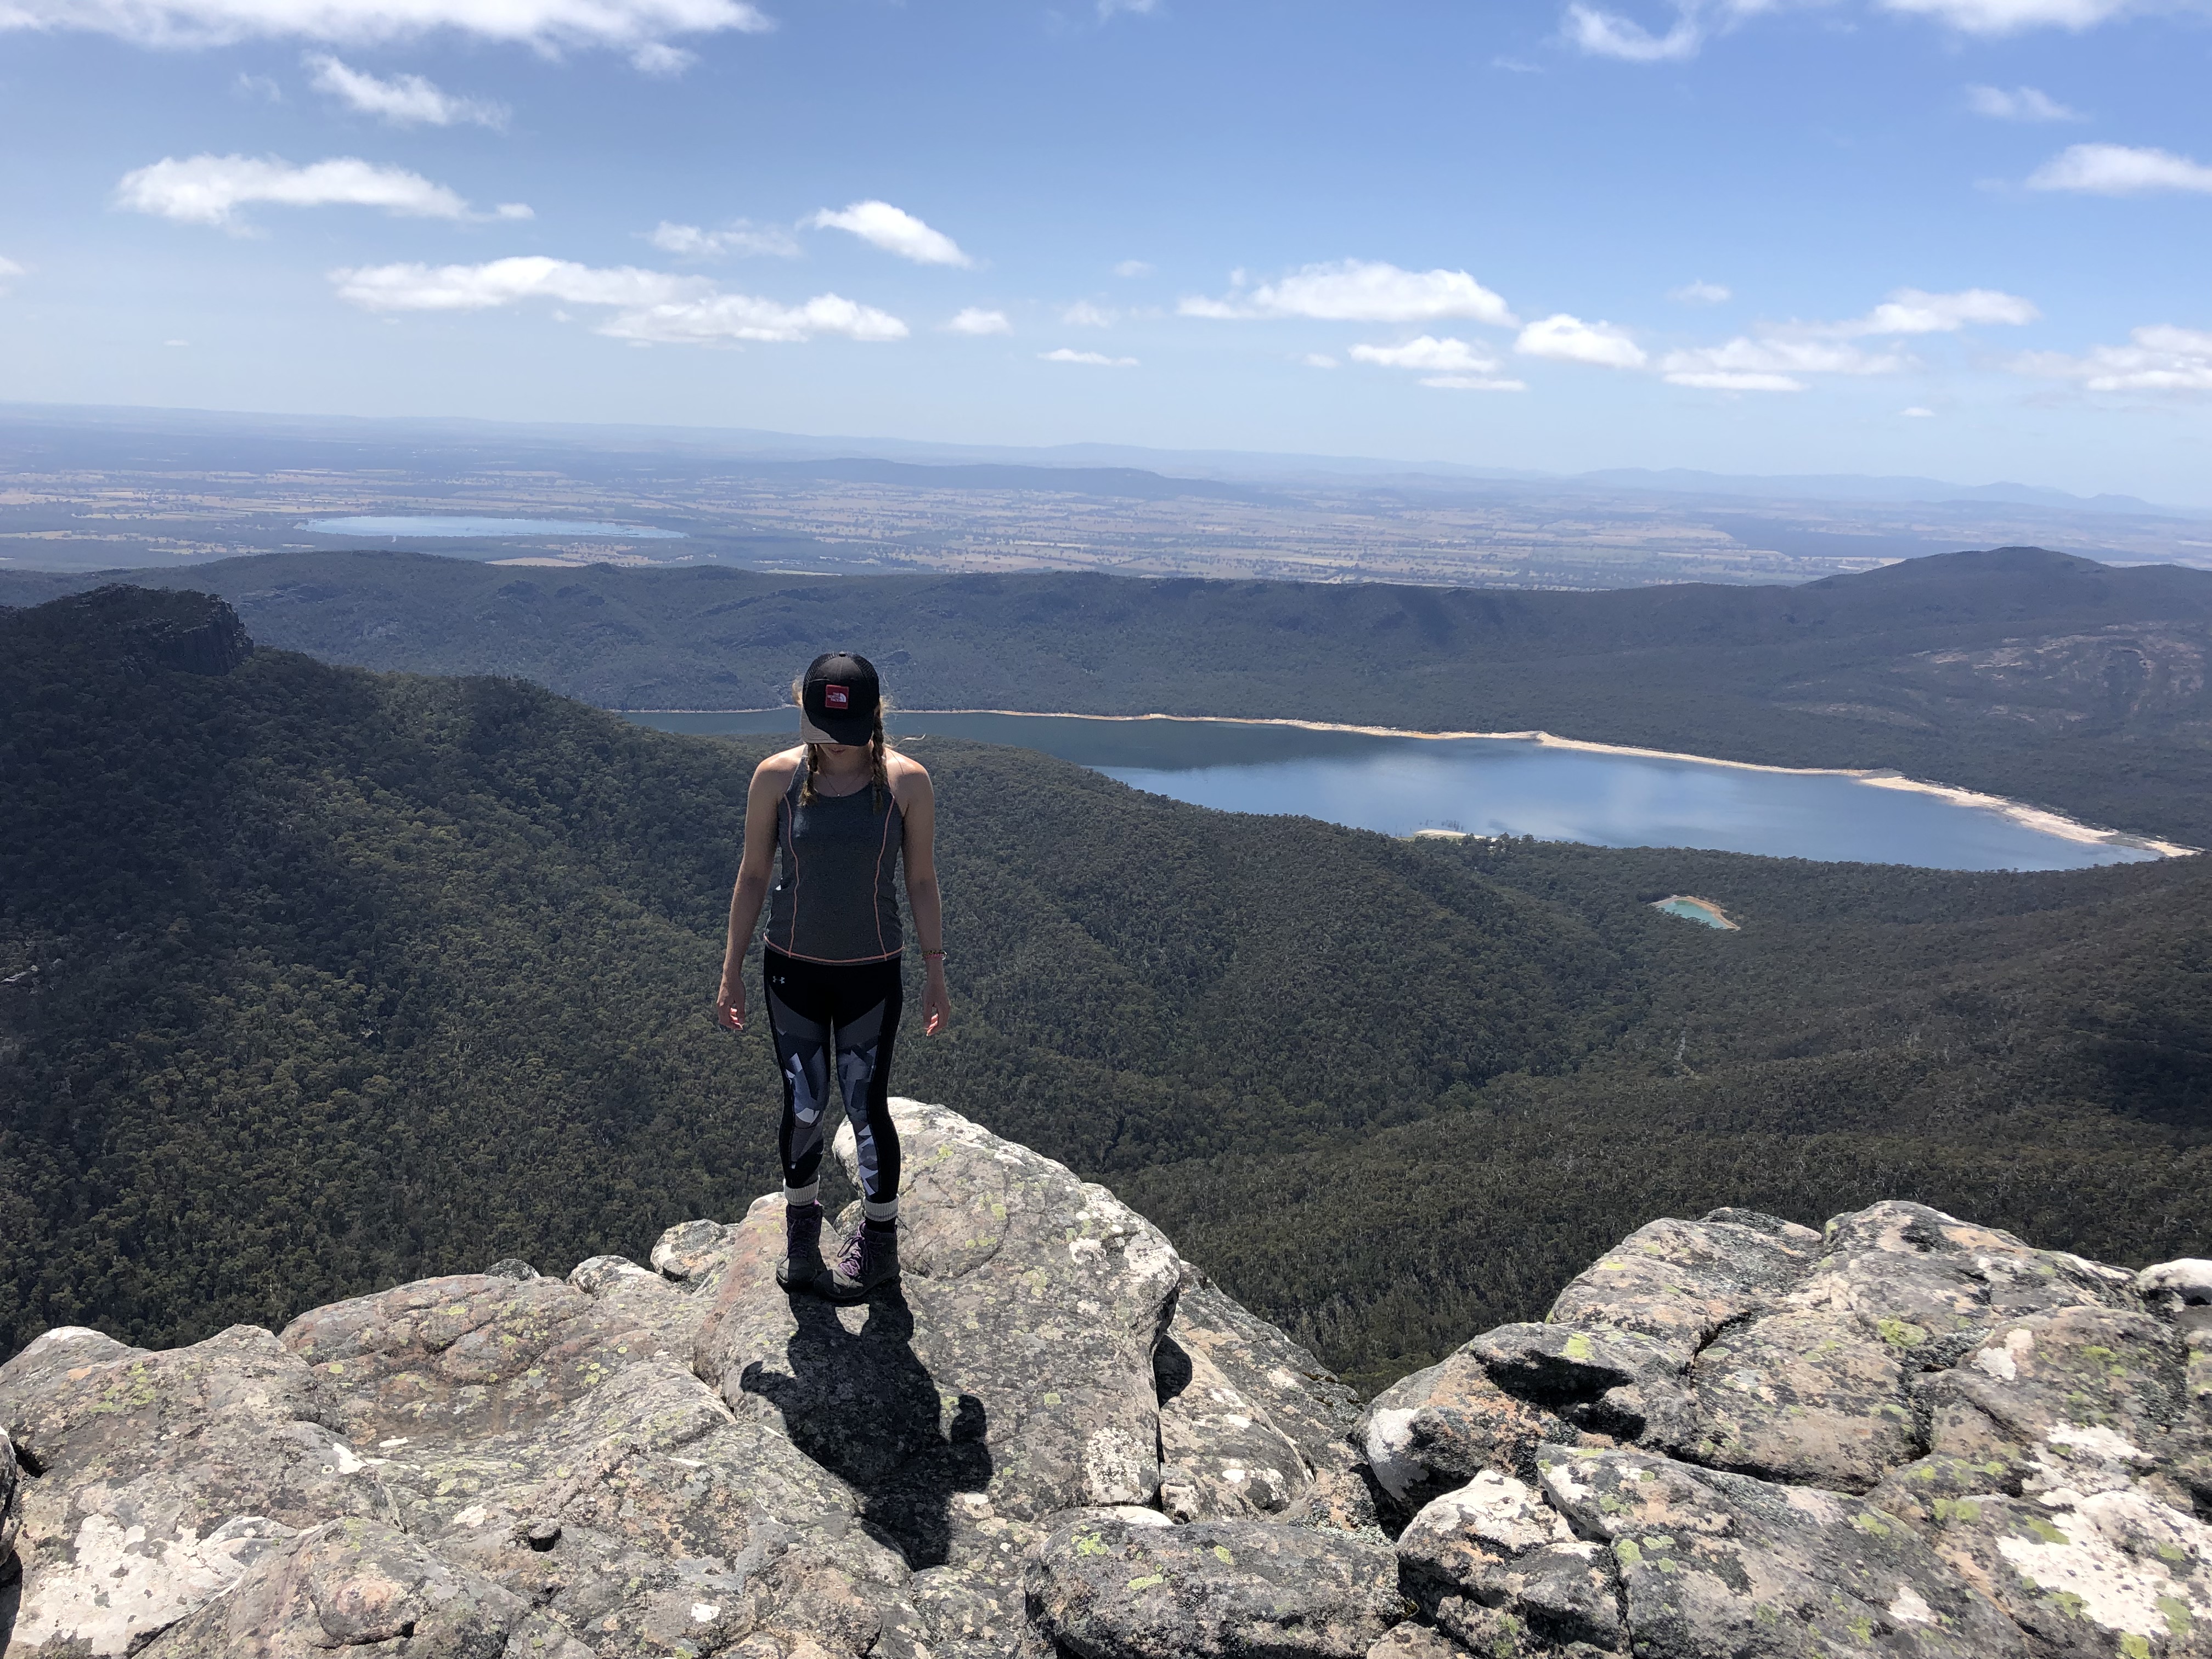
The final push to the summit is more or less the same as the rest of the ridge line leading up to that point. Conveniently there is a bench, fence and signpost with the elevation listed – all indicating that you’ve reached the top. Congratulations! On return you have the option of doing a loop or coming back the same way in. We met a couple of German backpackers who told us they had trouble locating the trail head for the loop option. We therefore opted to return the same way we came – and why not, the views were worth viewing the second time! We loosely kept track of time and estimated that our round trip was between 4 to 4.5 hours, totaling a distance of 12km once back at the car.