August 31st, 2016. Yoho National Park, British Columbia.
Round Trip: 13.5 hours. Elevation Gain: 2200m
Difficult Scramble
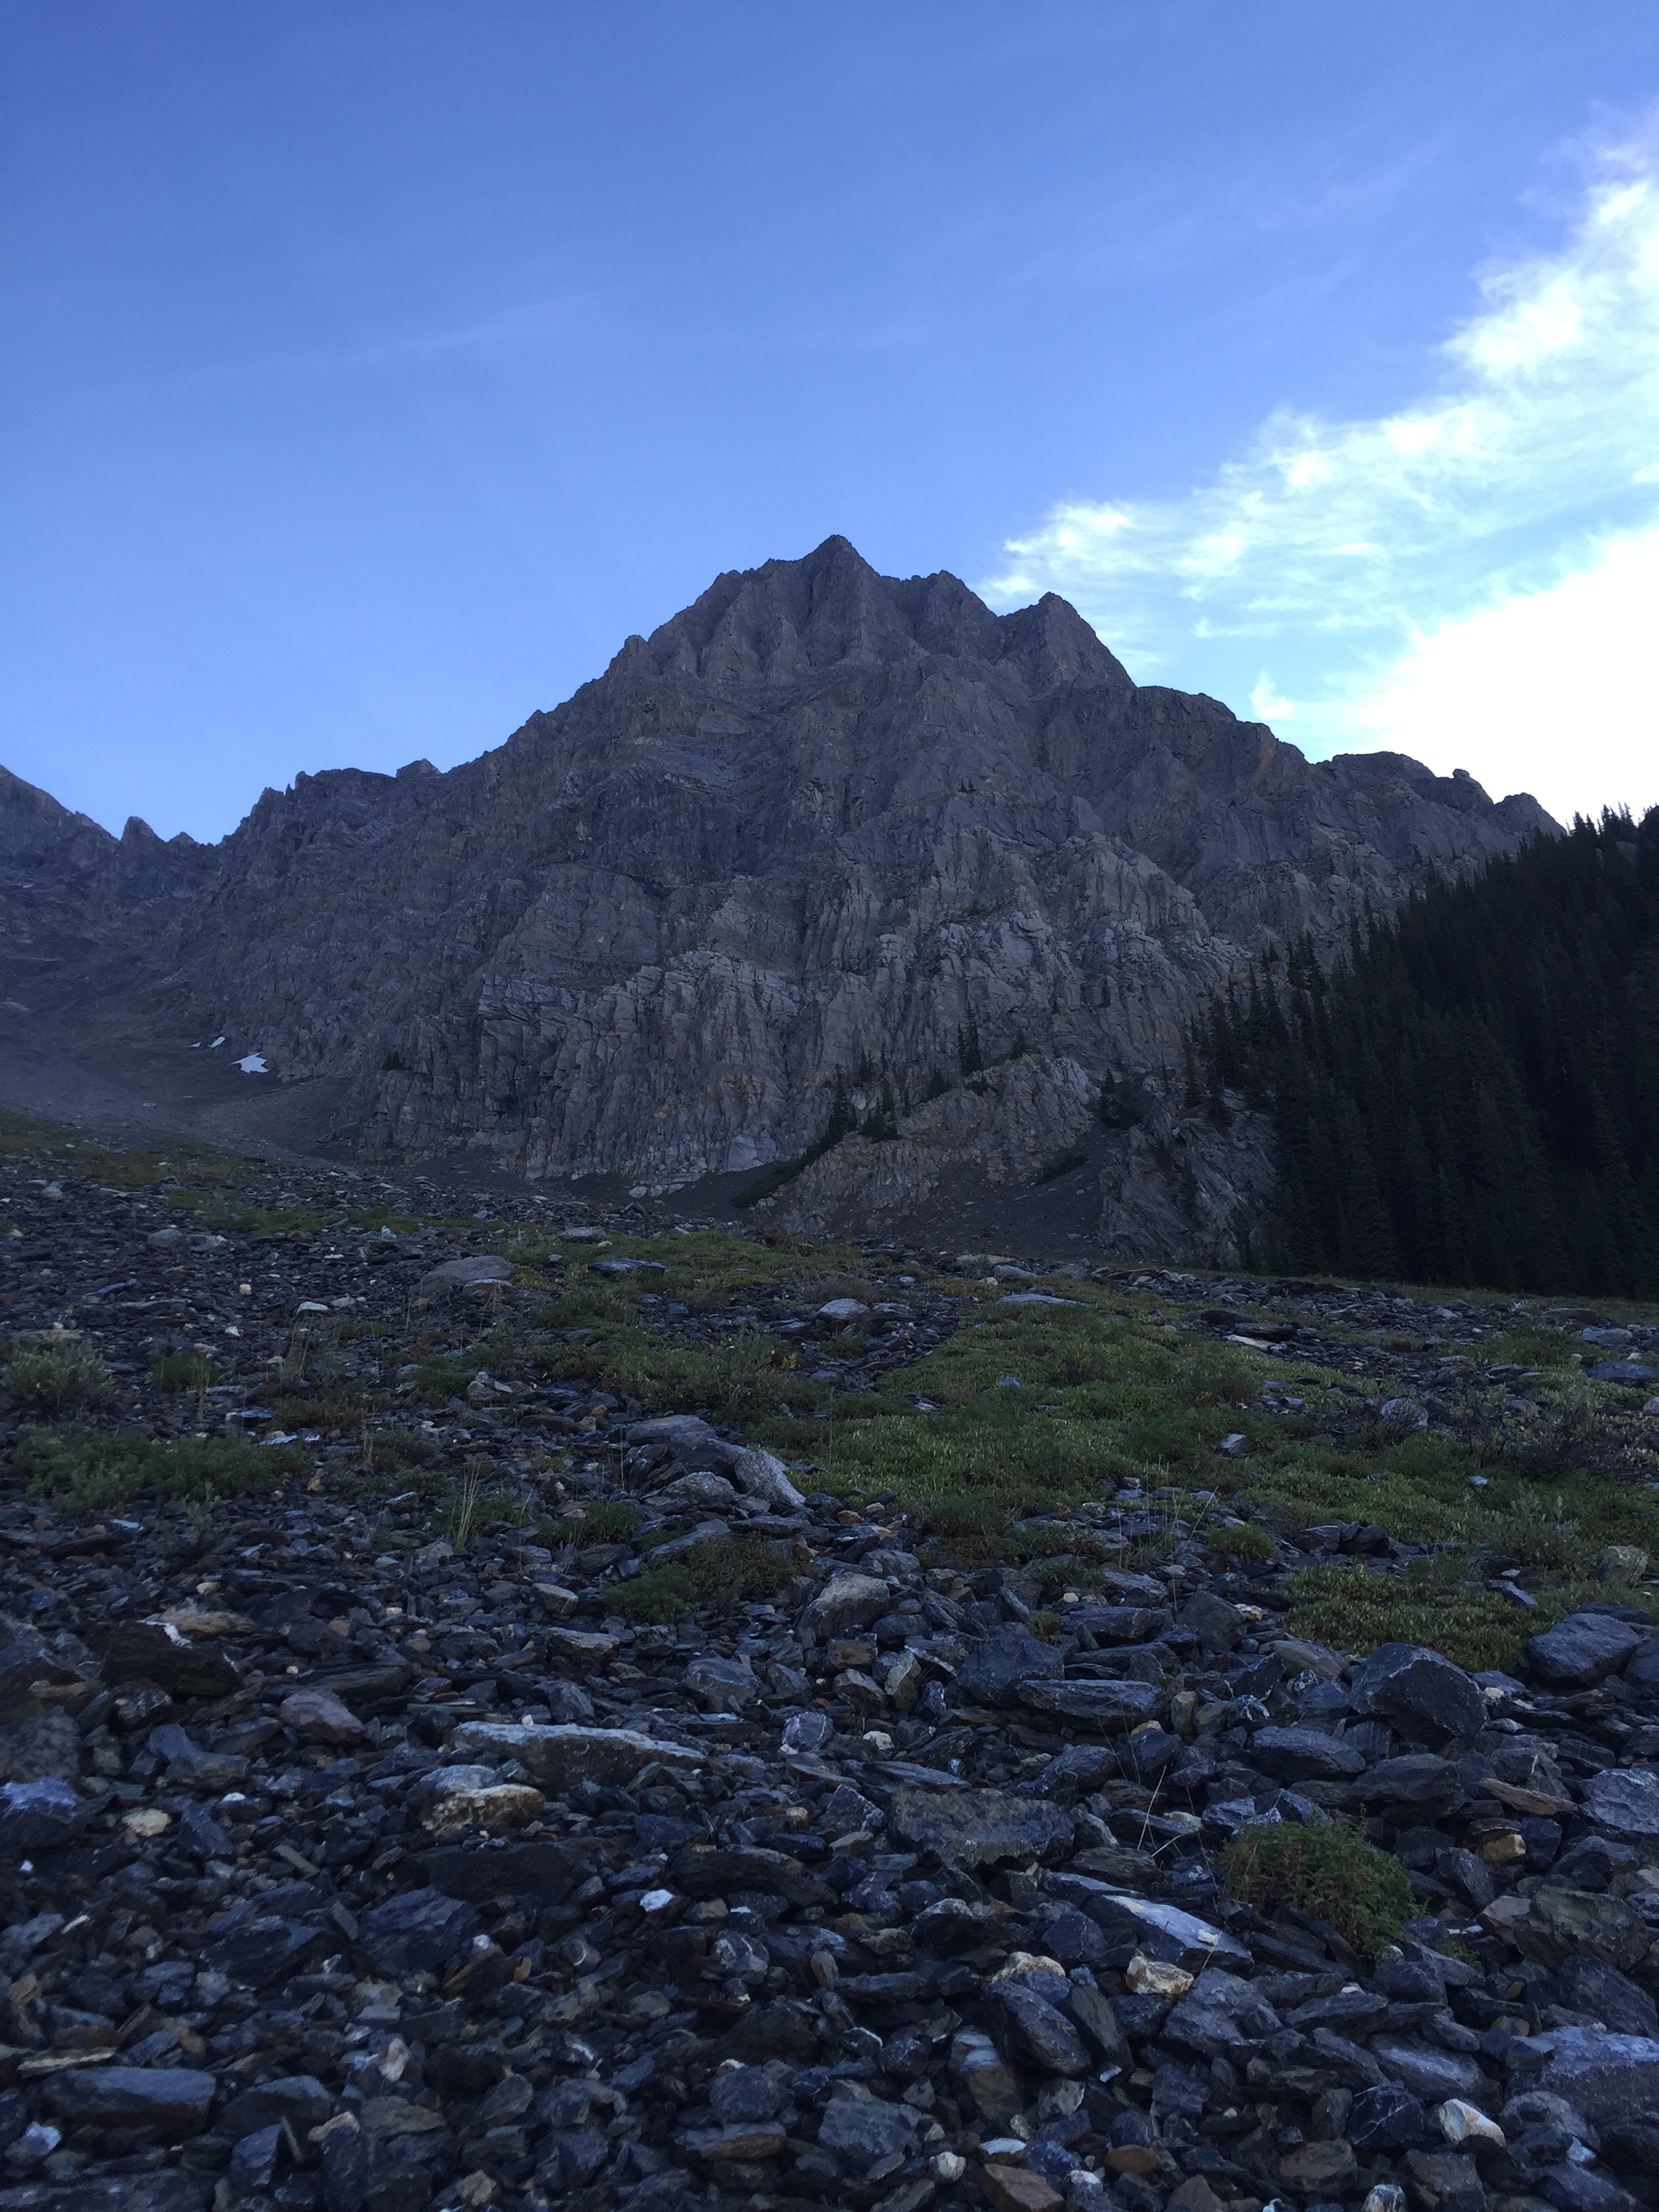
Mount Vaux is a behemoth of a peak standing at 3319m above sea level in the southwest corner of Yoho National Park. Scrambling enthusiasts will be familiar with this area as the peak is next to Mount Chancellor – one of the hardest scrambles listed in Kane’s 2016 edition of Scrambles. The route description, parking instructions and access details can be read there. This is a difficult long scramble through a shooting gallery, not recommended for novice scramblers.
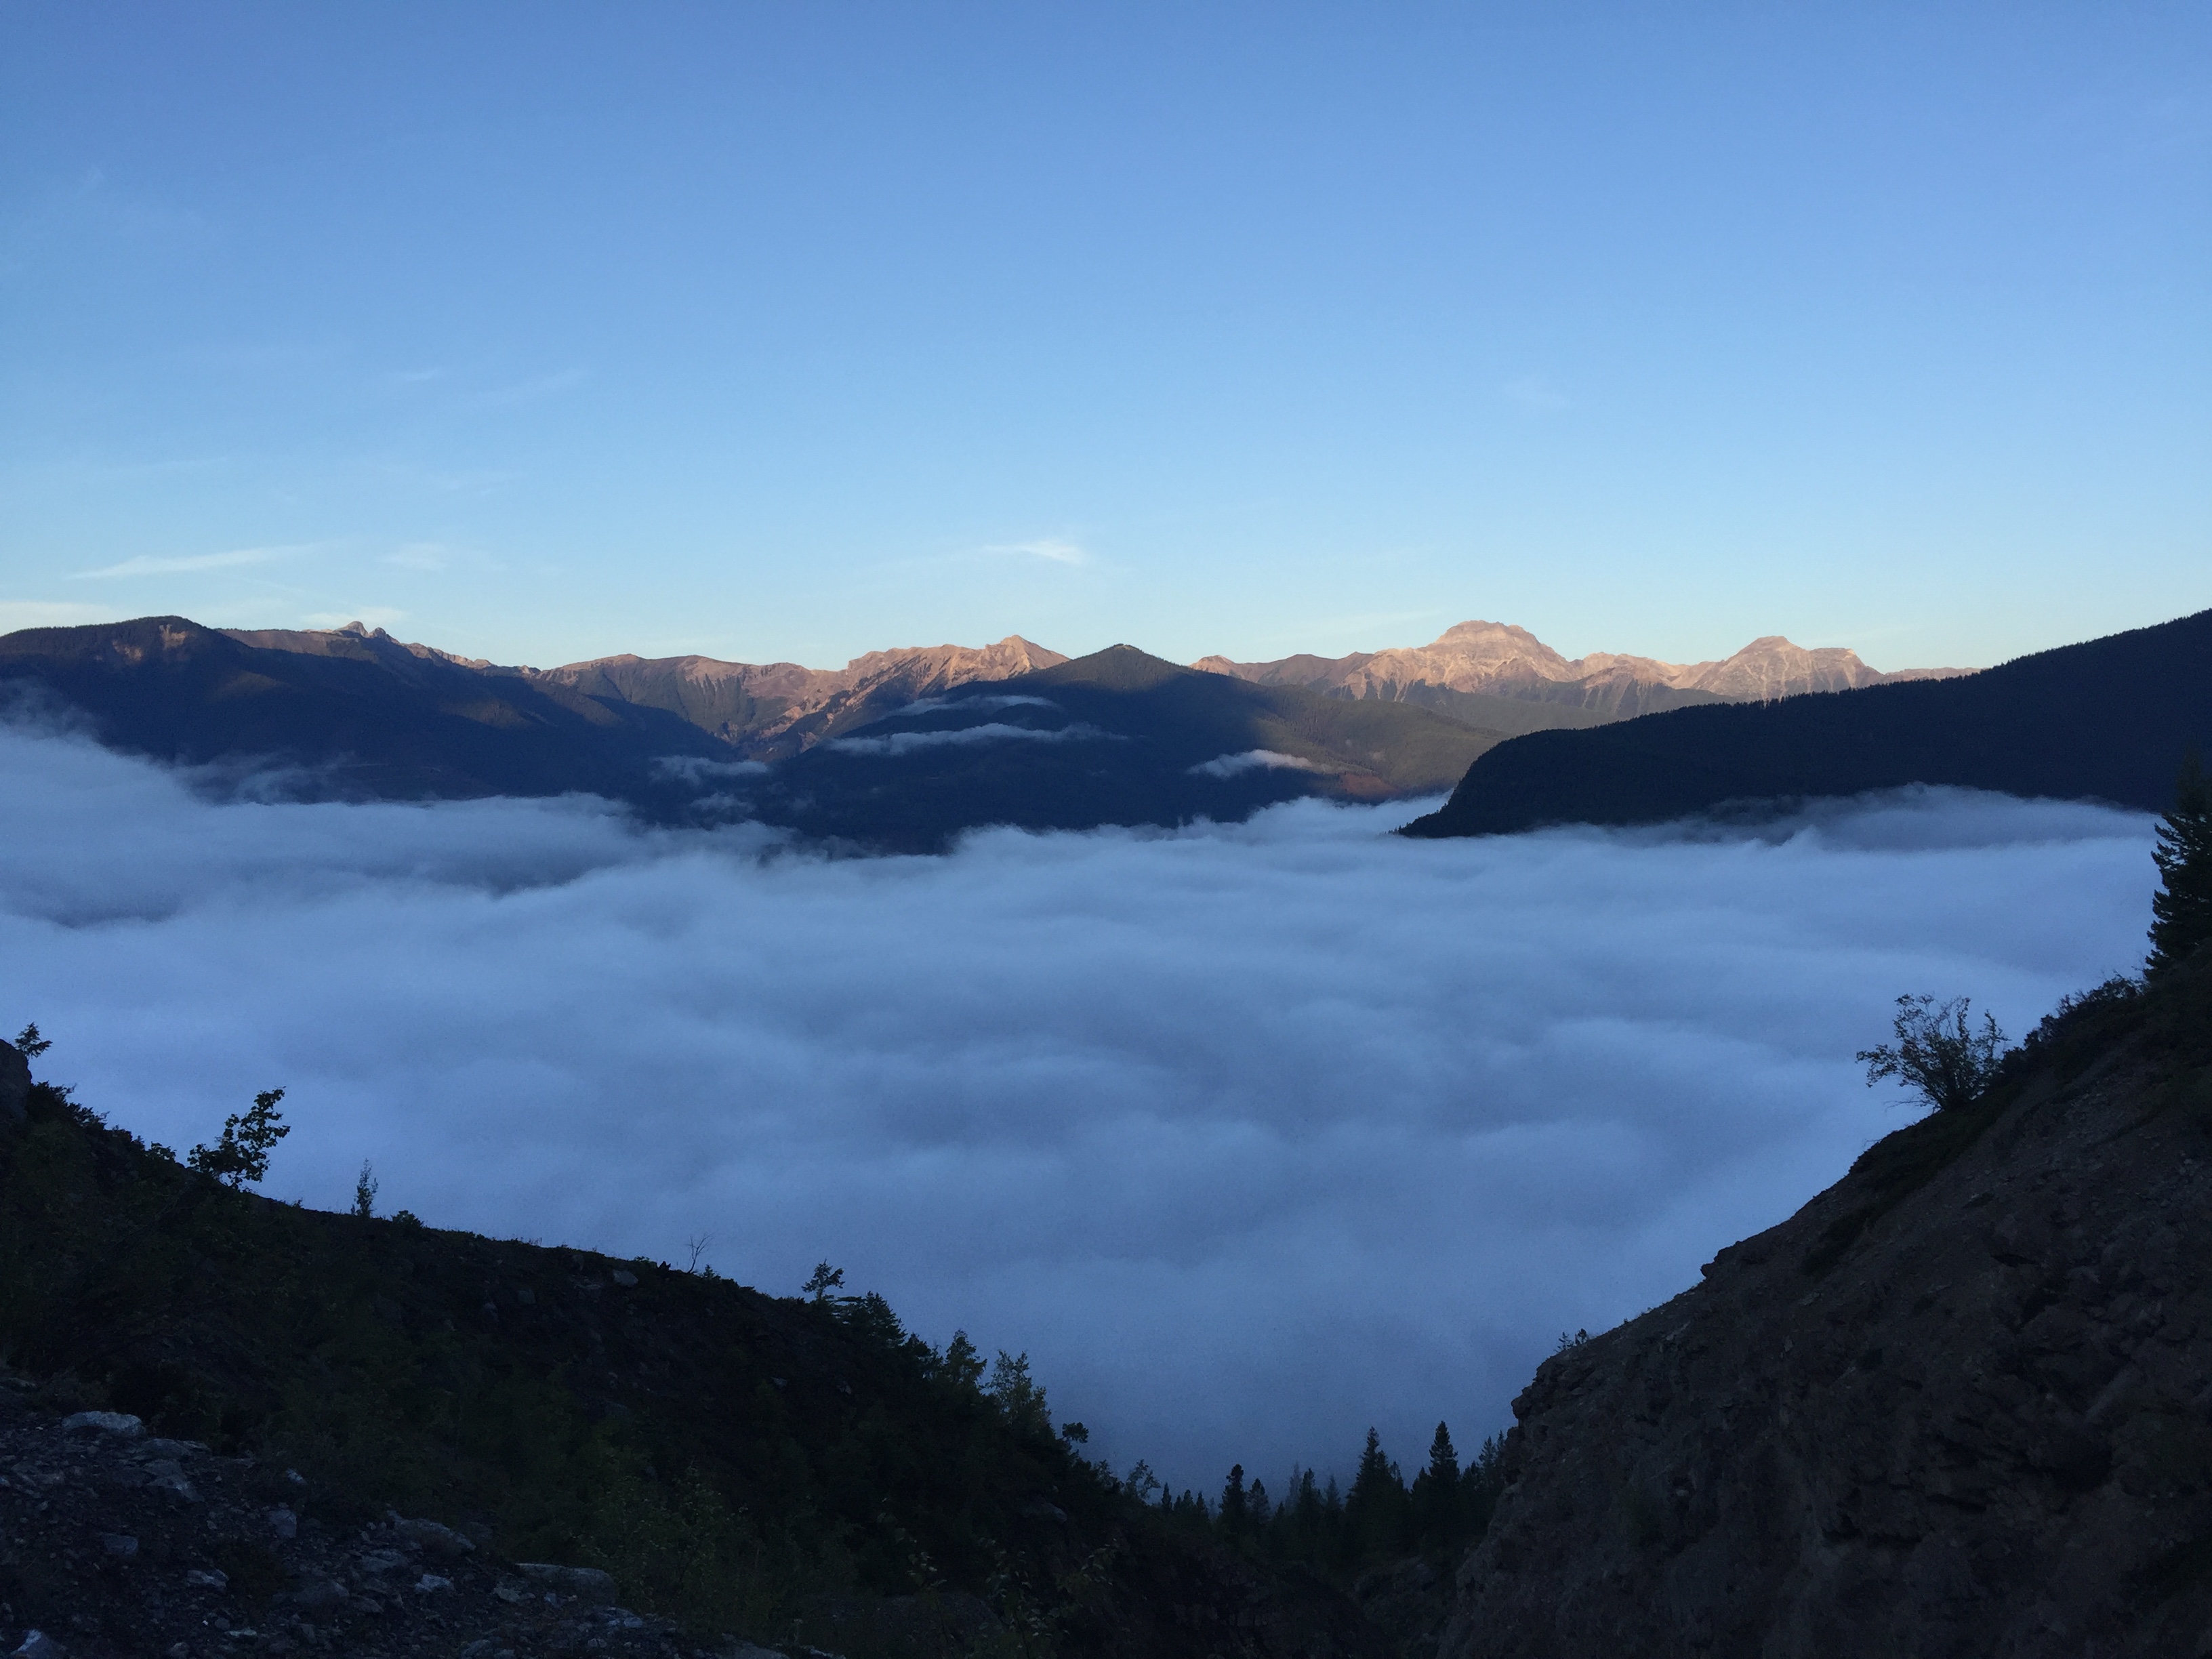
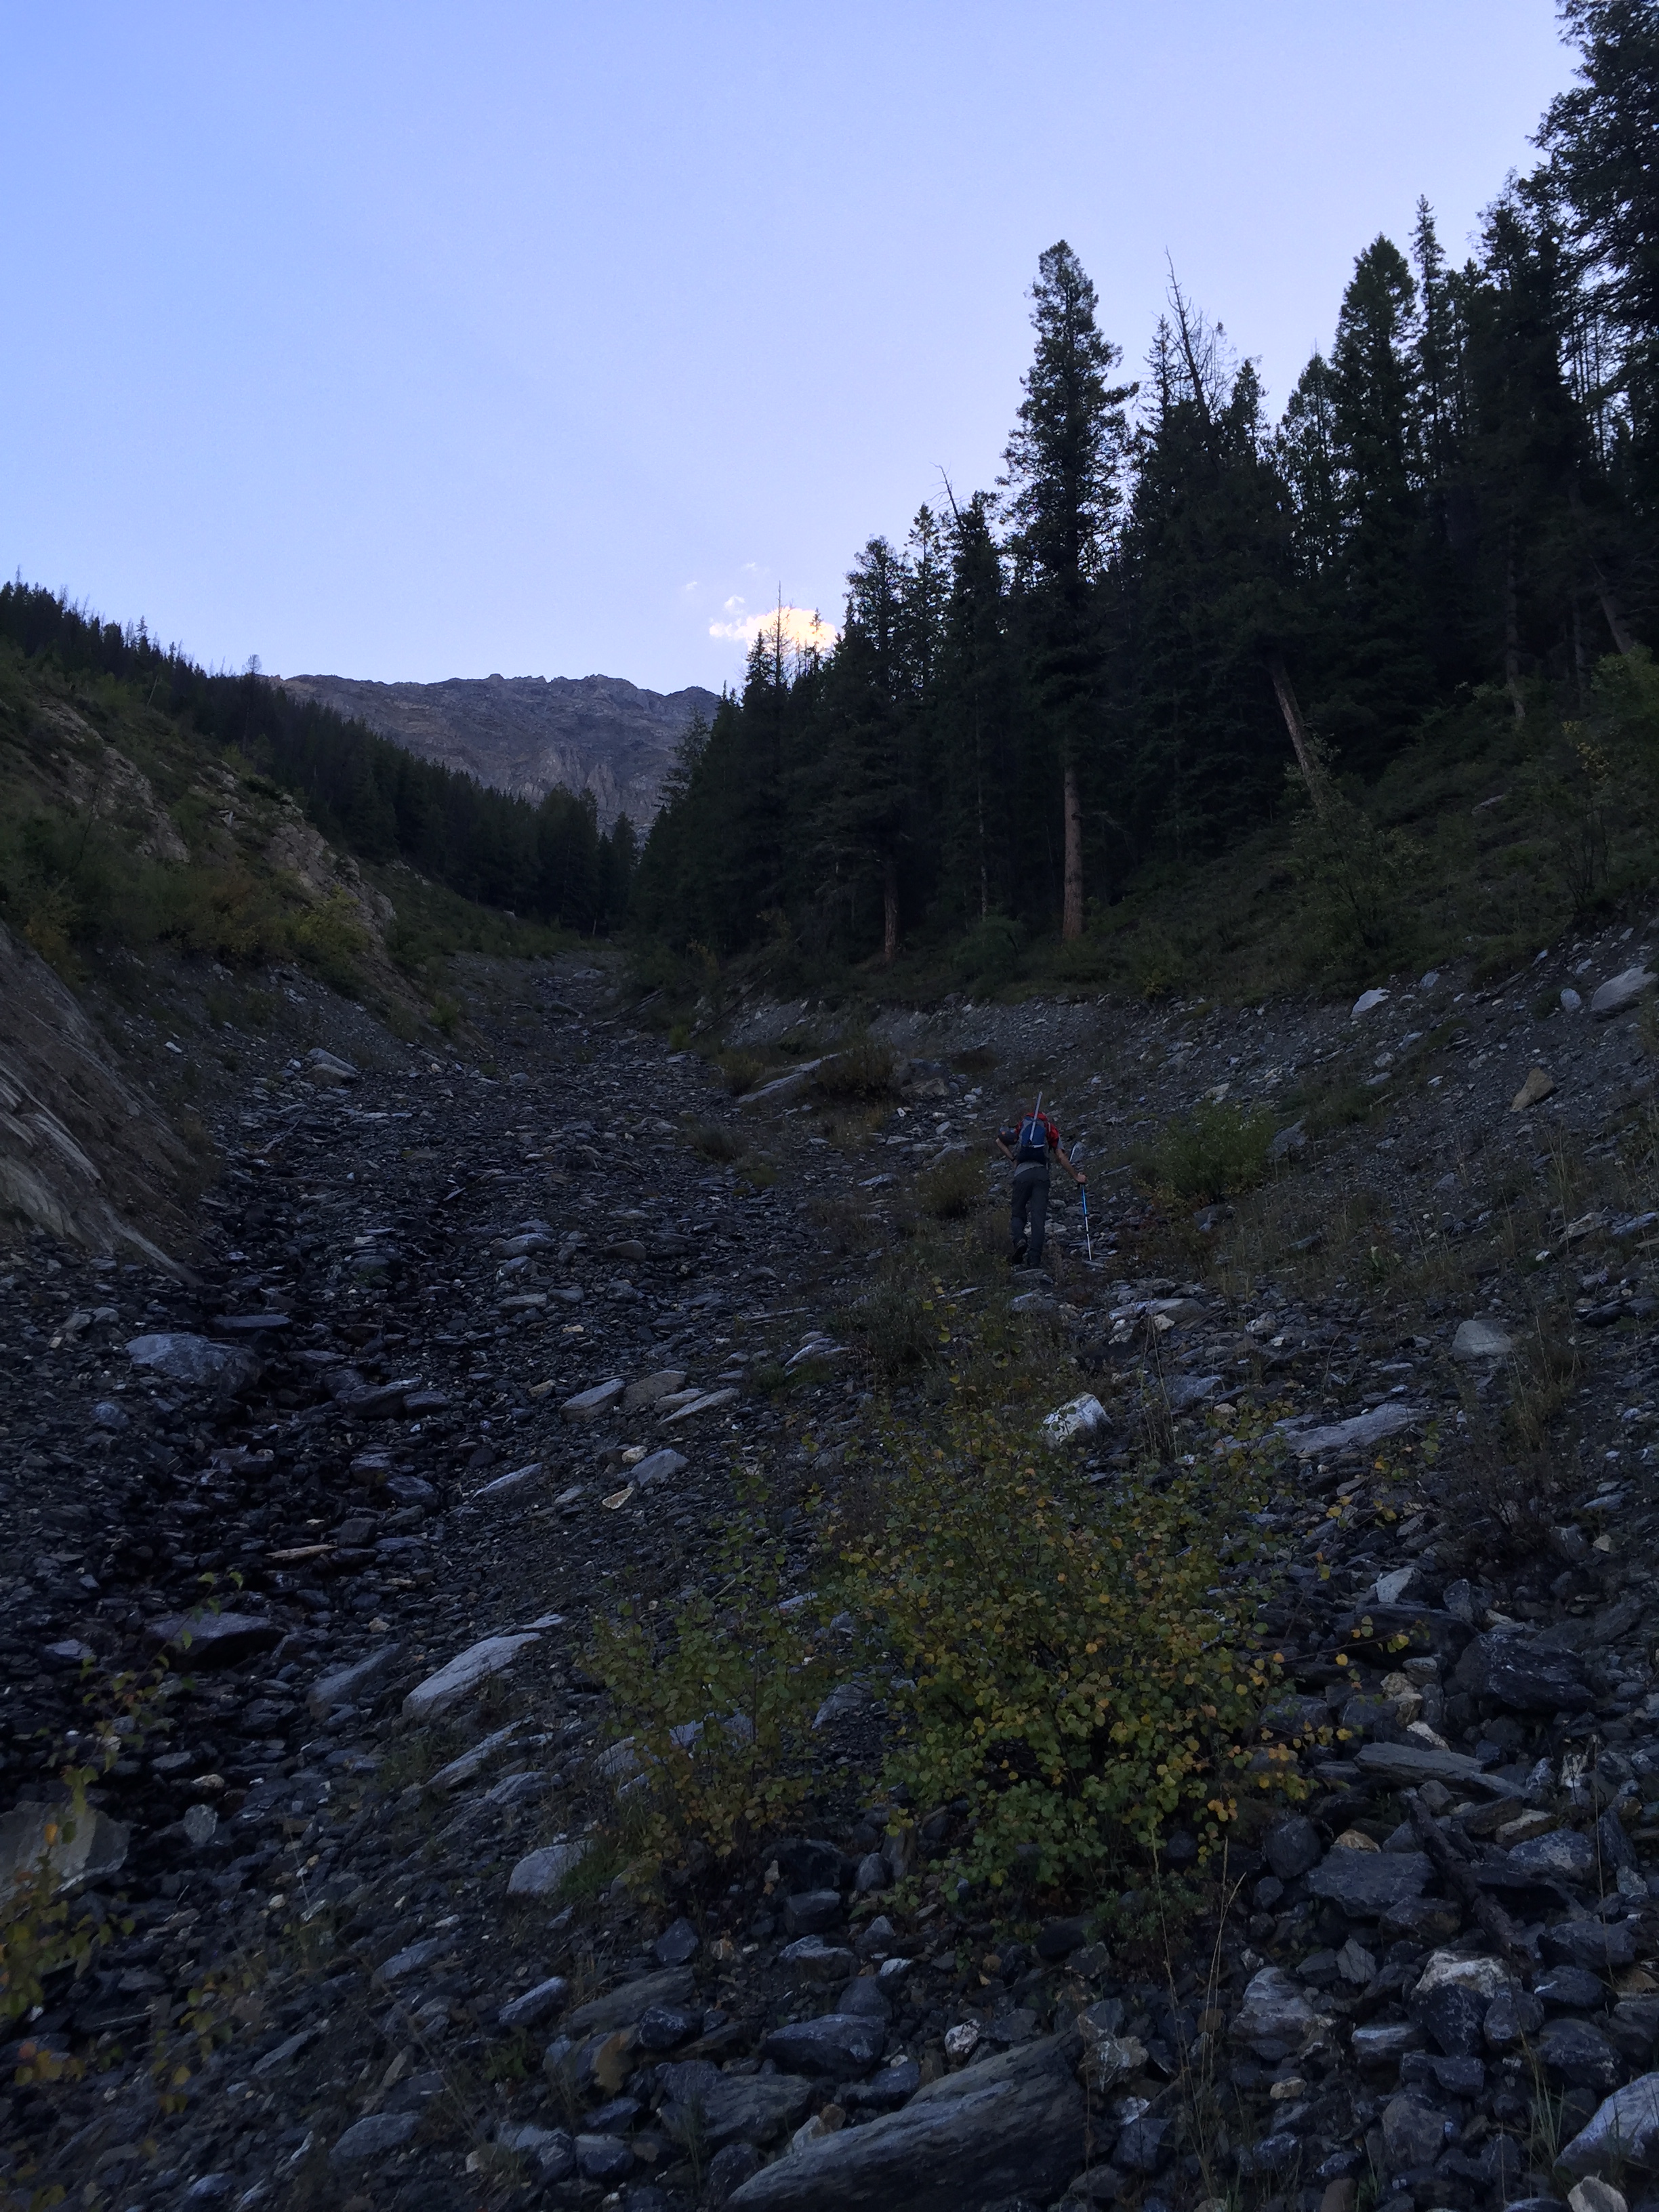
Nick Fitzhardinge and I teamed up for this one – in fact this was only our second outing together as we had conflicting schedules for most of 2016. An early start time of 5am was necessary for this trip. We started the day by slogging up in the fog. The route starts at 1119m above sea level. The first two and half hours were merely a steep scree slog, we finally broke above the clouds just after 7:30am at approximately 1940m.
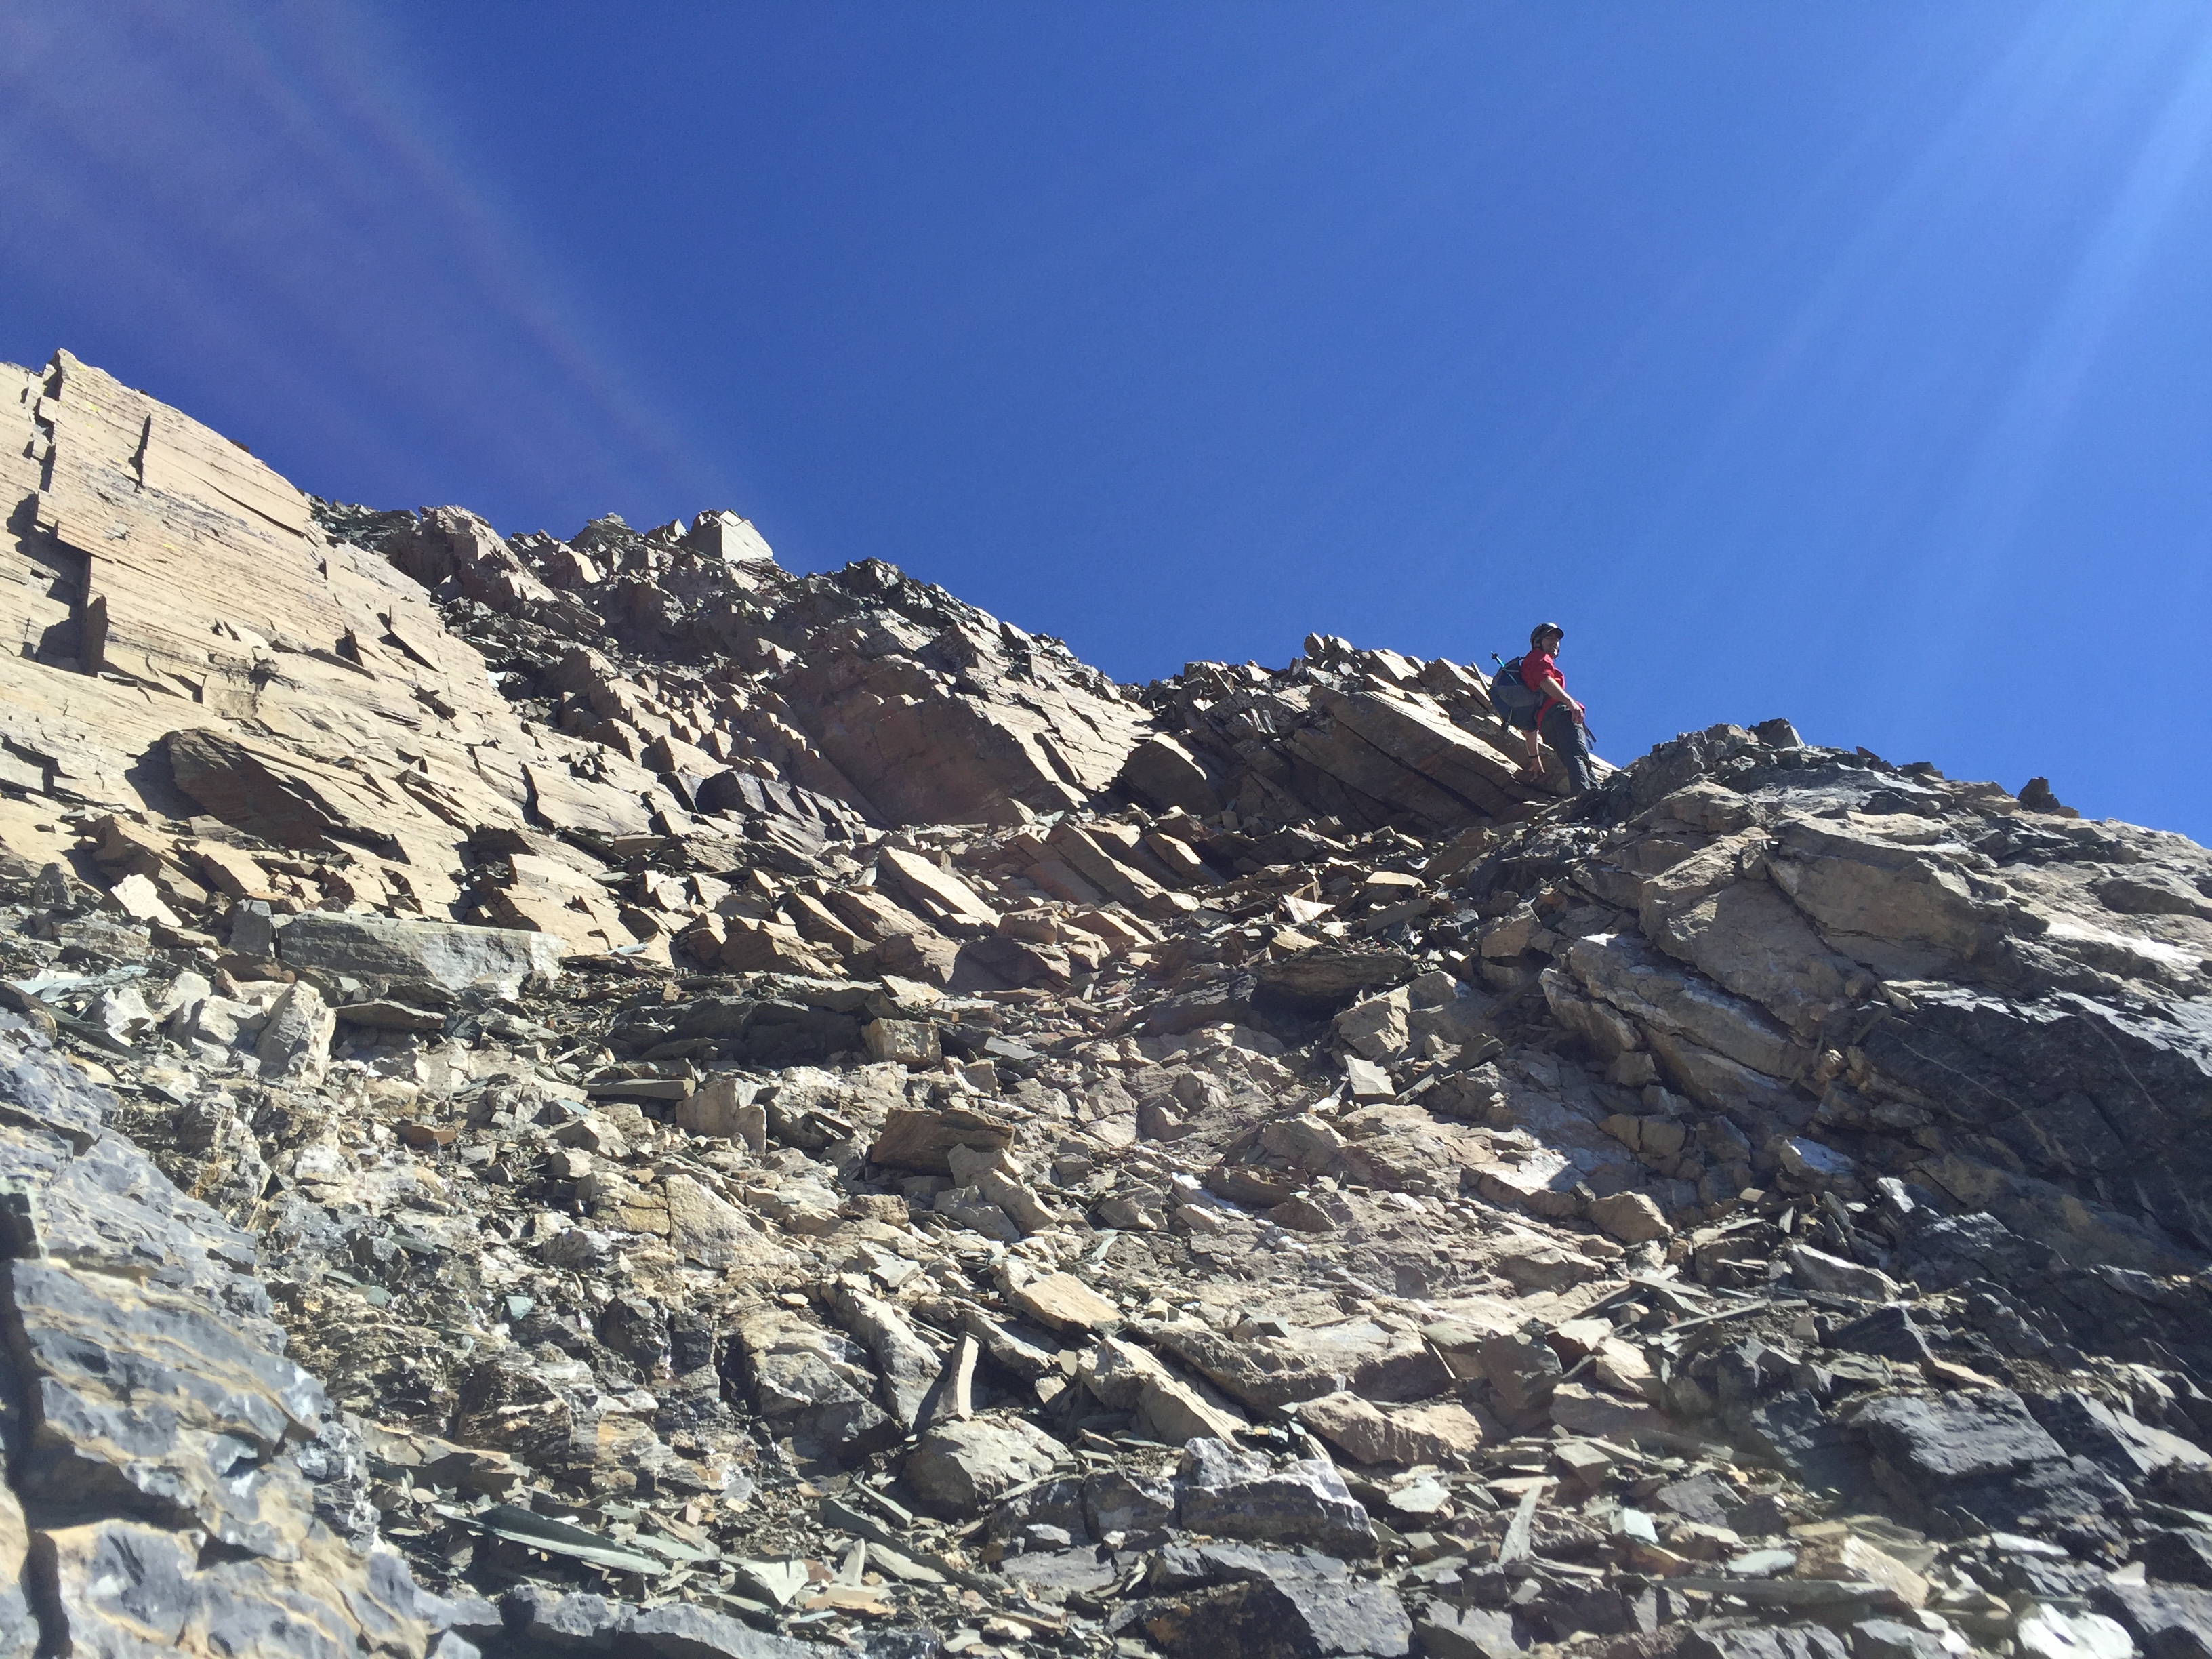
Above treeline is about when the route turns nasty. After hitting a brief plateau we veered to the climber’s left to take the next gully. This second gully is a true shooting gallery – we literally found ourselves dodging furniture sized boulders including one the size of a small sofa couch! Every rock moves, including the boulders and ledges along the route. In addition to the crumbly mess the ledges themselves are of a high moderate scrambling level and difficult in several spots.
Route finding skills are a necessity for this route. Due to the crumbly nature and steady rockfall there are VERY FEW cairns to follow by. This whole ascent required joint team work between Nick and I, as well as careful assessment of what was “stable” enough to scramble up.
As mentioned this is a difficult scramble. Exposure, rotten loose rock, relentless rock fall, and inconsistent holds are all hallmarks of the route up. The crux is in the form of a 15m wall. It isn’t too bad for difficult category in that there are several good holds to chose from (albeit small hand holds). The rock is surprisingly stable through here in comparison to the rest of the mountain. This section is comparable to the crux areas of Mount Stephen and of Mount Whyte in terms of exposure. Make no mistake – a fall from this section would be fatal.
Above the crux the holds increase and several steep ledges (Littered with shale, of course) cluster together under the summit block offering numerous options for holds. The down climb back through here requires much concentration so keep mental note of how you arrived.
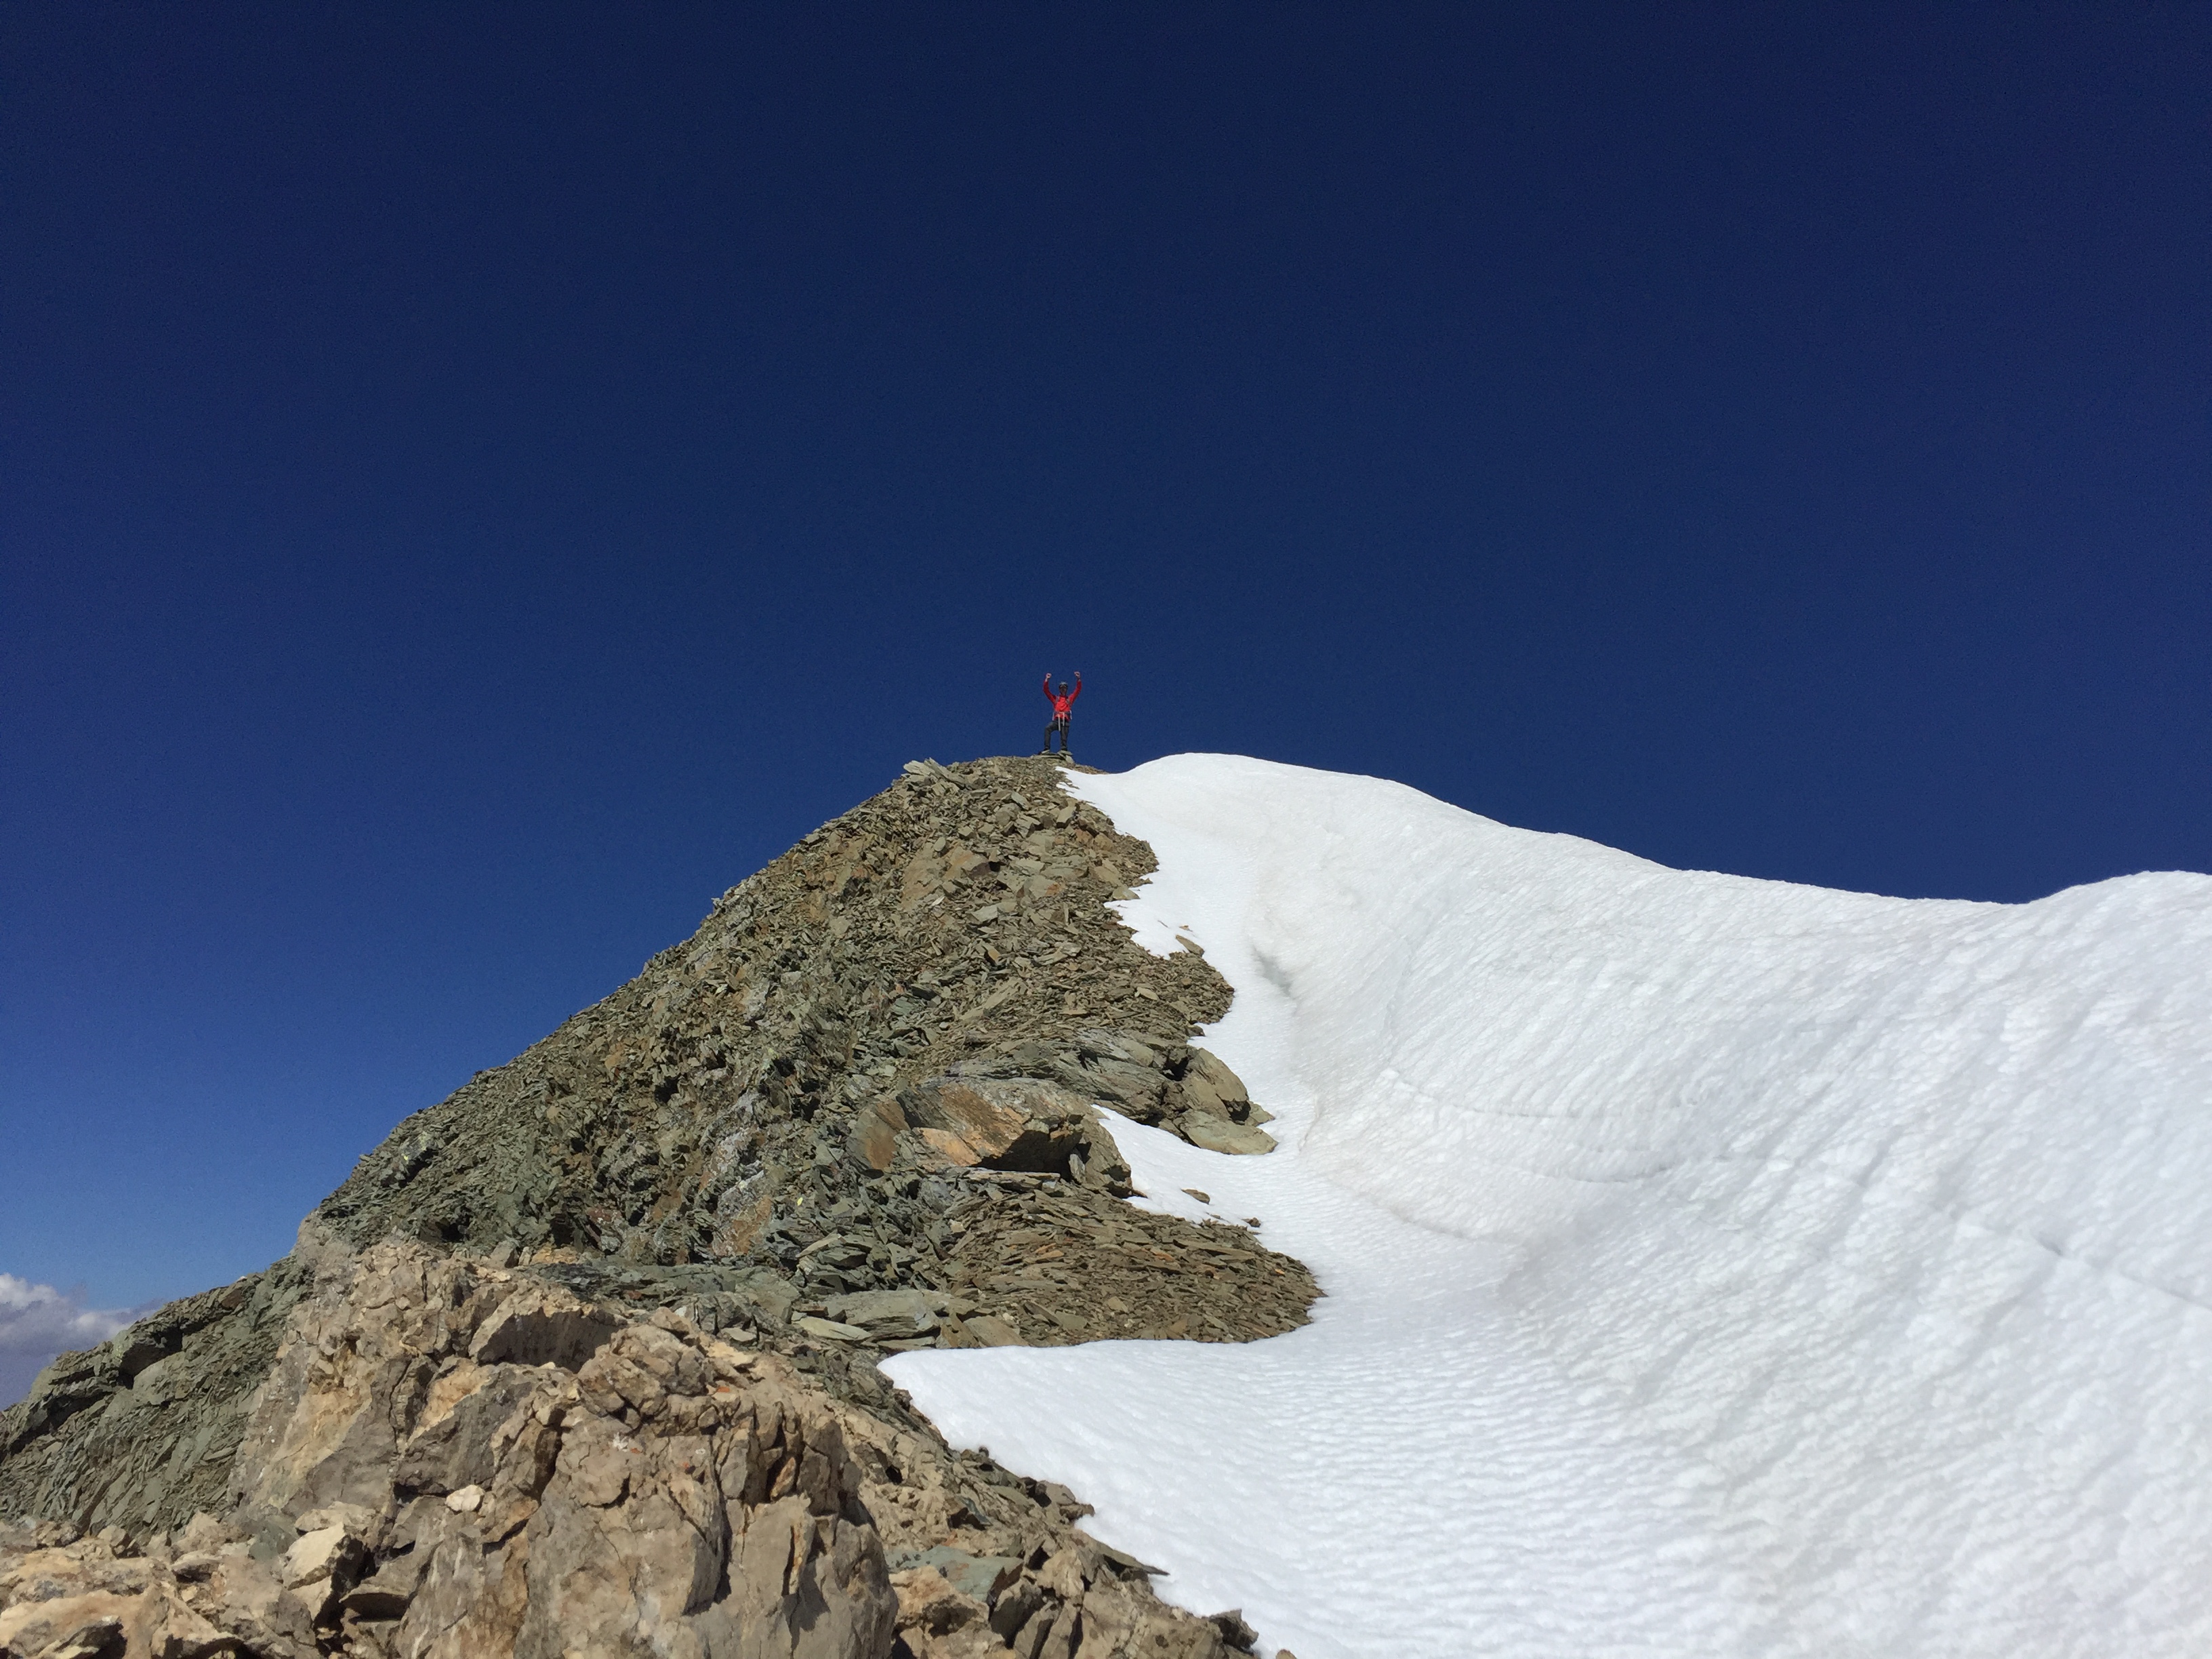
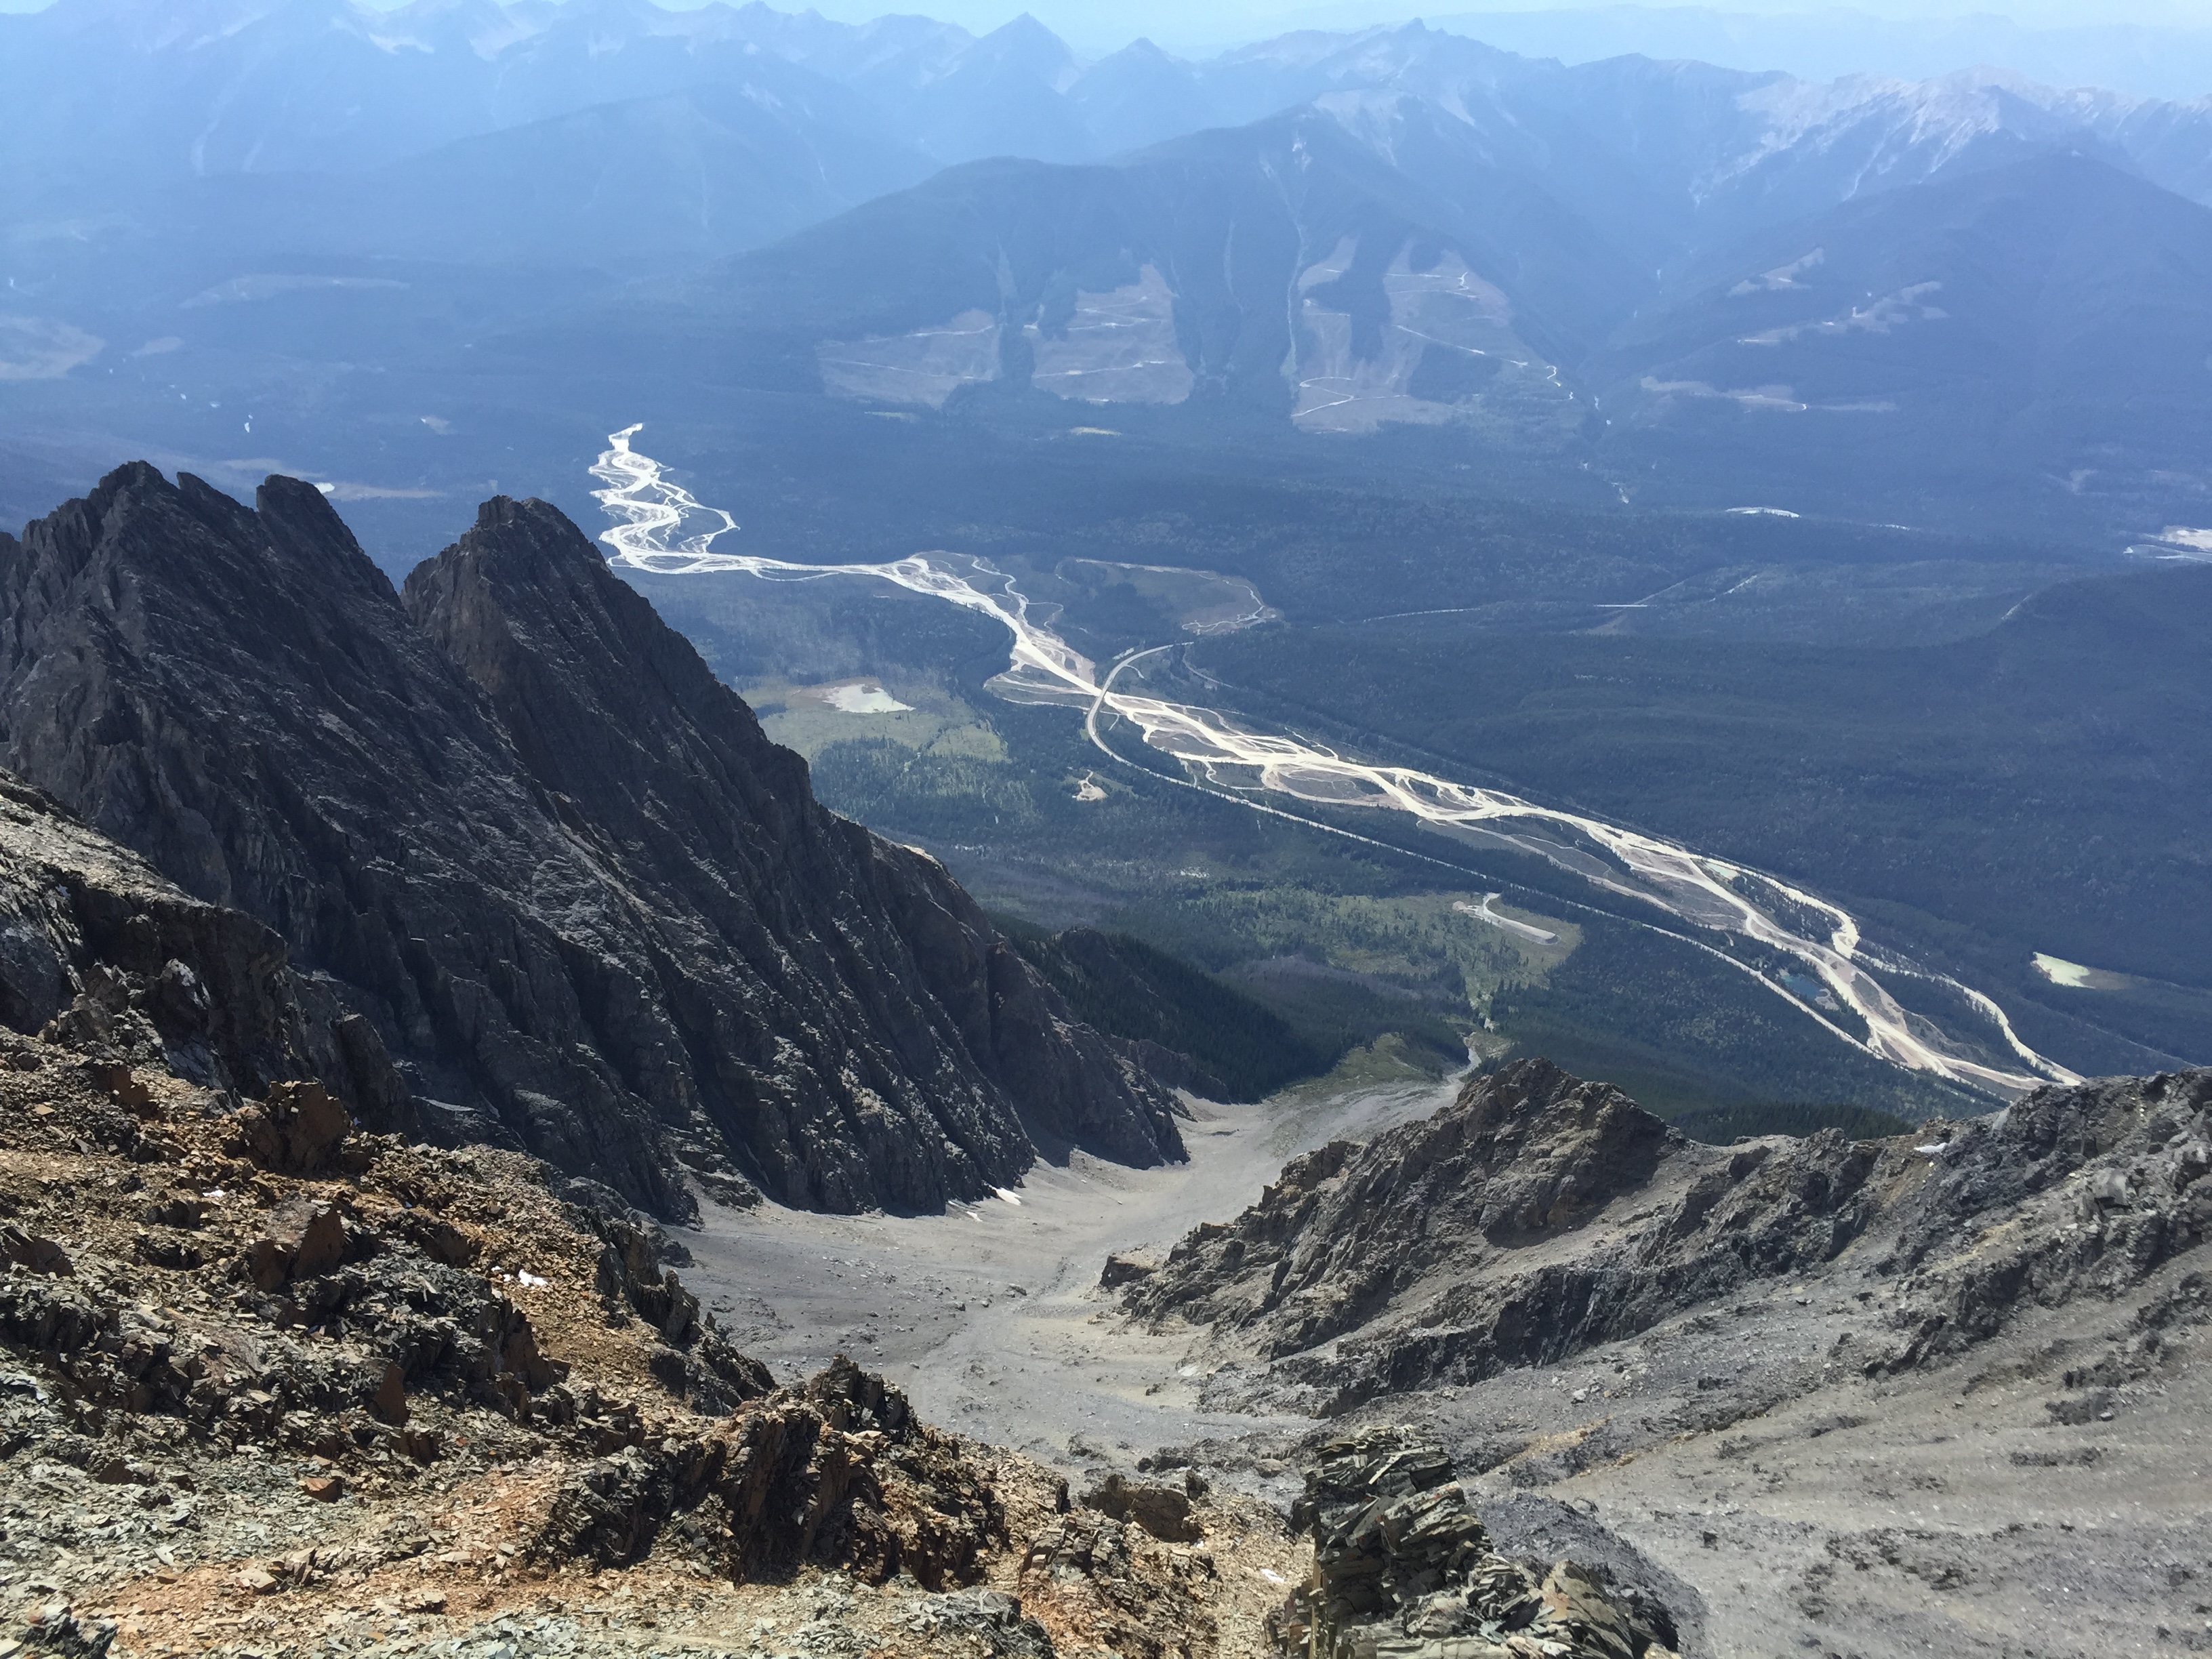
The last hundred vertical metres or so continue through these steep shale littered ledges. Towards the top the scrambling gradually eases and the exposure lessens to a moderate level once at the summit ridge. We made a dash for the summit – the final few metres are a stroll compared to everything else leading up that point. We checked the time at the top, it had taken us just over 7 hours from car to summit.
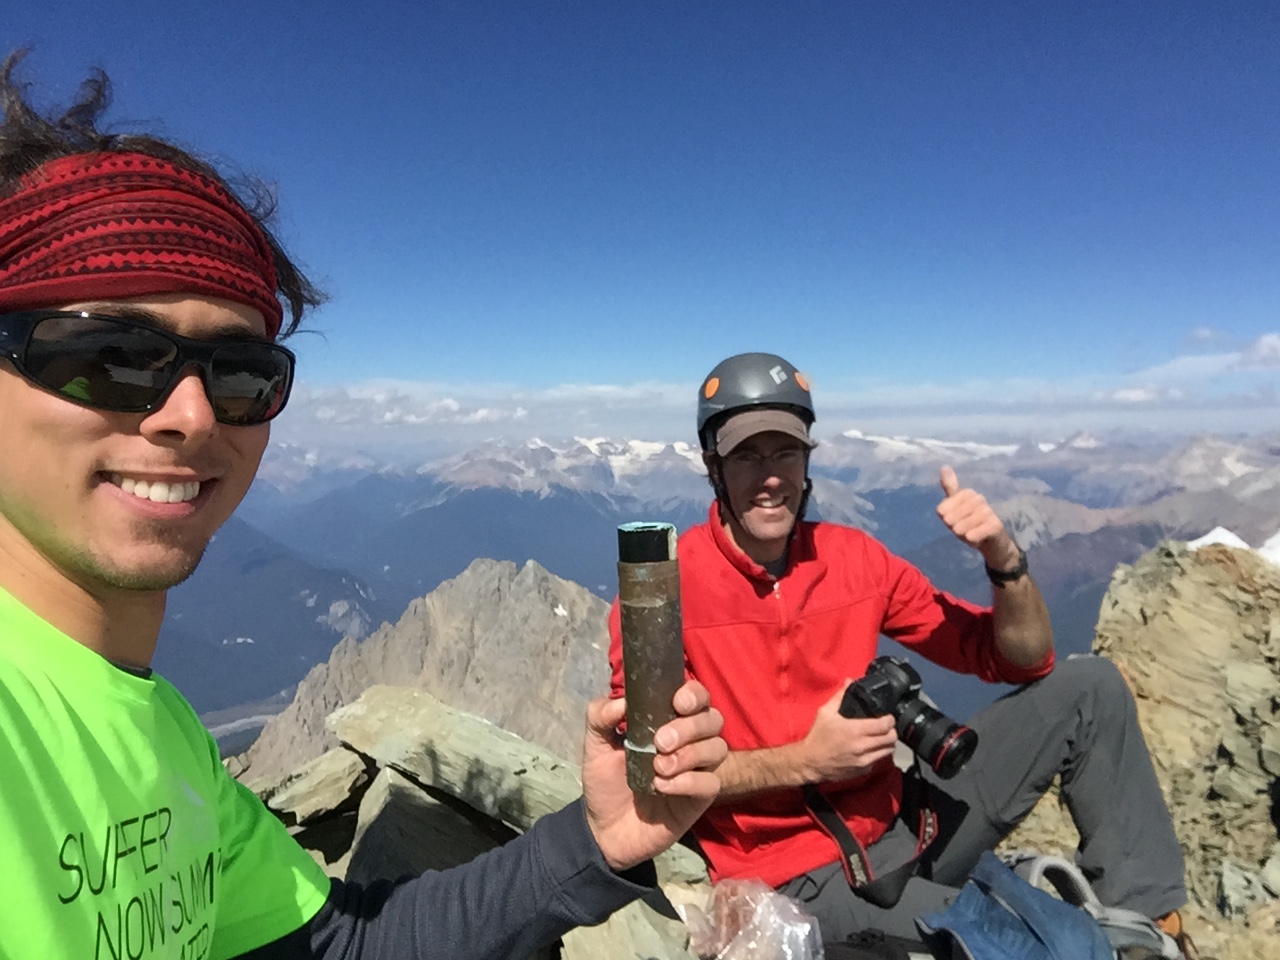
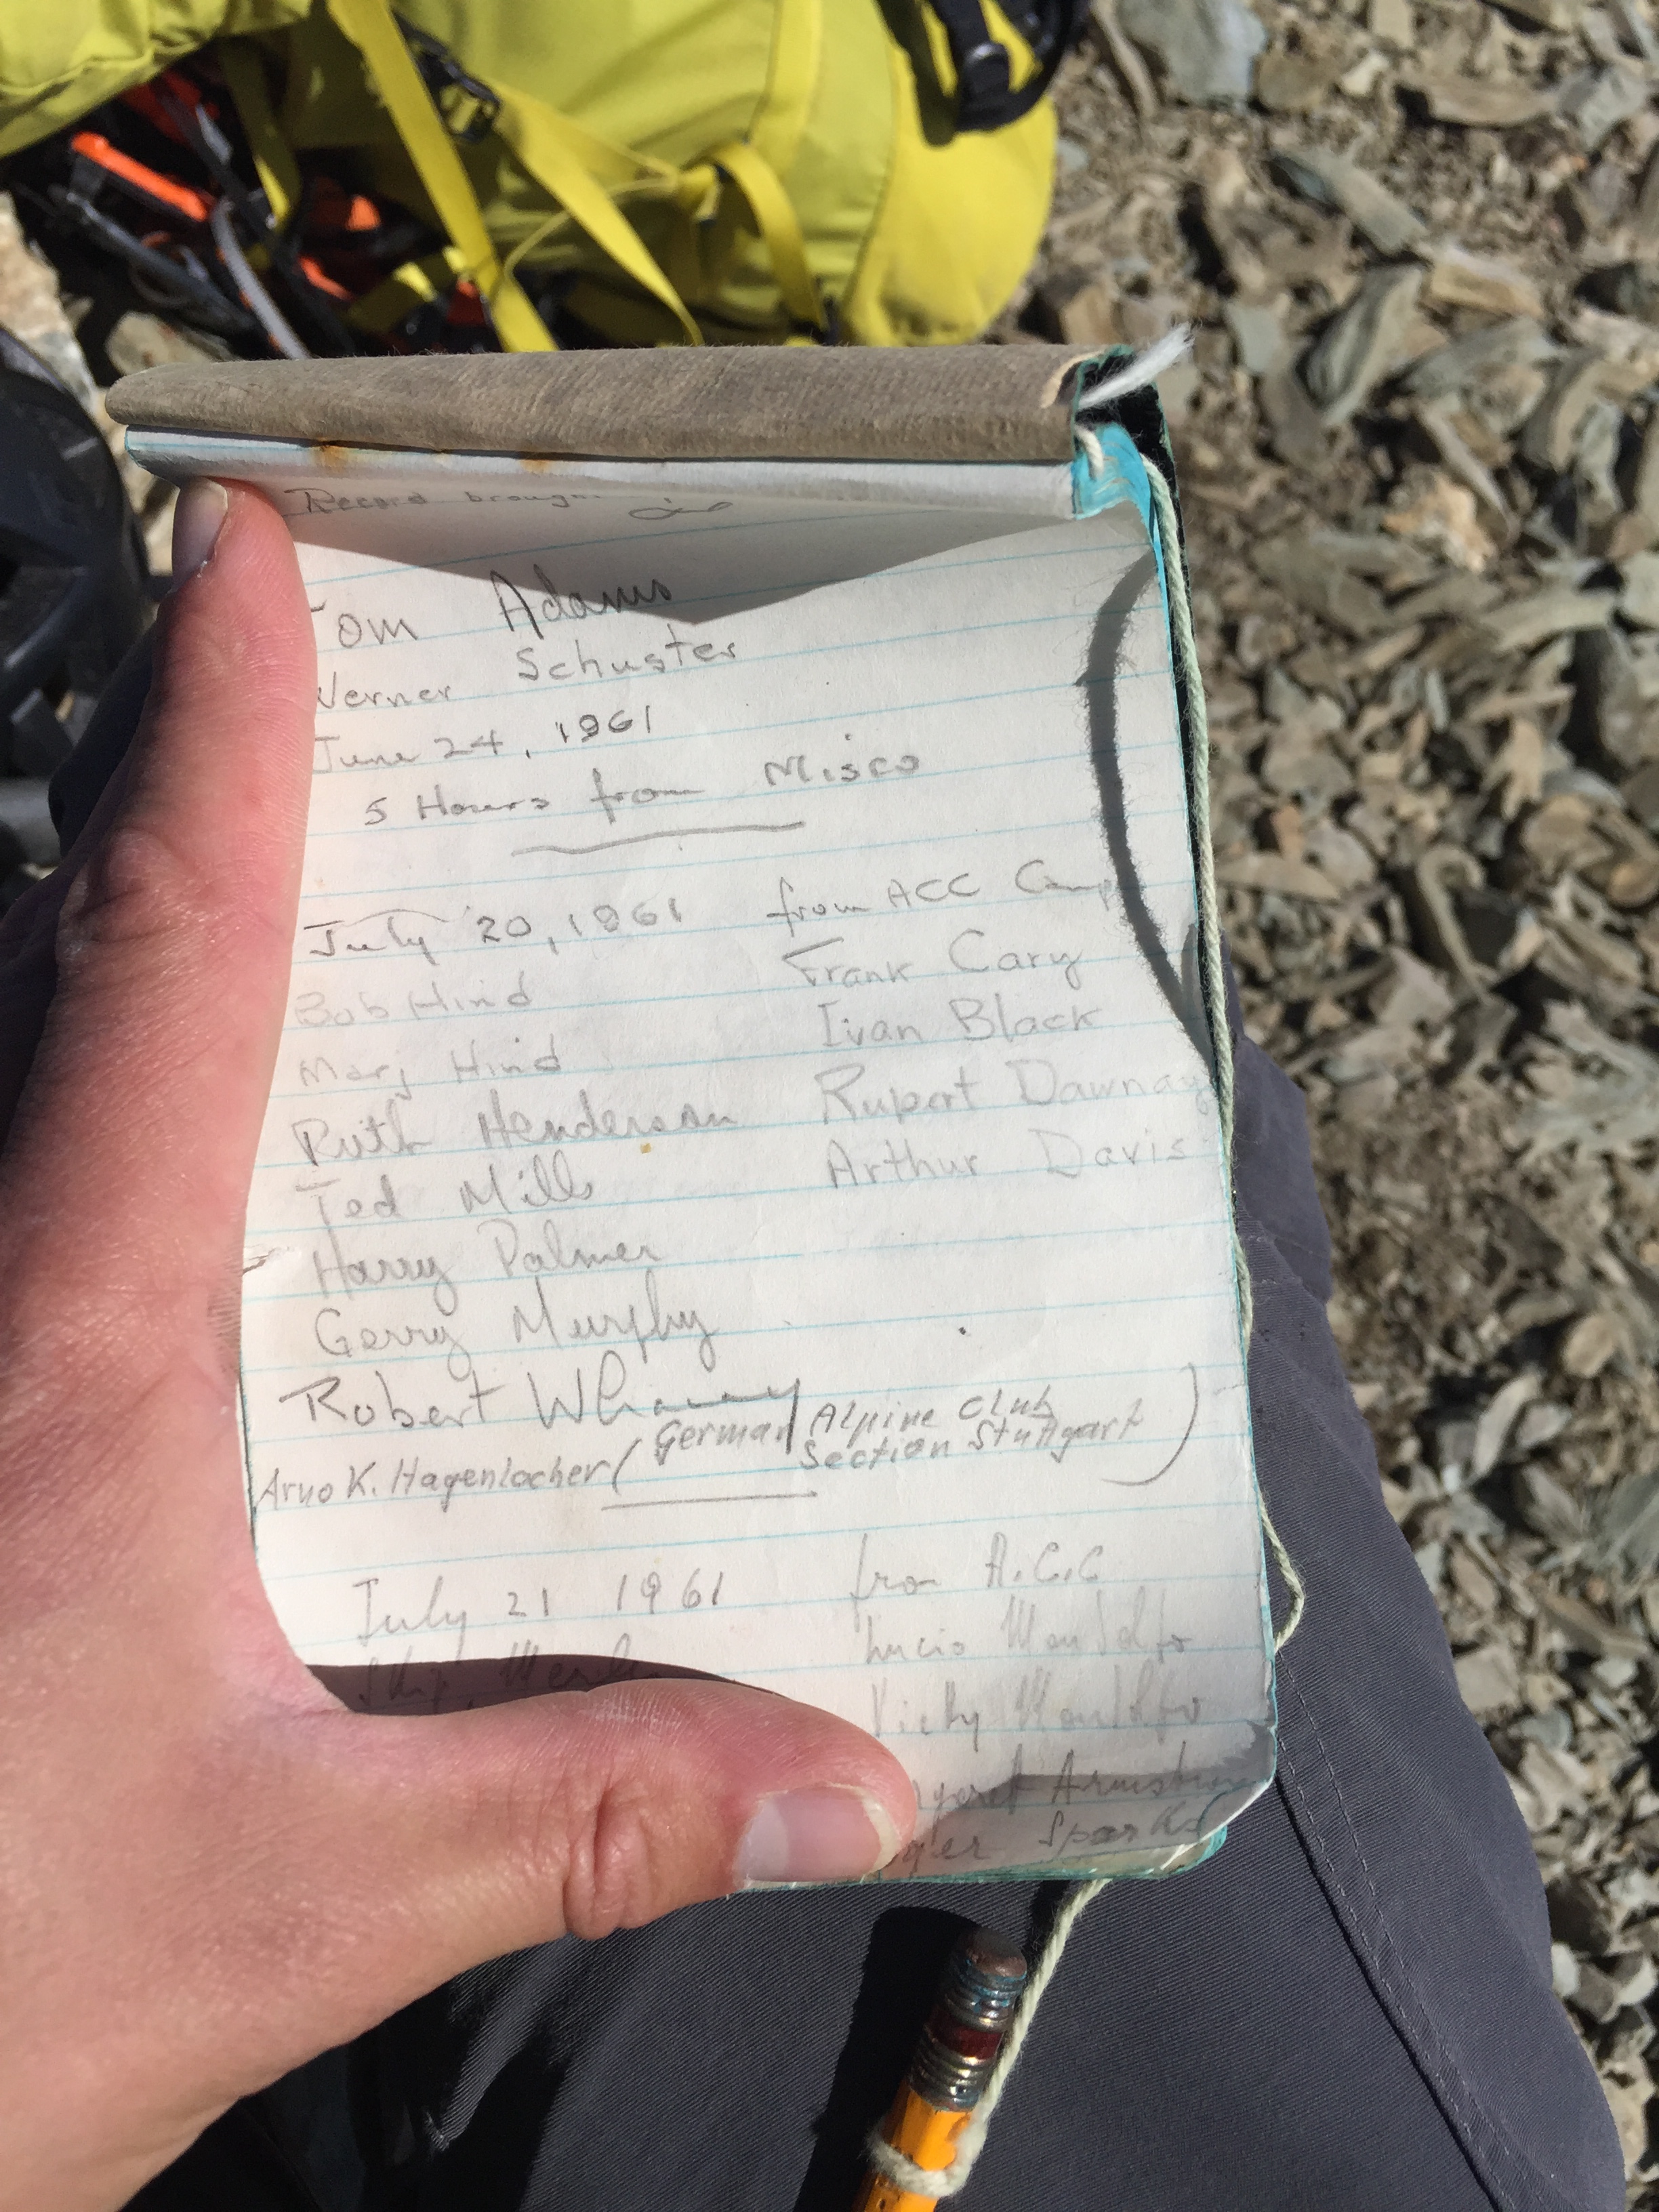
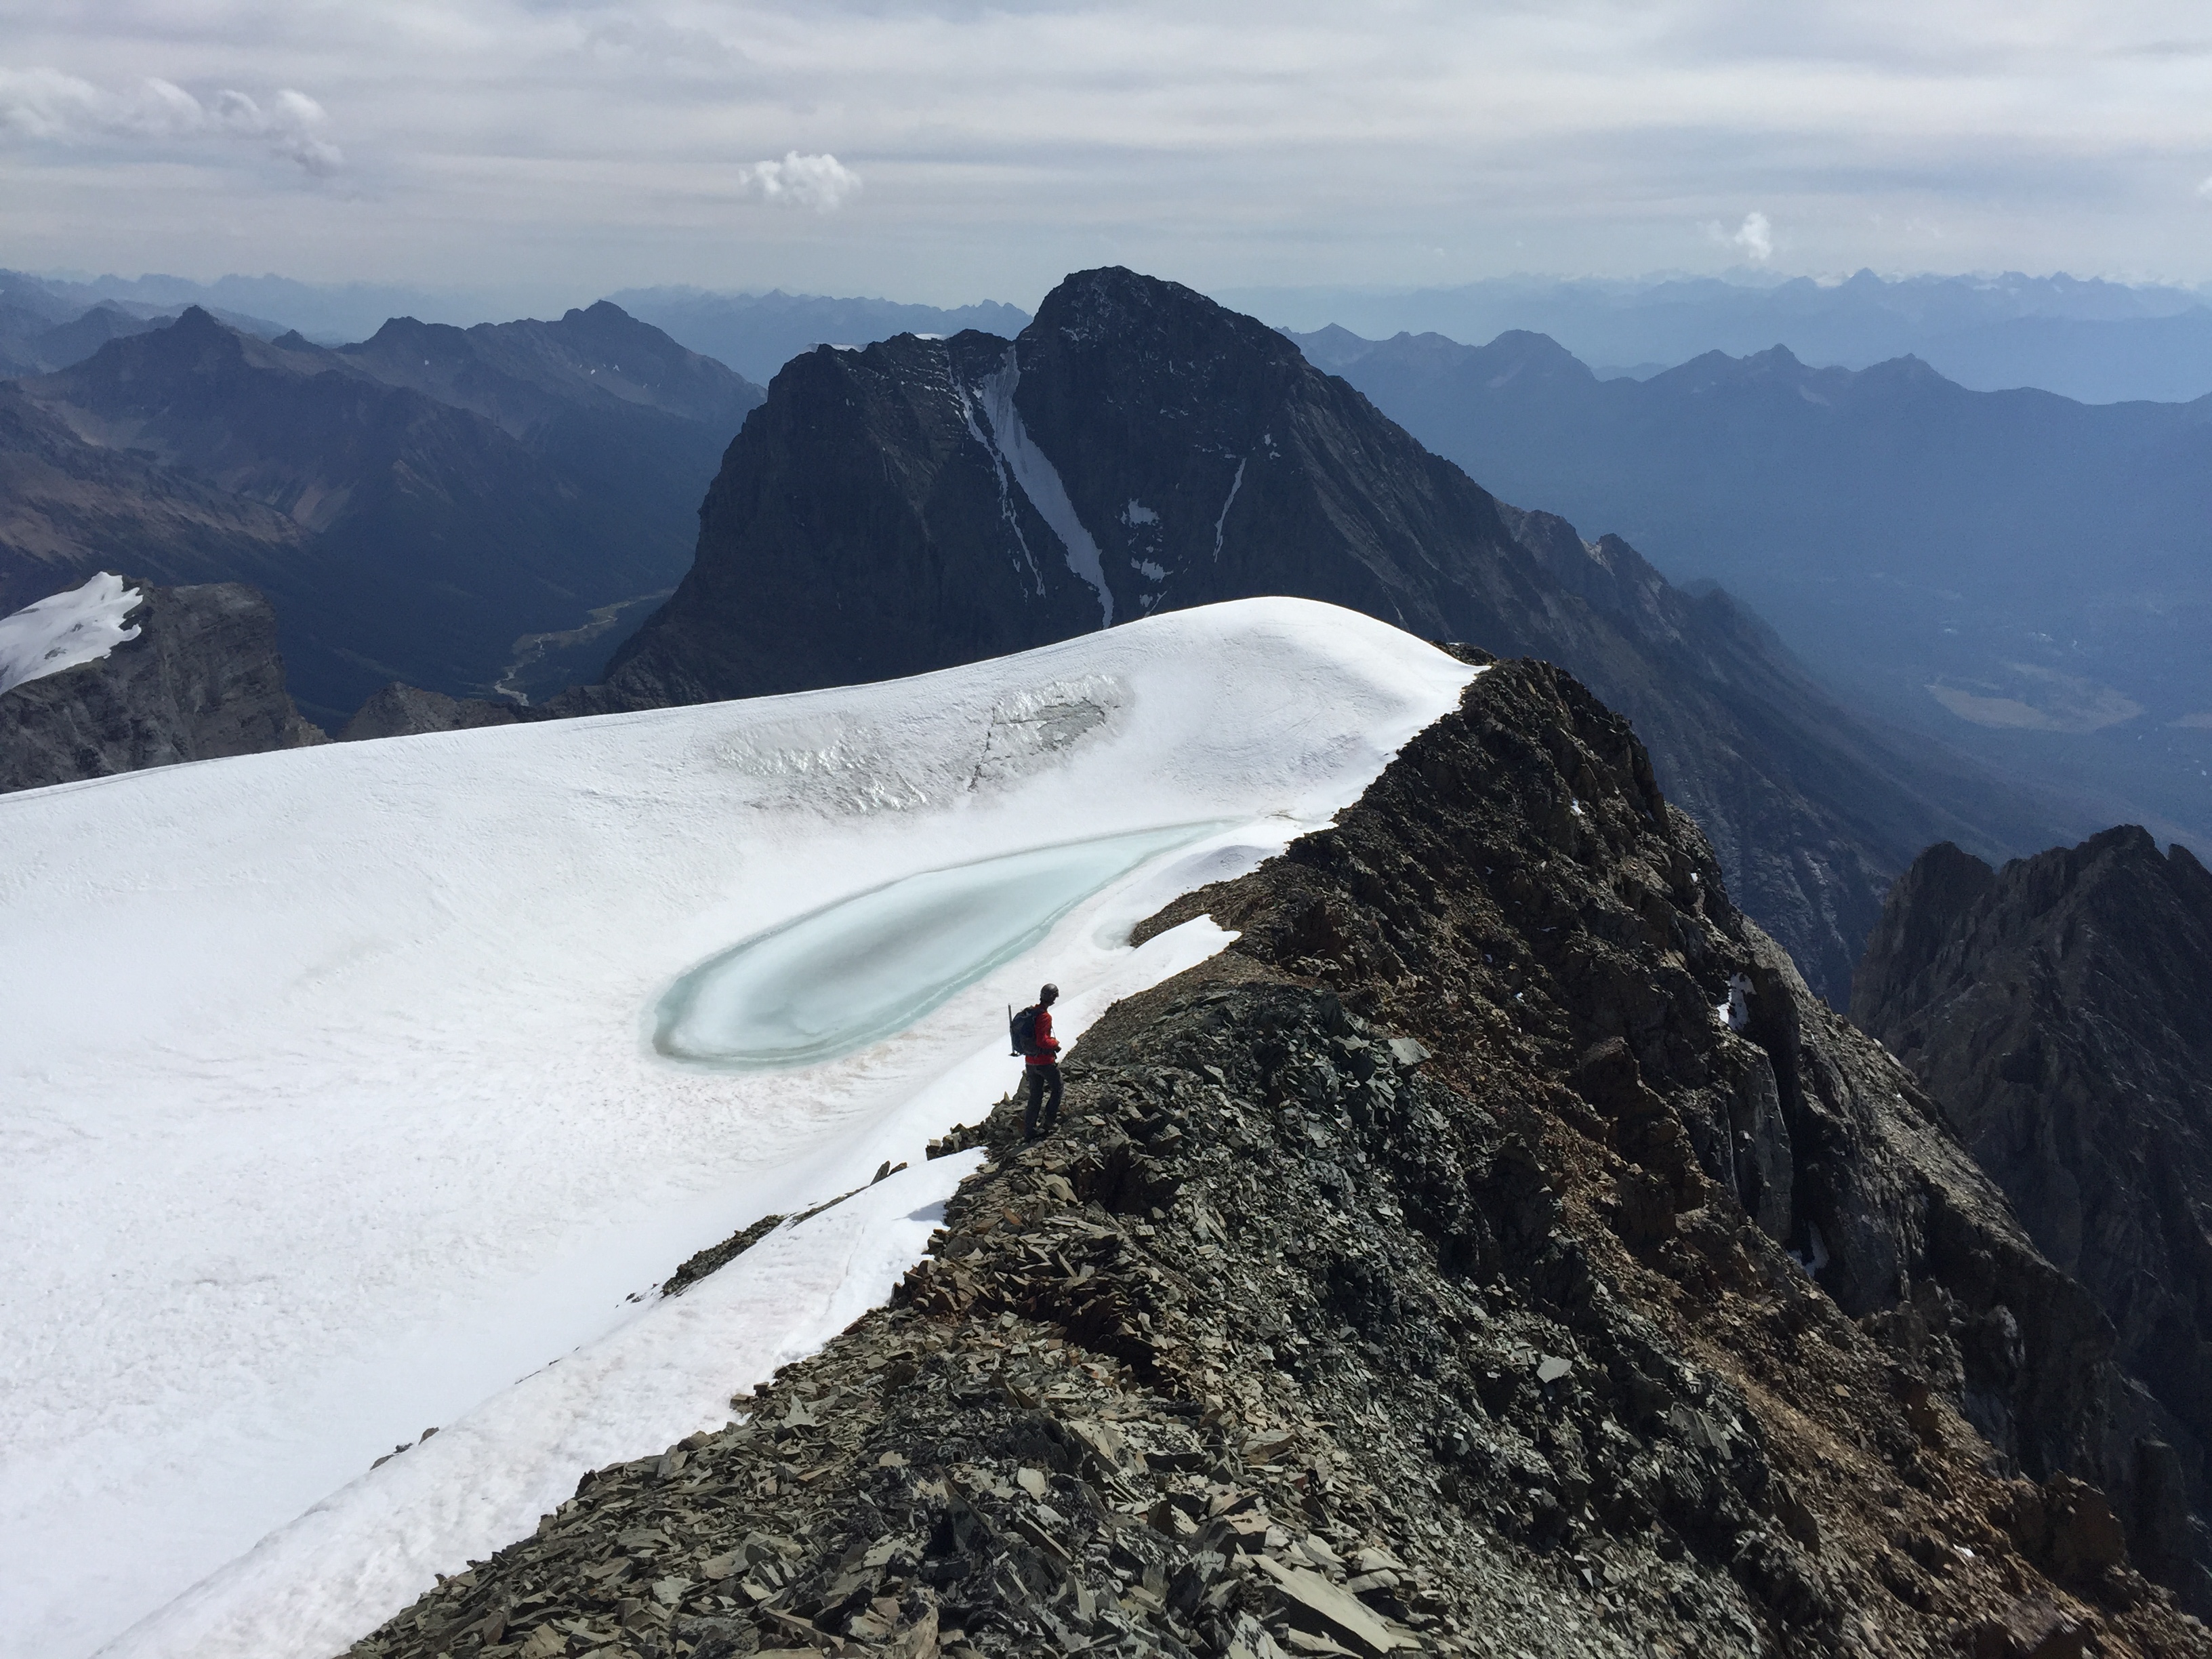
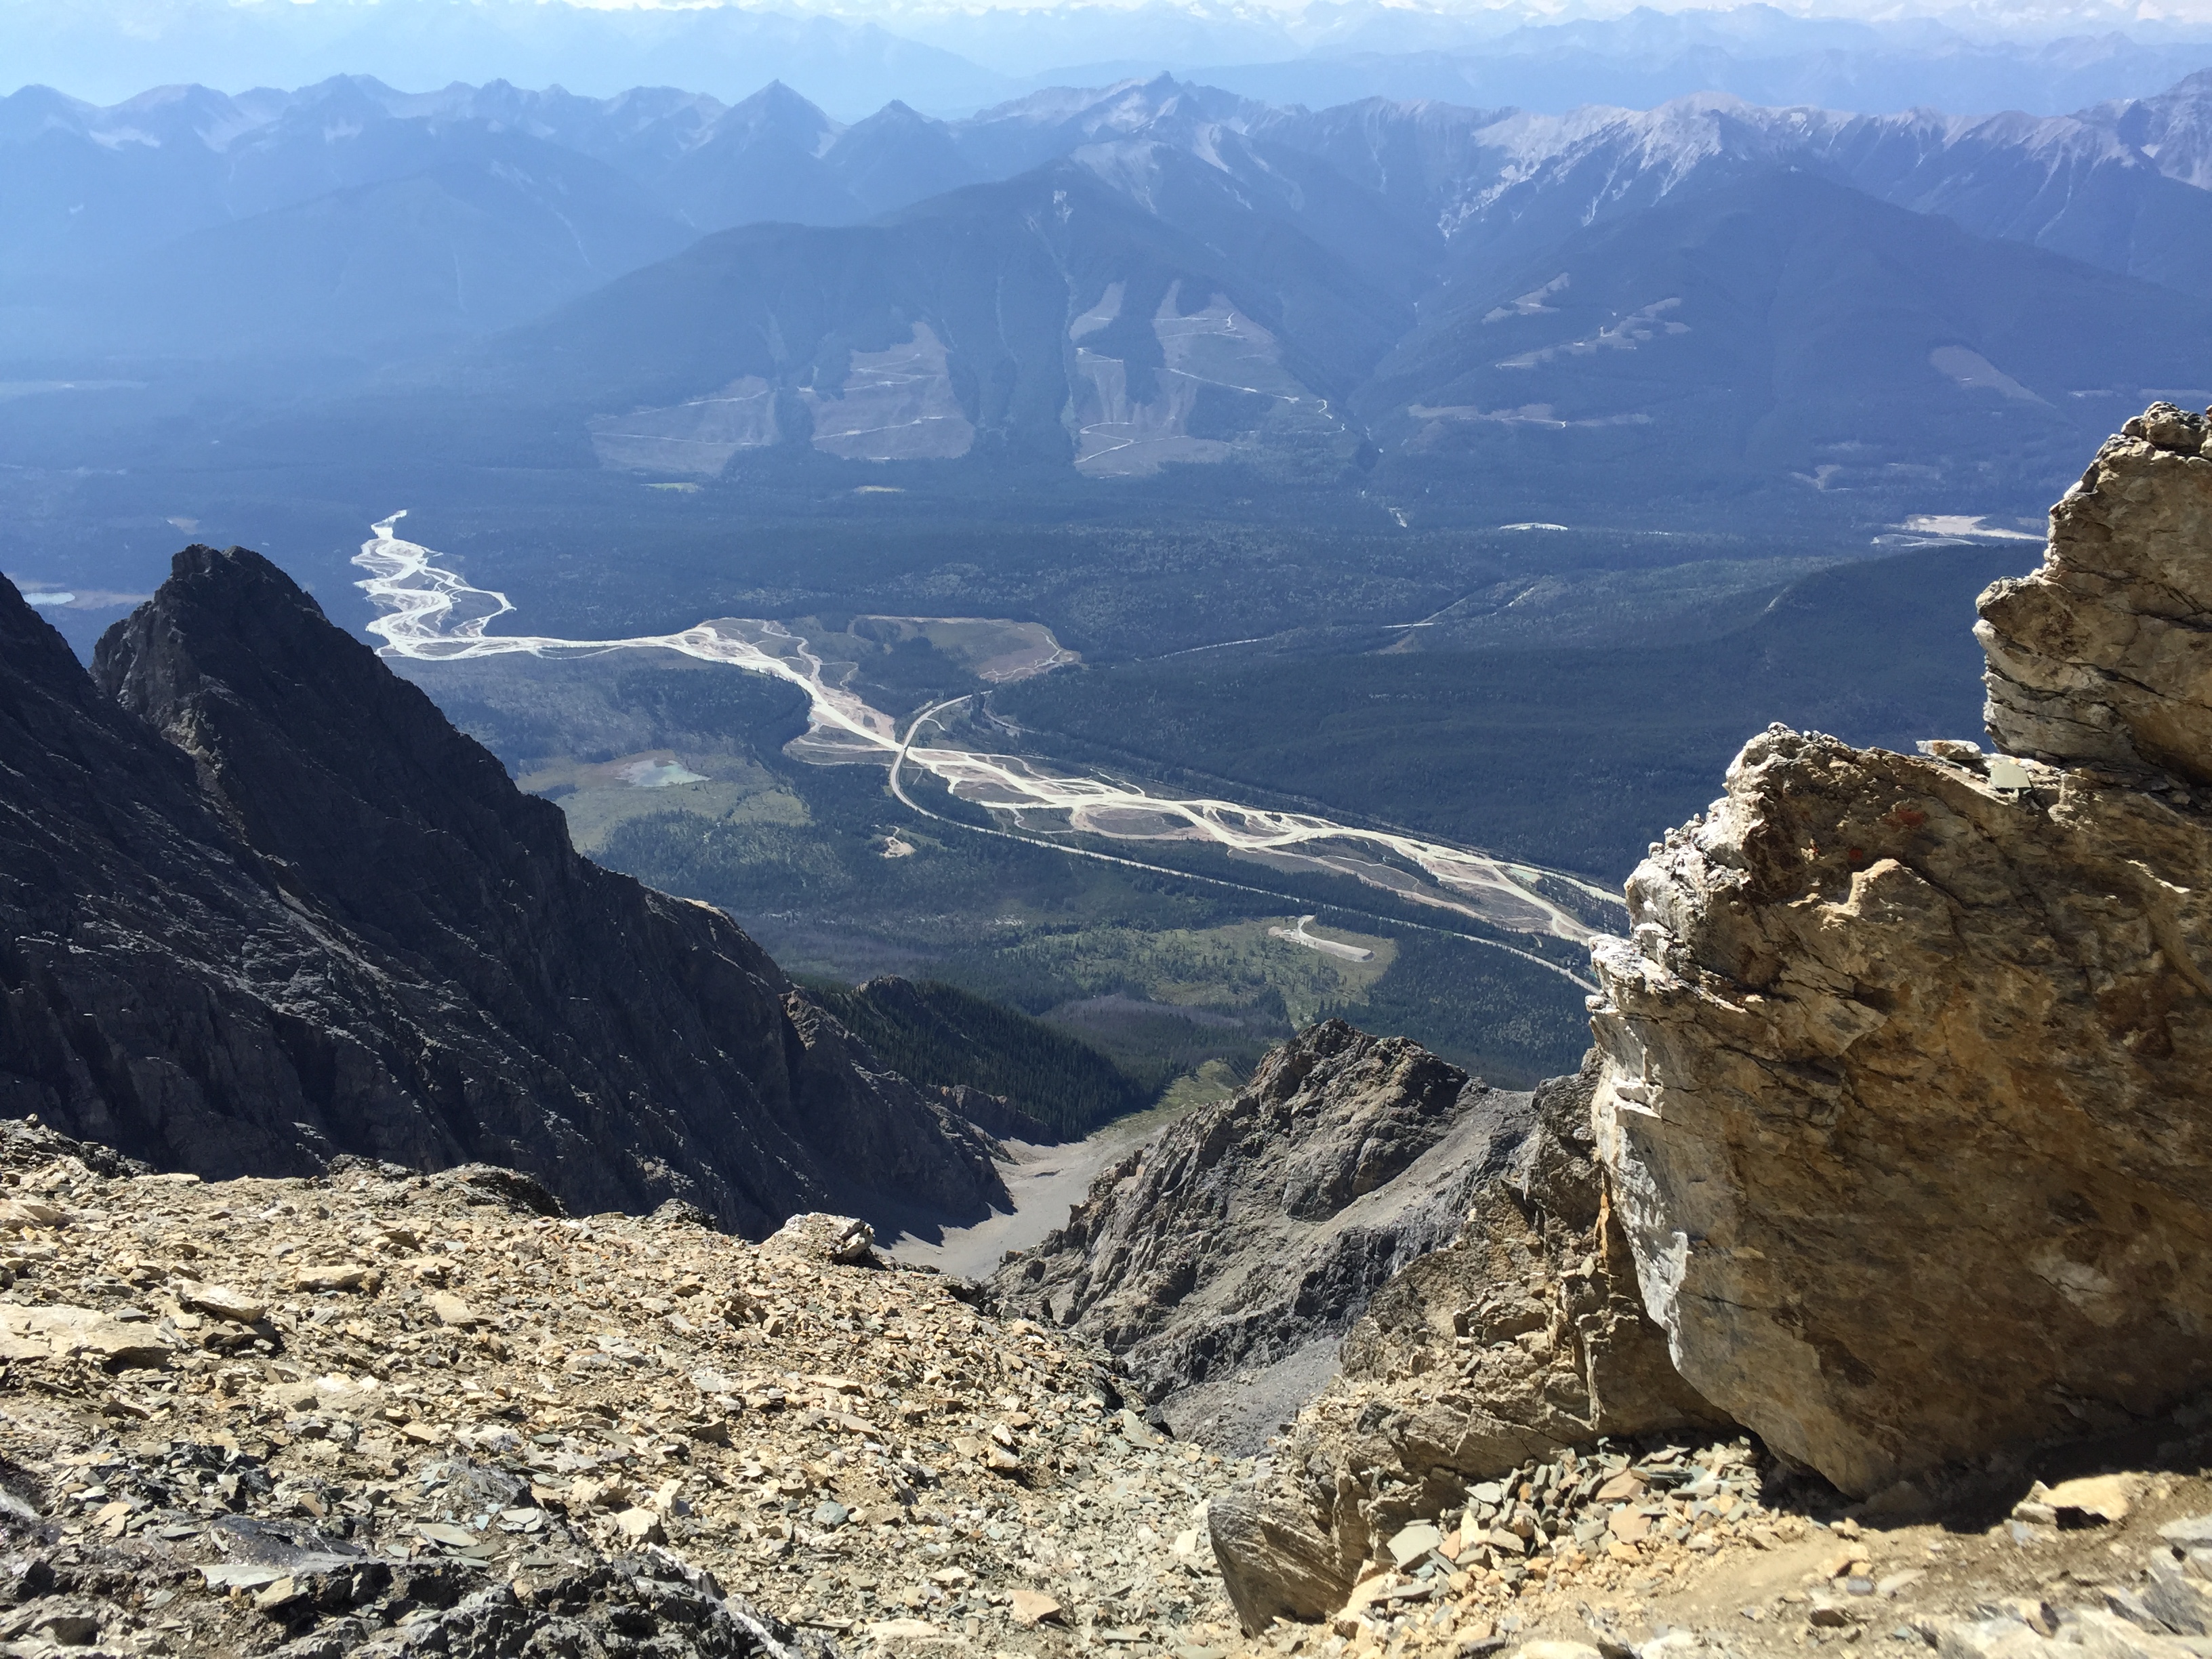
I forget our entry number into the summit log but a major reward for Nick and I was that we entered our names on [I believe it was] the 8th page of the original register. That was pretty damn cool. Shockingly, one of the first ascents back in 1961 was a team of 12! How the hell did they make it up without killing anyone from rock fall is a mystery beyond me. Registered signed we spent a good half hour or so photographing the Hanbury Glacier before making the 5 hour descent back down. The crux definitely got the palms sweating with the down climb, a little bit of coaching from Nick went a long way for me.
Final note – given the proximity of the Hanbury Glacier to the summit, bring an ice axe and crampons. It’d be a major pain in the ass to have slogged up 2180m and be turned away from the peak from showing up unprepared. Luckily just enough of the summit ridge was snow free to allow us access without the additional gear. We had it with us anyway.