
January 14th, 2016. Canmore, Alberta.
Round Trip 12-13 hours, Elevation Gain 1485m.
Easy-Moderate Scramble w/ Winter Conditions.
This was one of the first times I ventured out with my friend JJ who had joined me for a few wintery scrambles while living in Canmore 2015-16. In dry conditions this ascent would be little more than a massive scree bash with nearly 1500m of height gained. We encountered inconsistent levels of snow below the slopes – not enough for snow shoes and not quite enough for crampons but the ice axes were certainly useful. A fair bit of online research was done at the time, as well as investing into several different maps of the Fairholme Range.
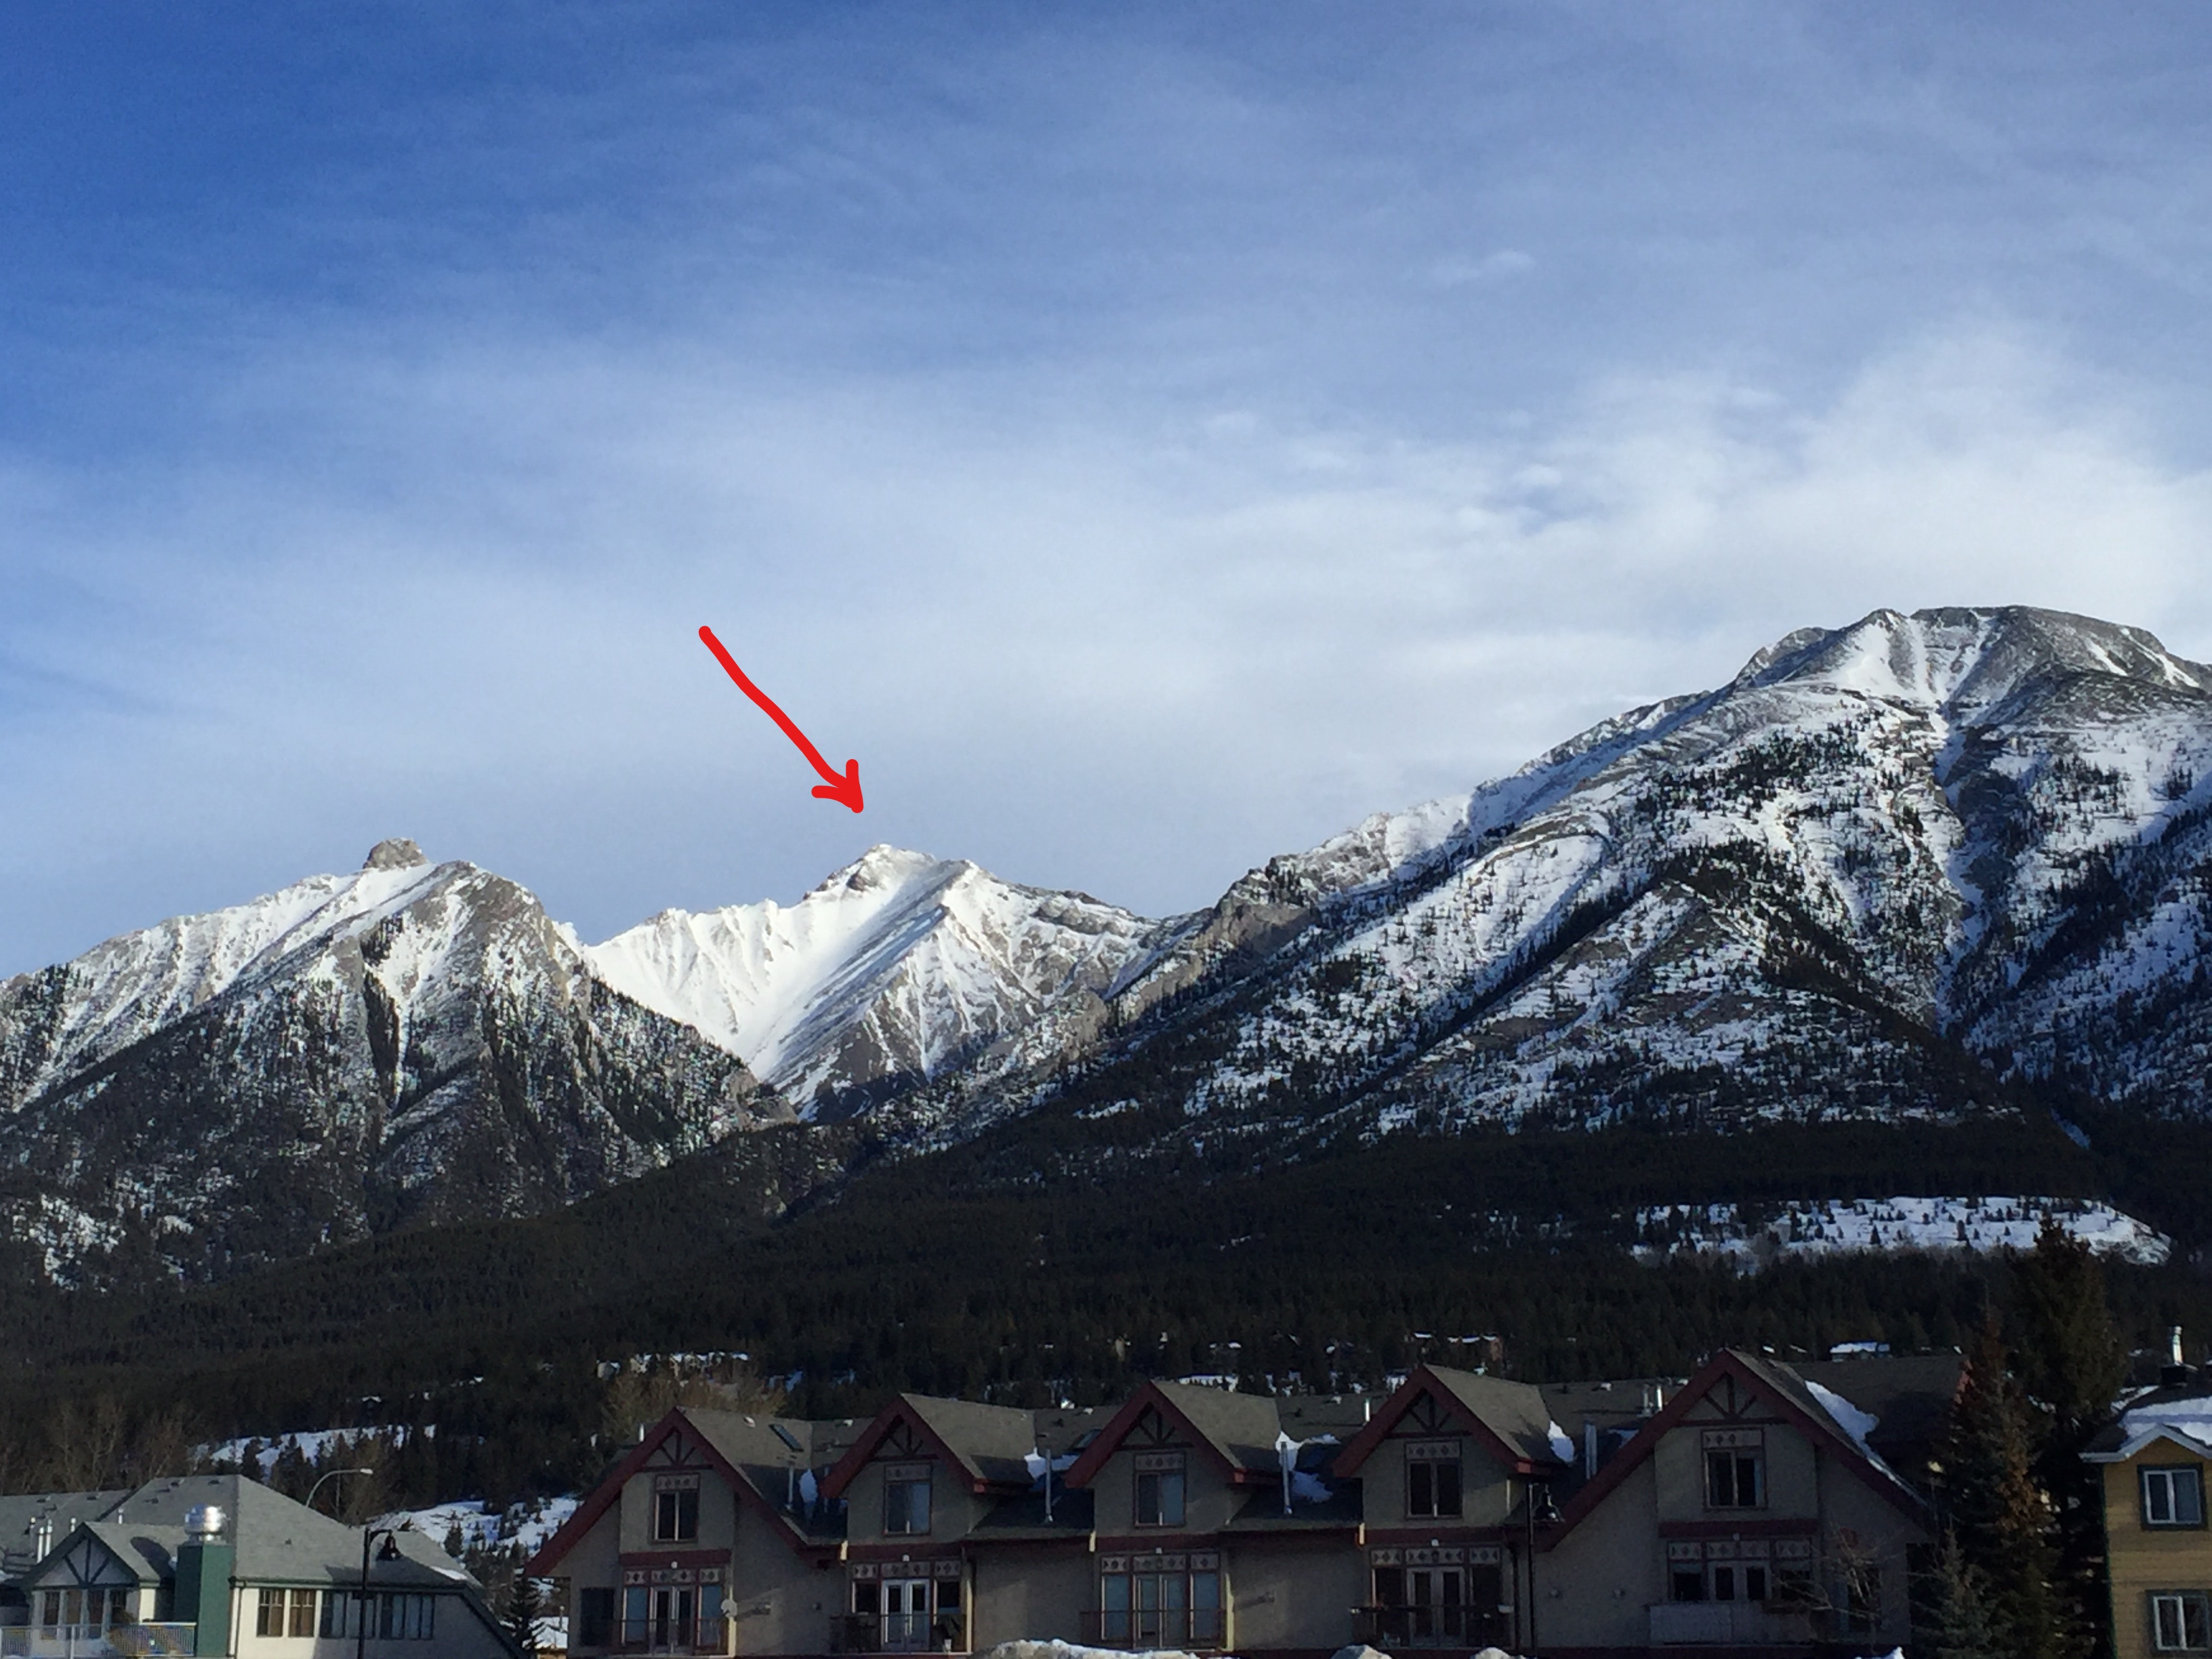
The route follows from the back end of the Stone Works Caynon Trail. From there you continue through and up the canyon. Essentially the ascent is a good ‘ol scree bash from the canyon to Mt Charles Stewart’s South Summit at 2758m. I’ve been told by a couple of my long-time resident friends in Canmore that this sub-peak is also unofficially called Buffalo Point.

Neither JJ or I owned a vehicle at this point in time so we had to walk nearly an hour from my apartment in town to gain the trail system at Silvertip Golf Course. We were limited on options so we had to access our route via the Montane Trail, then Johnny’s Trail, and then link into Stone Work’s.
Alternatively with a vehicle one could have skipped the first section by accessing the route via Johnny’s Trail.
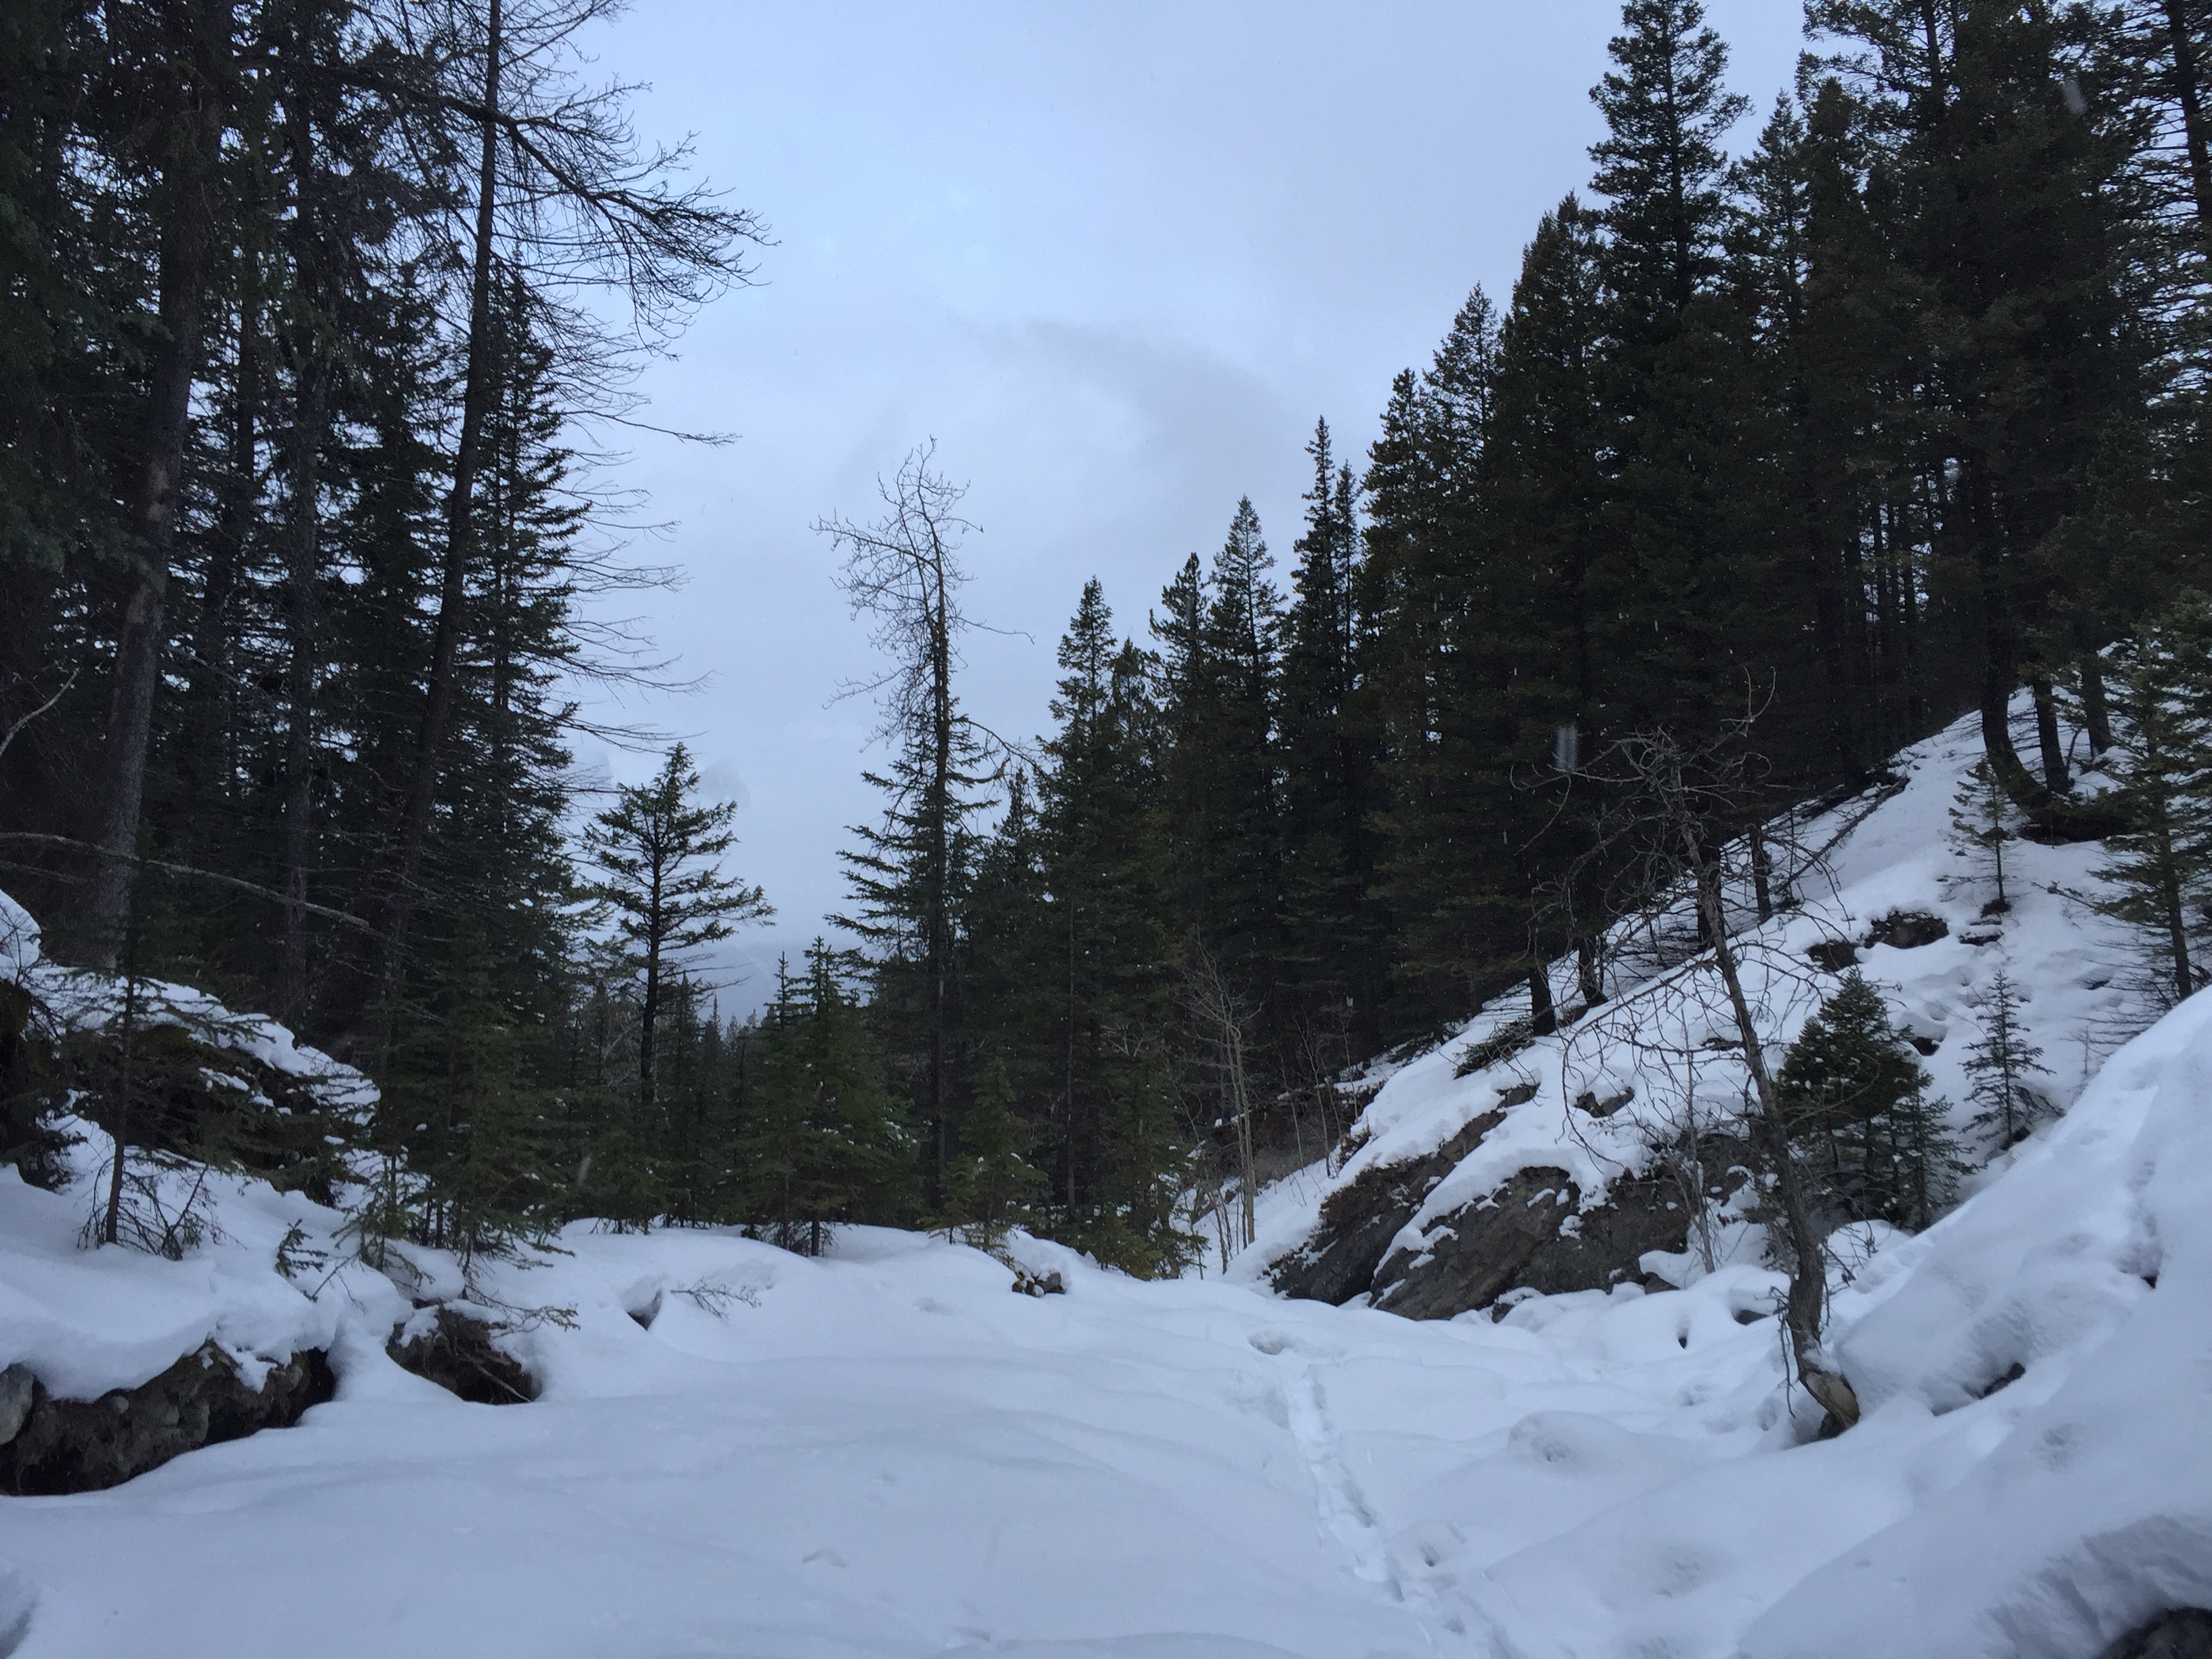
Adding to our long round trip time was the rookie mistake we made when approaching the Stone Works trail. The creek bed while appearing relatively flat was blanketed in almost a metre of snow in some spots. Post-holing was nasty. So JJ suggested we gain the ridge on our left (west) as to avoid the post-holing and start working away at the 1500m elevation gain awaiting us. Plus we could see another hiker’s tracks leading this way.
Turns out that was a mistake. We went too far left and ended up wasting half an hour ascending a rib belonging to that peak in desperate need of a modern politically correct name. JJ was convinced that this was still the correct way but peering down back to our right we could plainly see the valley narrowing into a canyon. So, a brief but hasty descent through the trees and back into the snow covered boulders. It took us nearly an hour to then plod our way into the canyon.
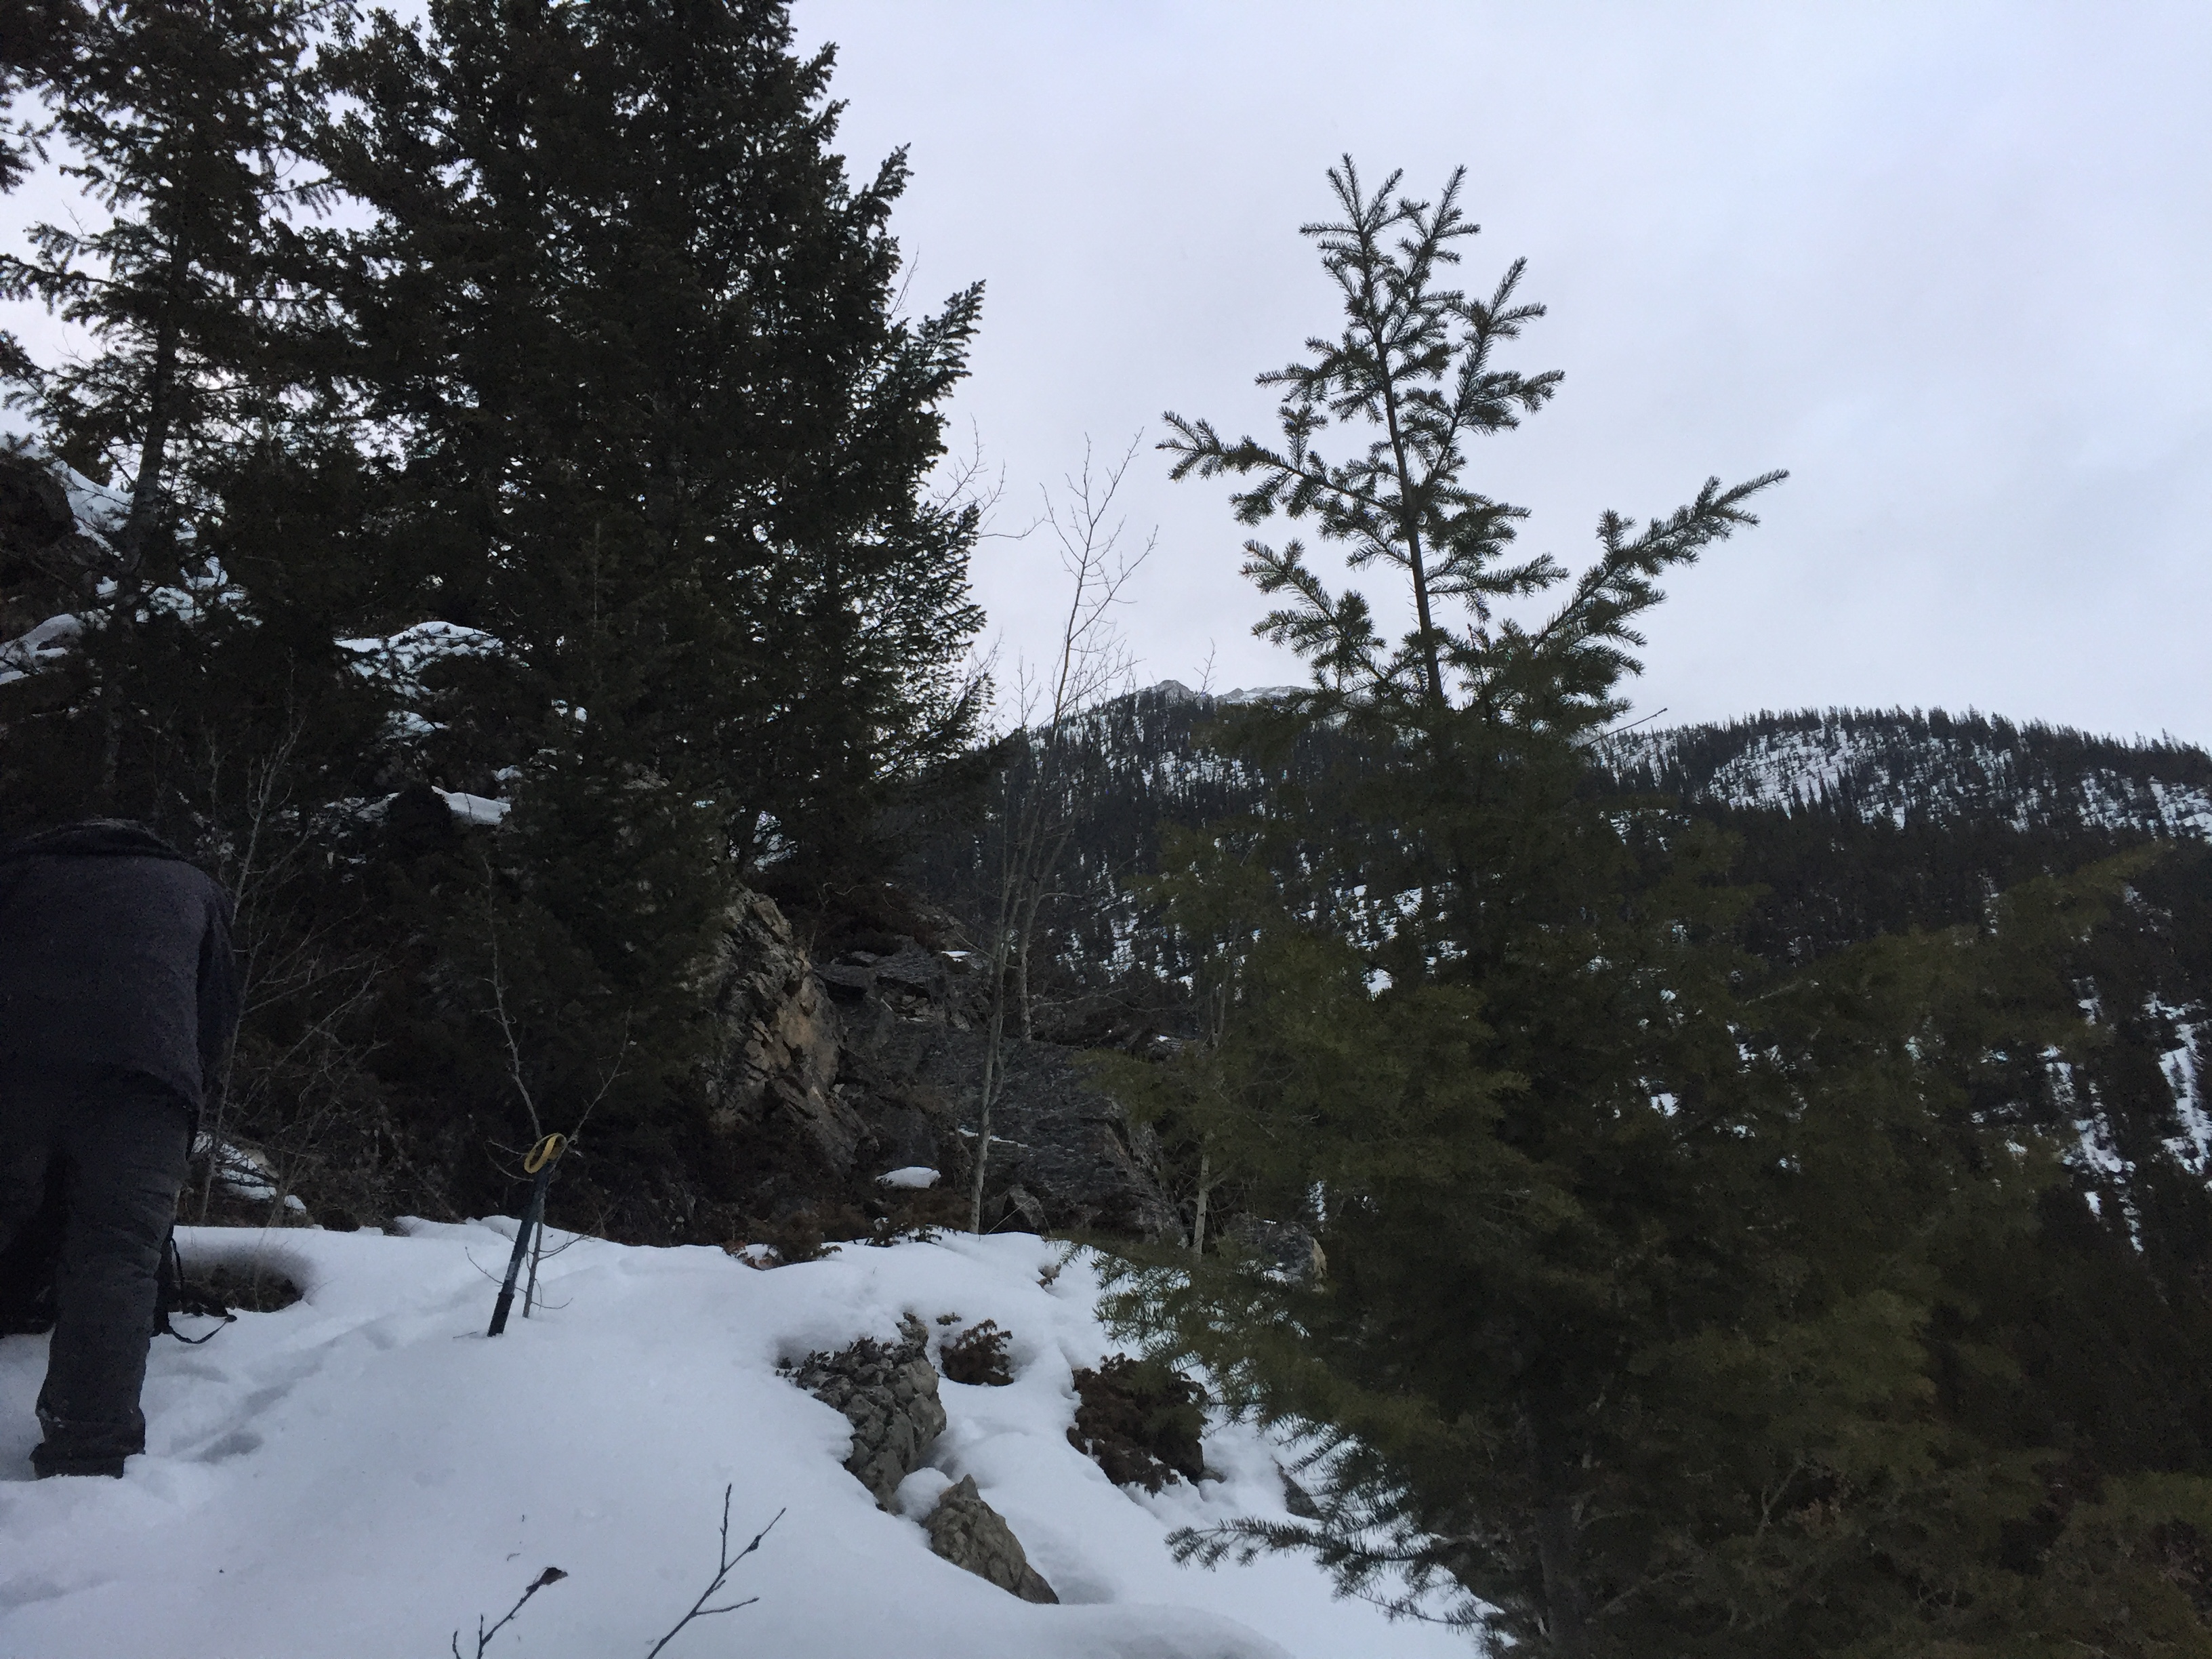
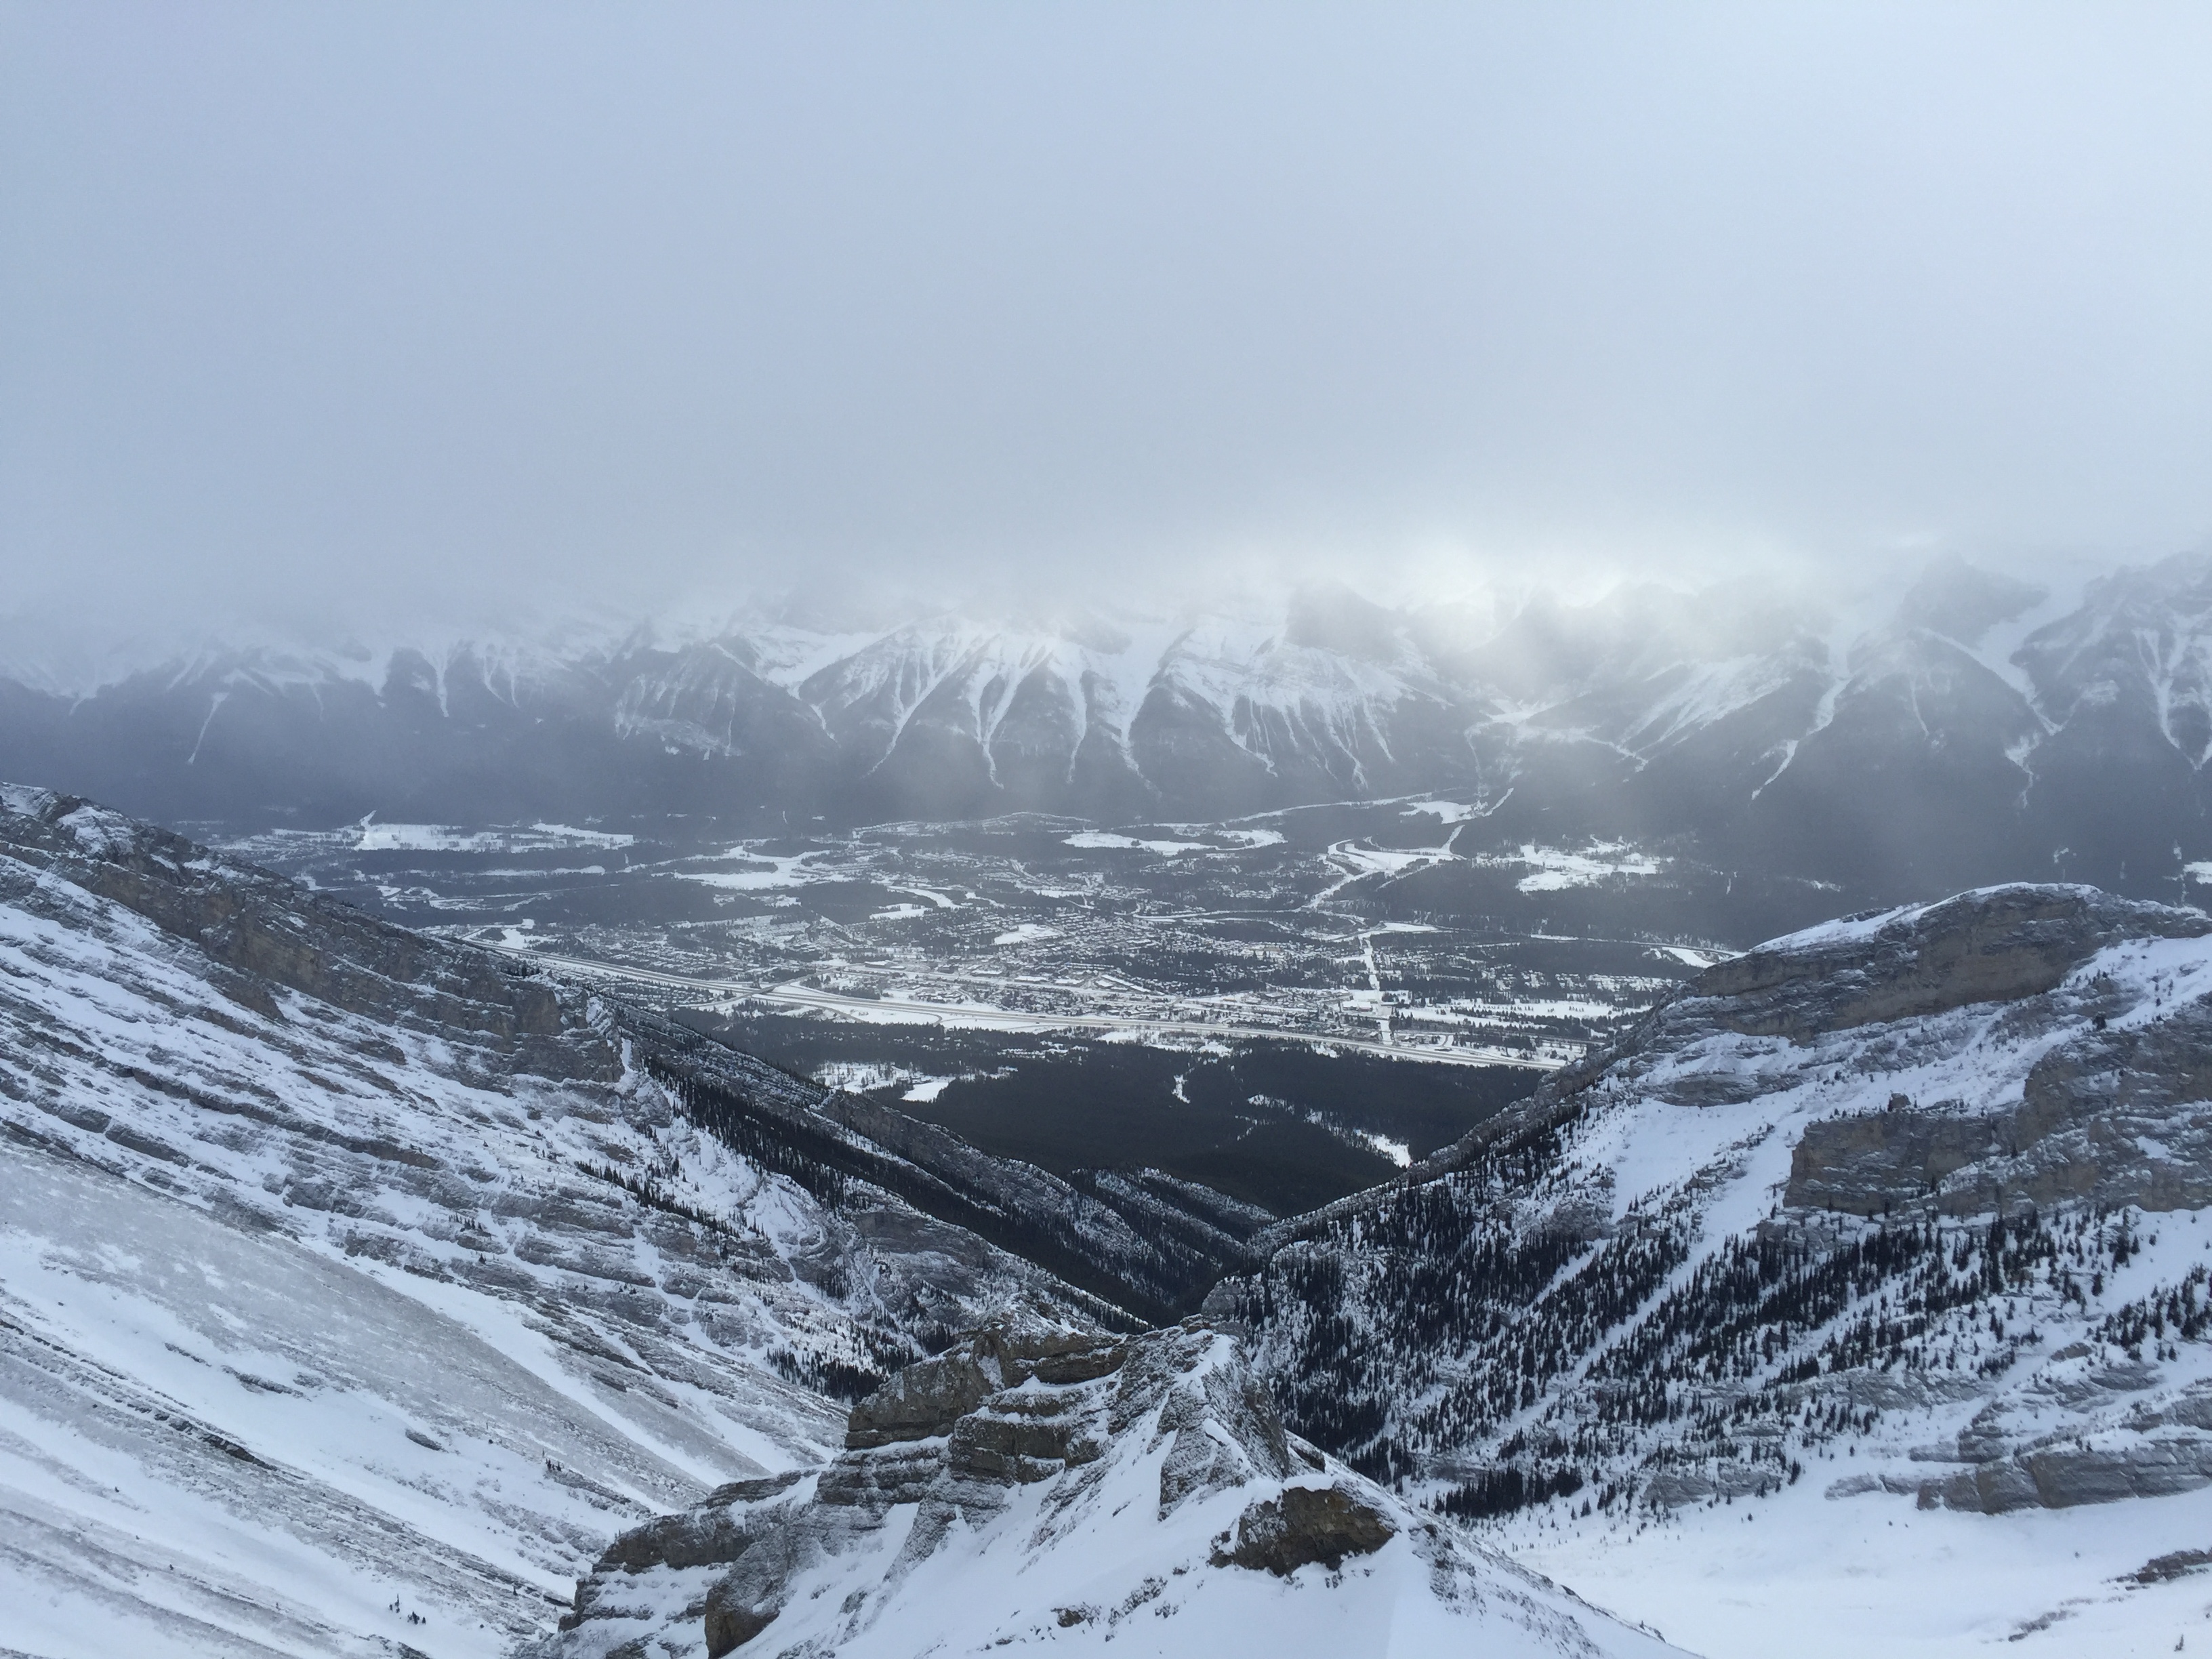
For those who haven’t been to Stone Works Canyon – it’s not the best spot in winter given the access to it, but I’d recommend visiting when snow free.
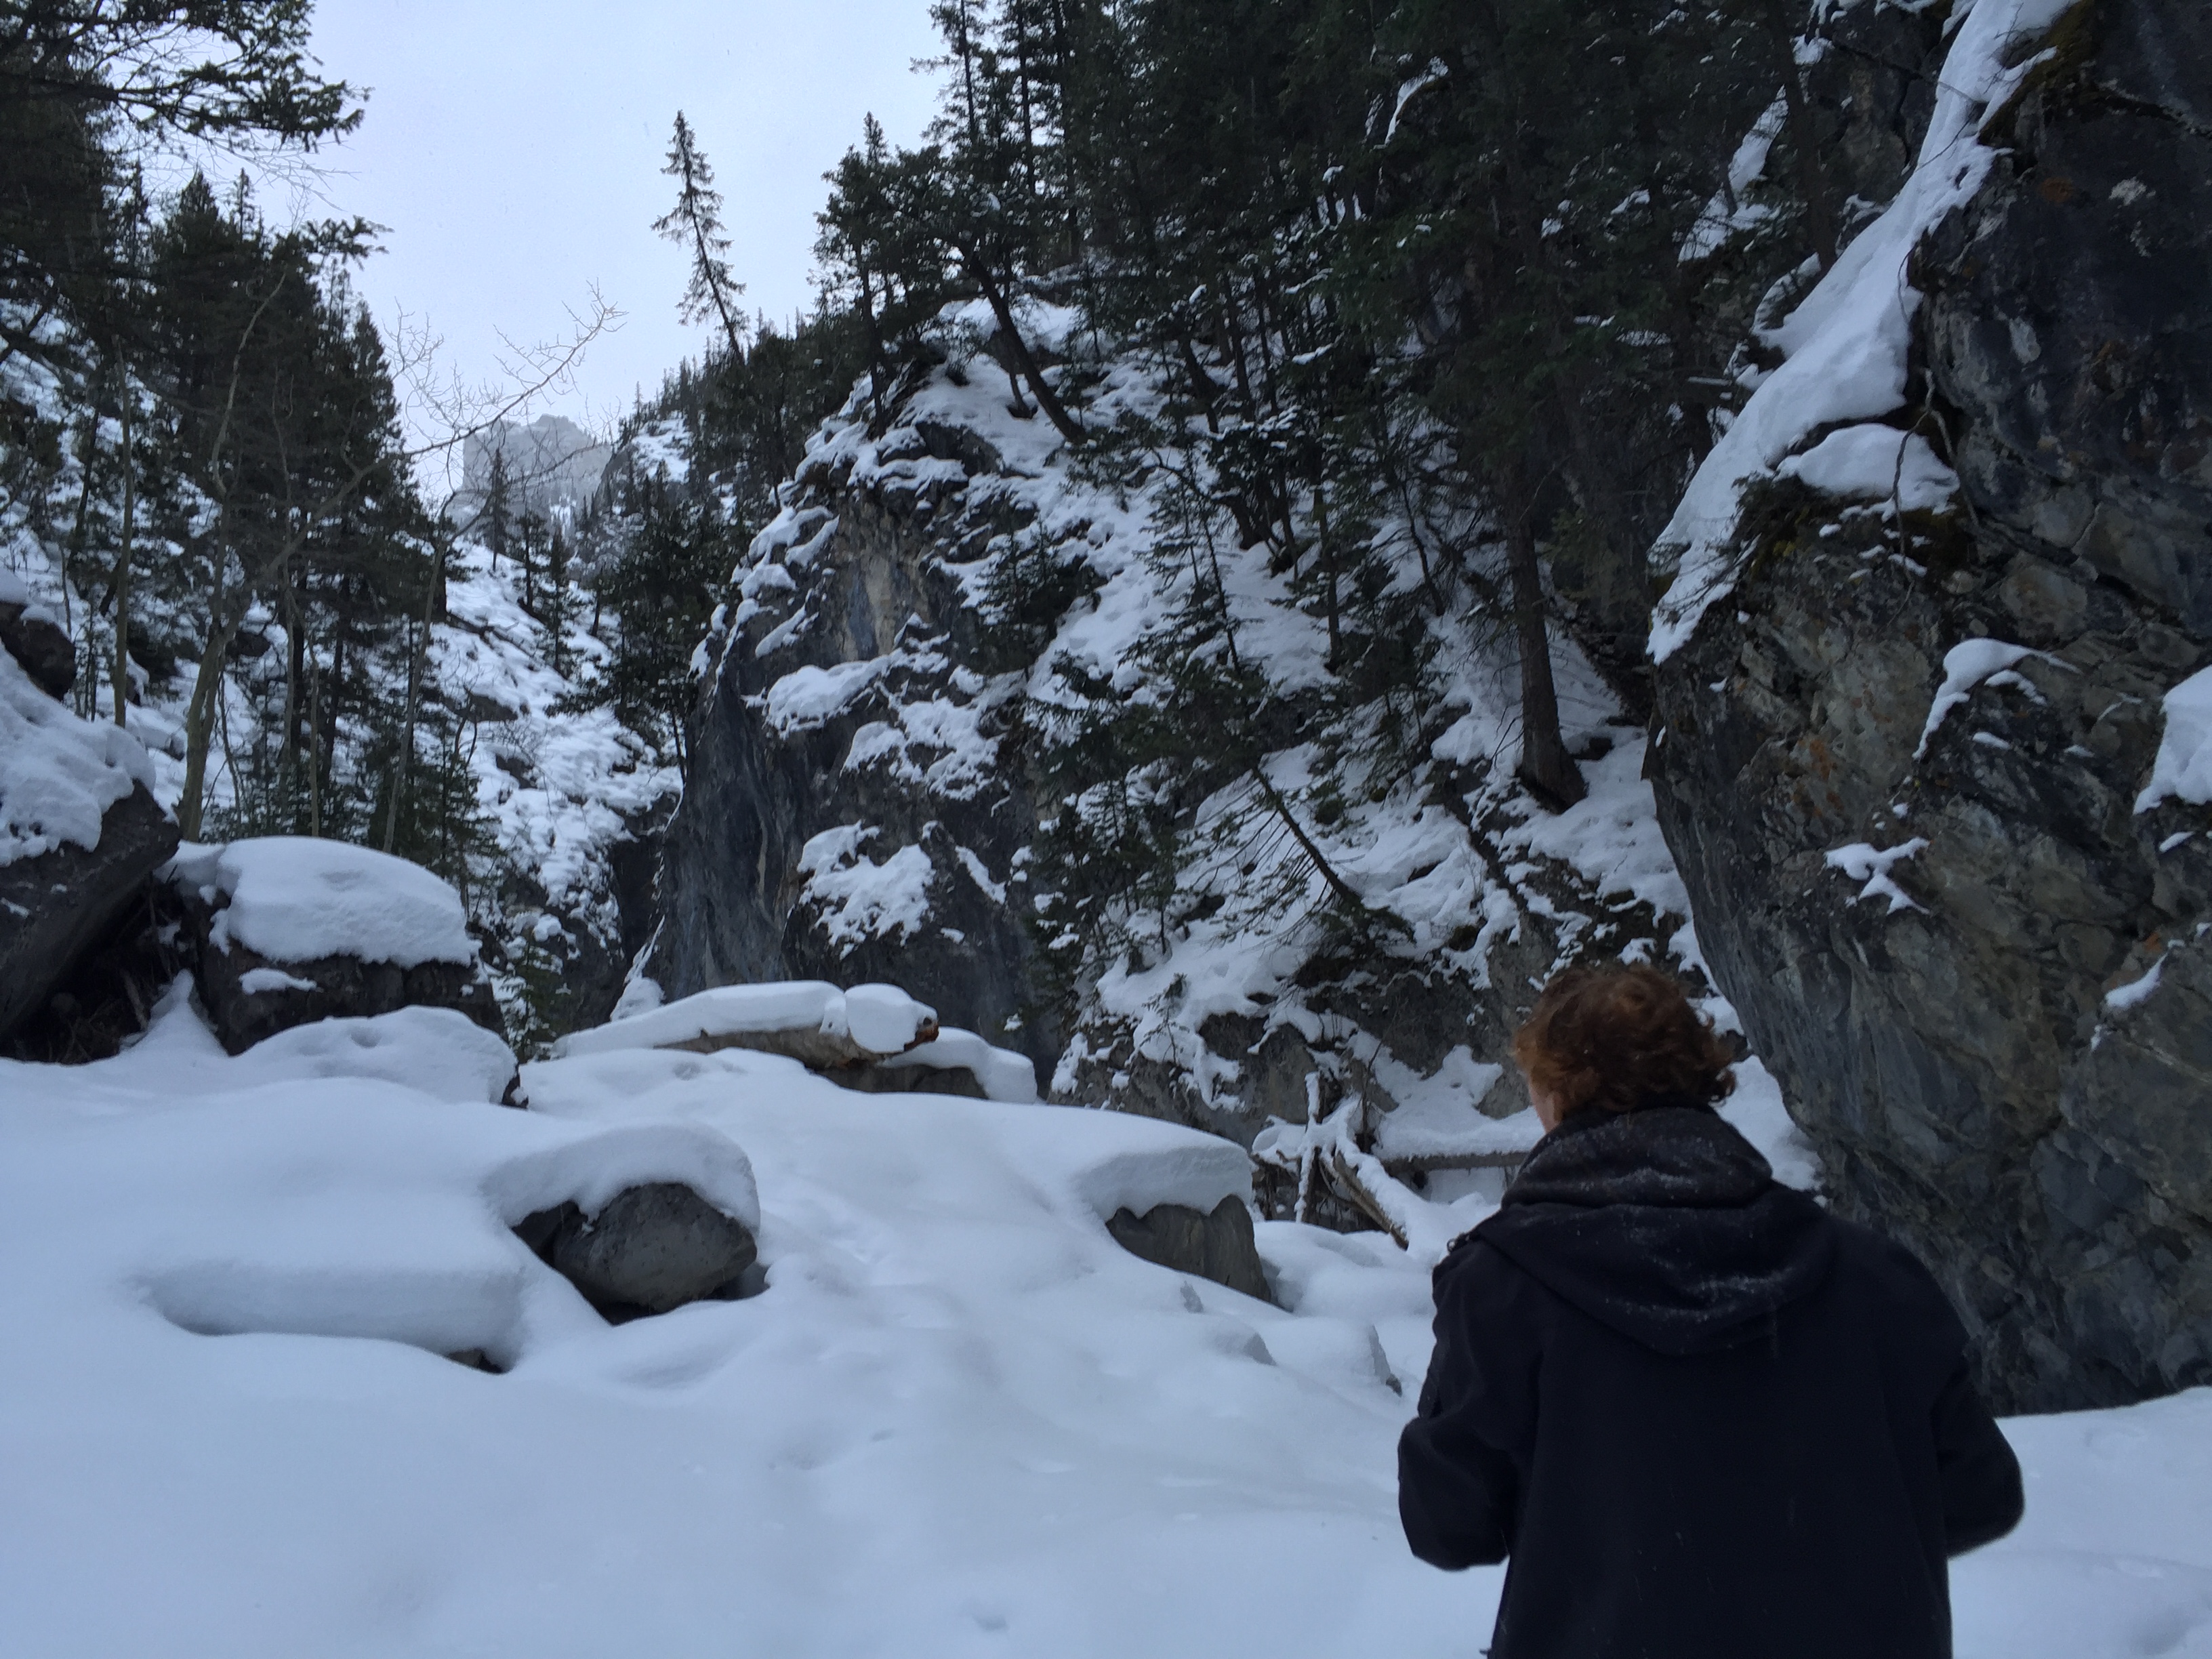
The canyon itself makes for a good spot to stop for a snack and recharge before the real ascent begins. While some minor elevation was gained reaching this spot, the grade quickly steepens after the canyon and the footing progressively deteriorates. Very comparable to the back ends of Cougar Creek past the Canadian Forks.
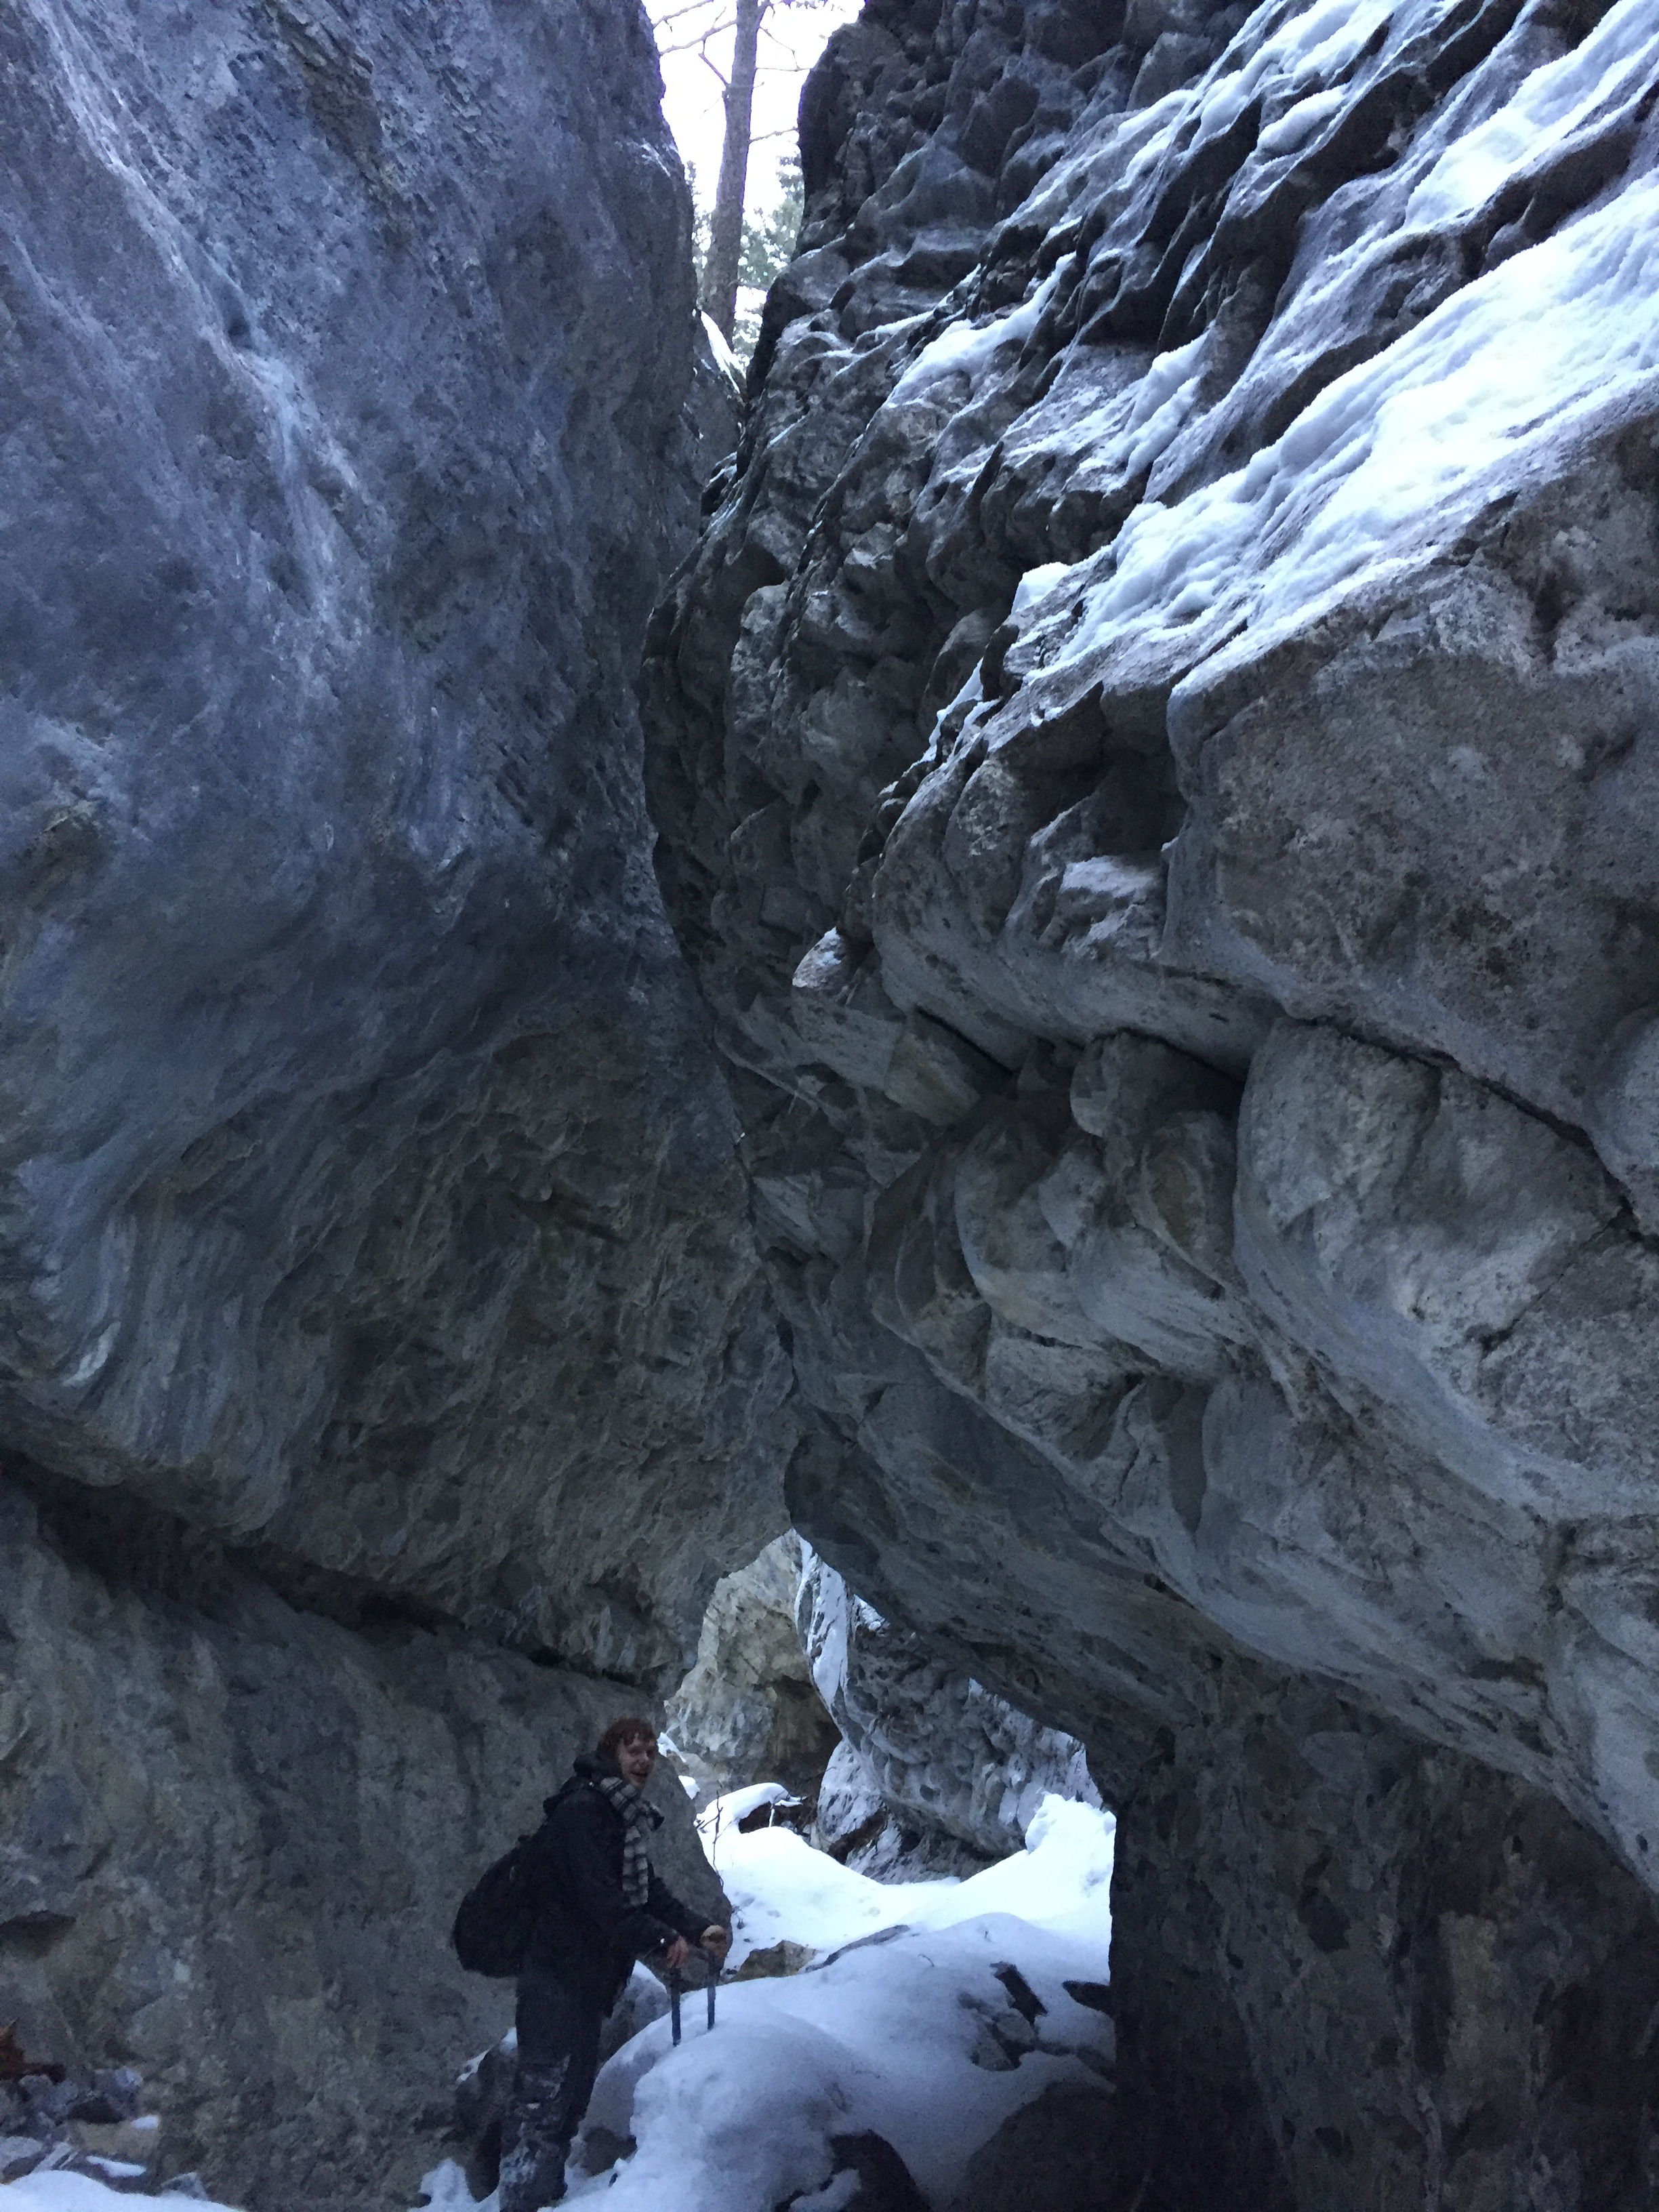
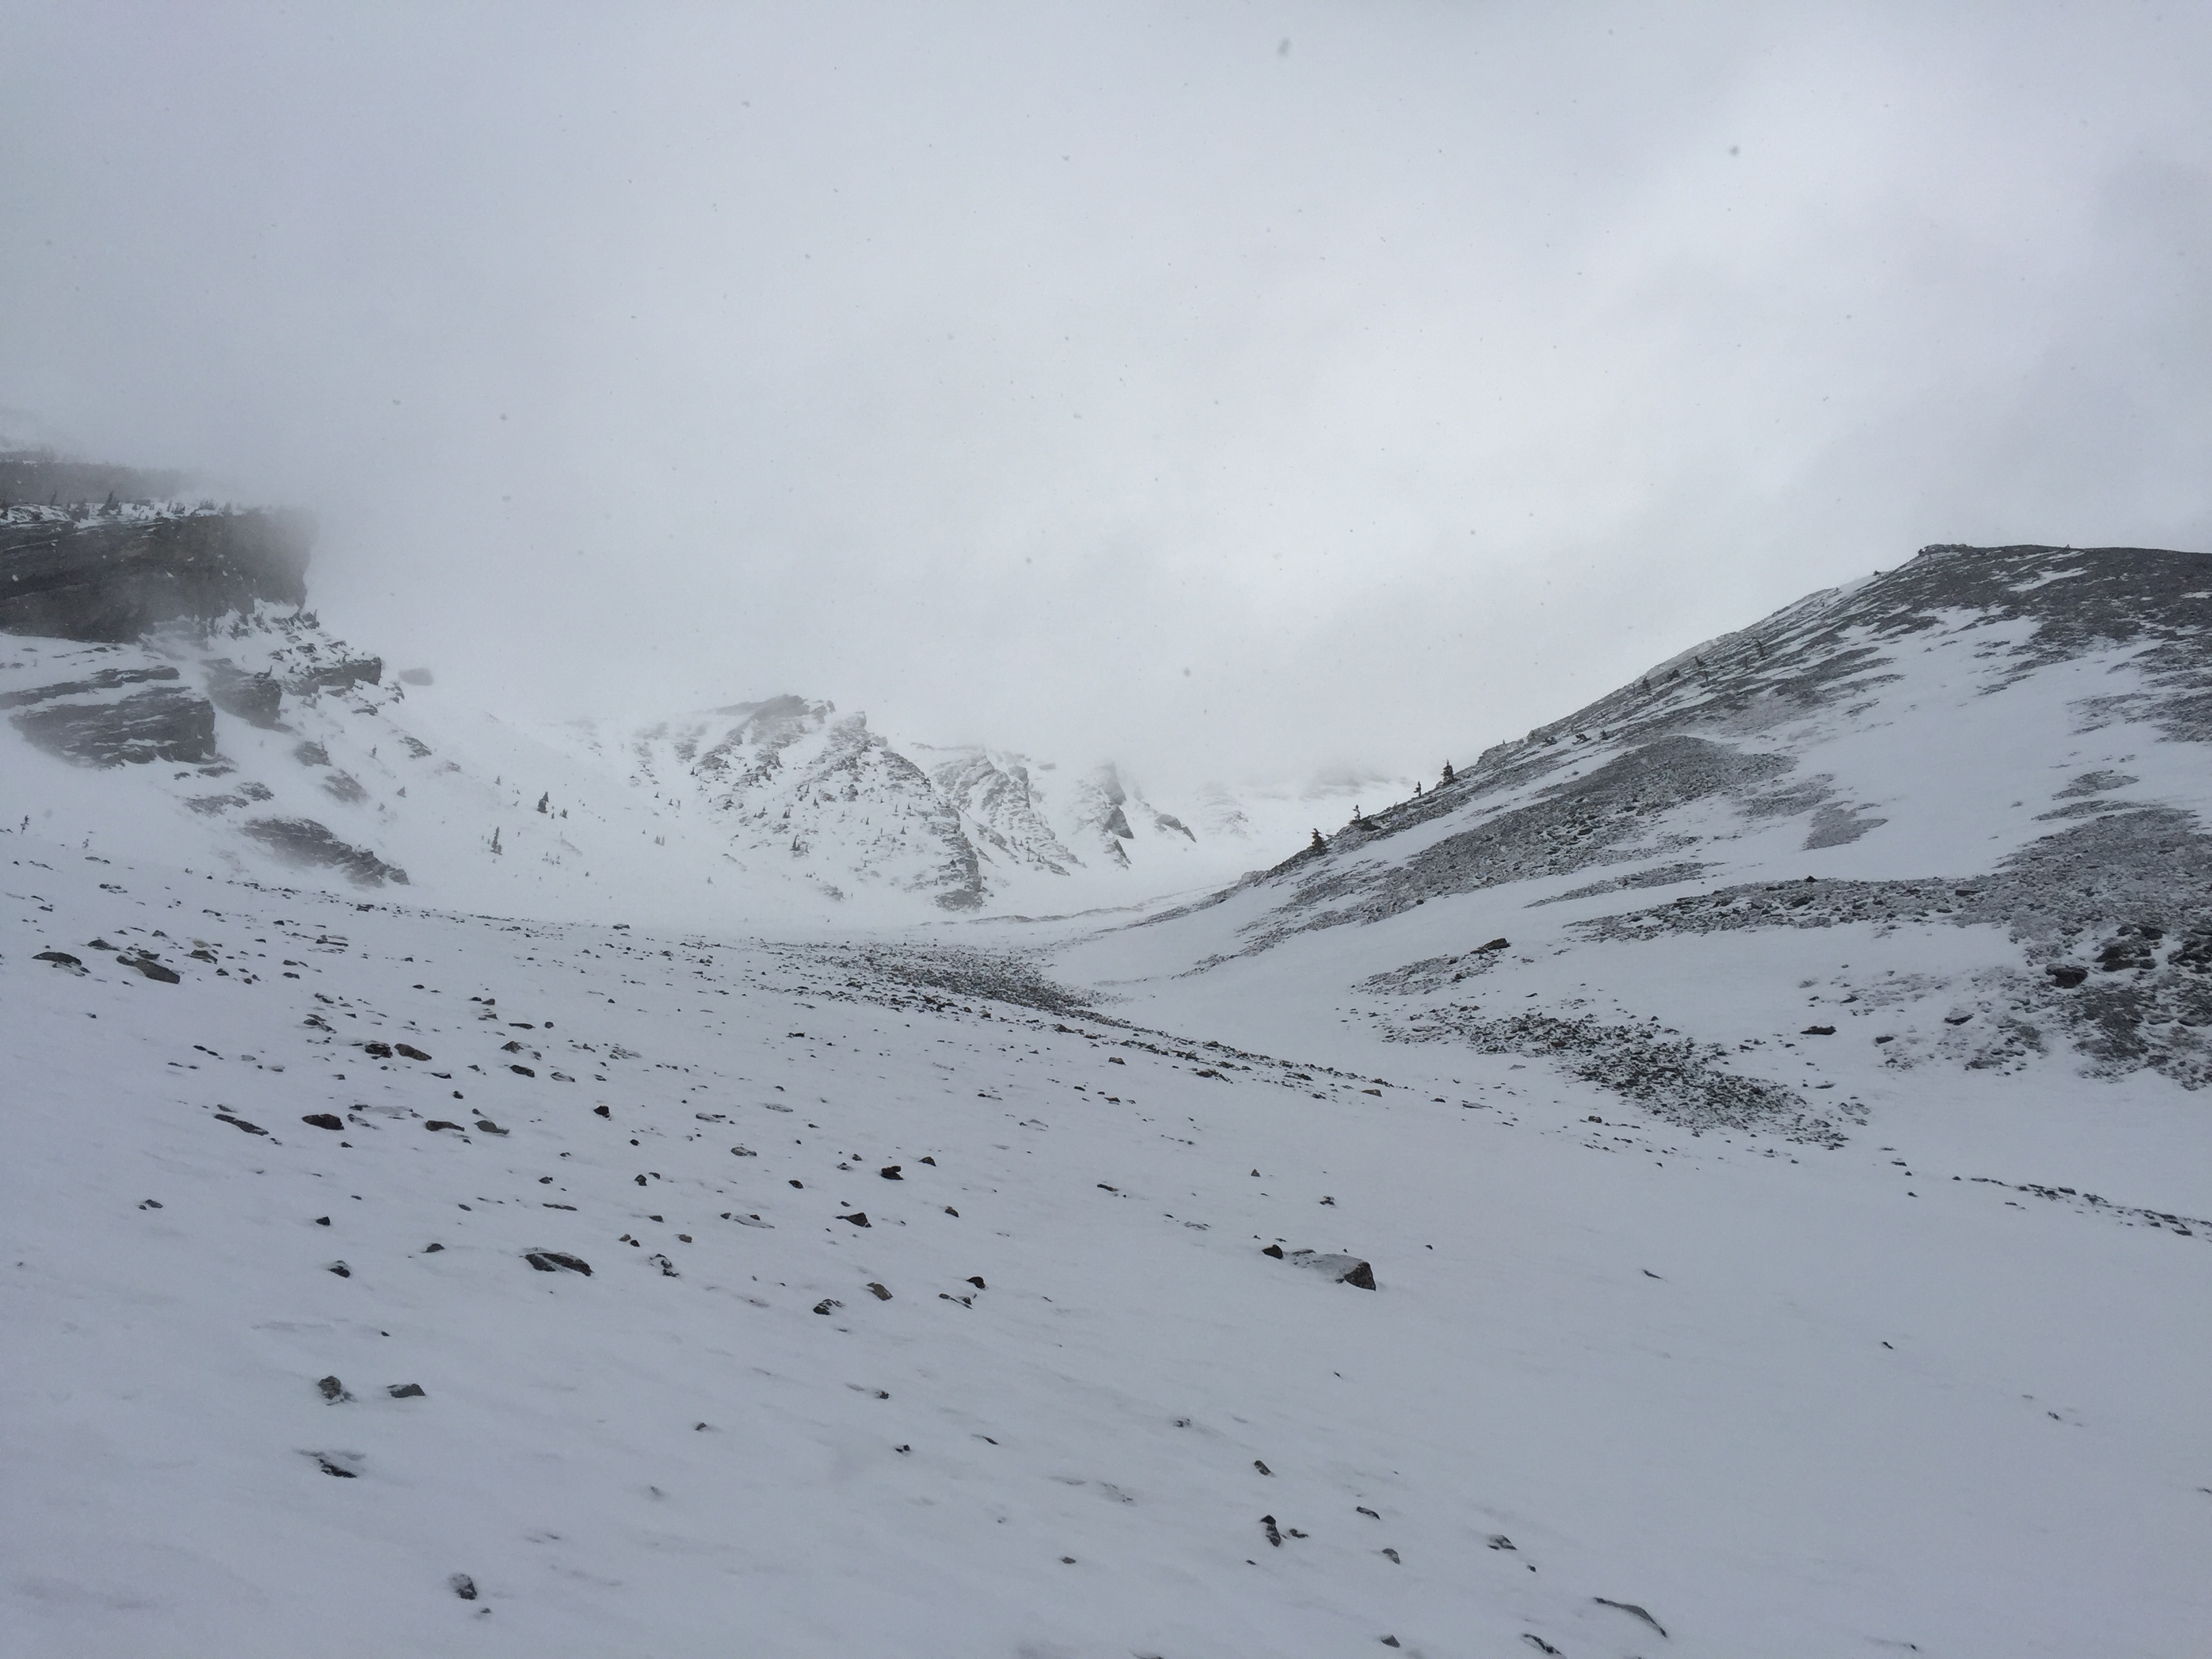
The canyon itself narrows down enough towards the rear that we had to walk single file. from here on forward we were now breaking trail. Its a miracle that we both made it through the day without breaking an ankle. We sunk down waist deep in several spots. Despite the snow clouds looming over Canmore we had relatively good weather above us up until reaching the scree bowl. The reassuring motivator through the first segment of the ascent was the constant elevation gained and JJ’s banana bread!
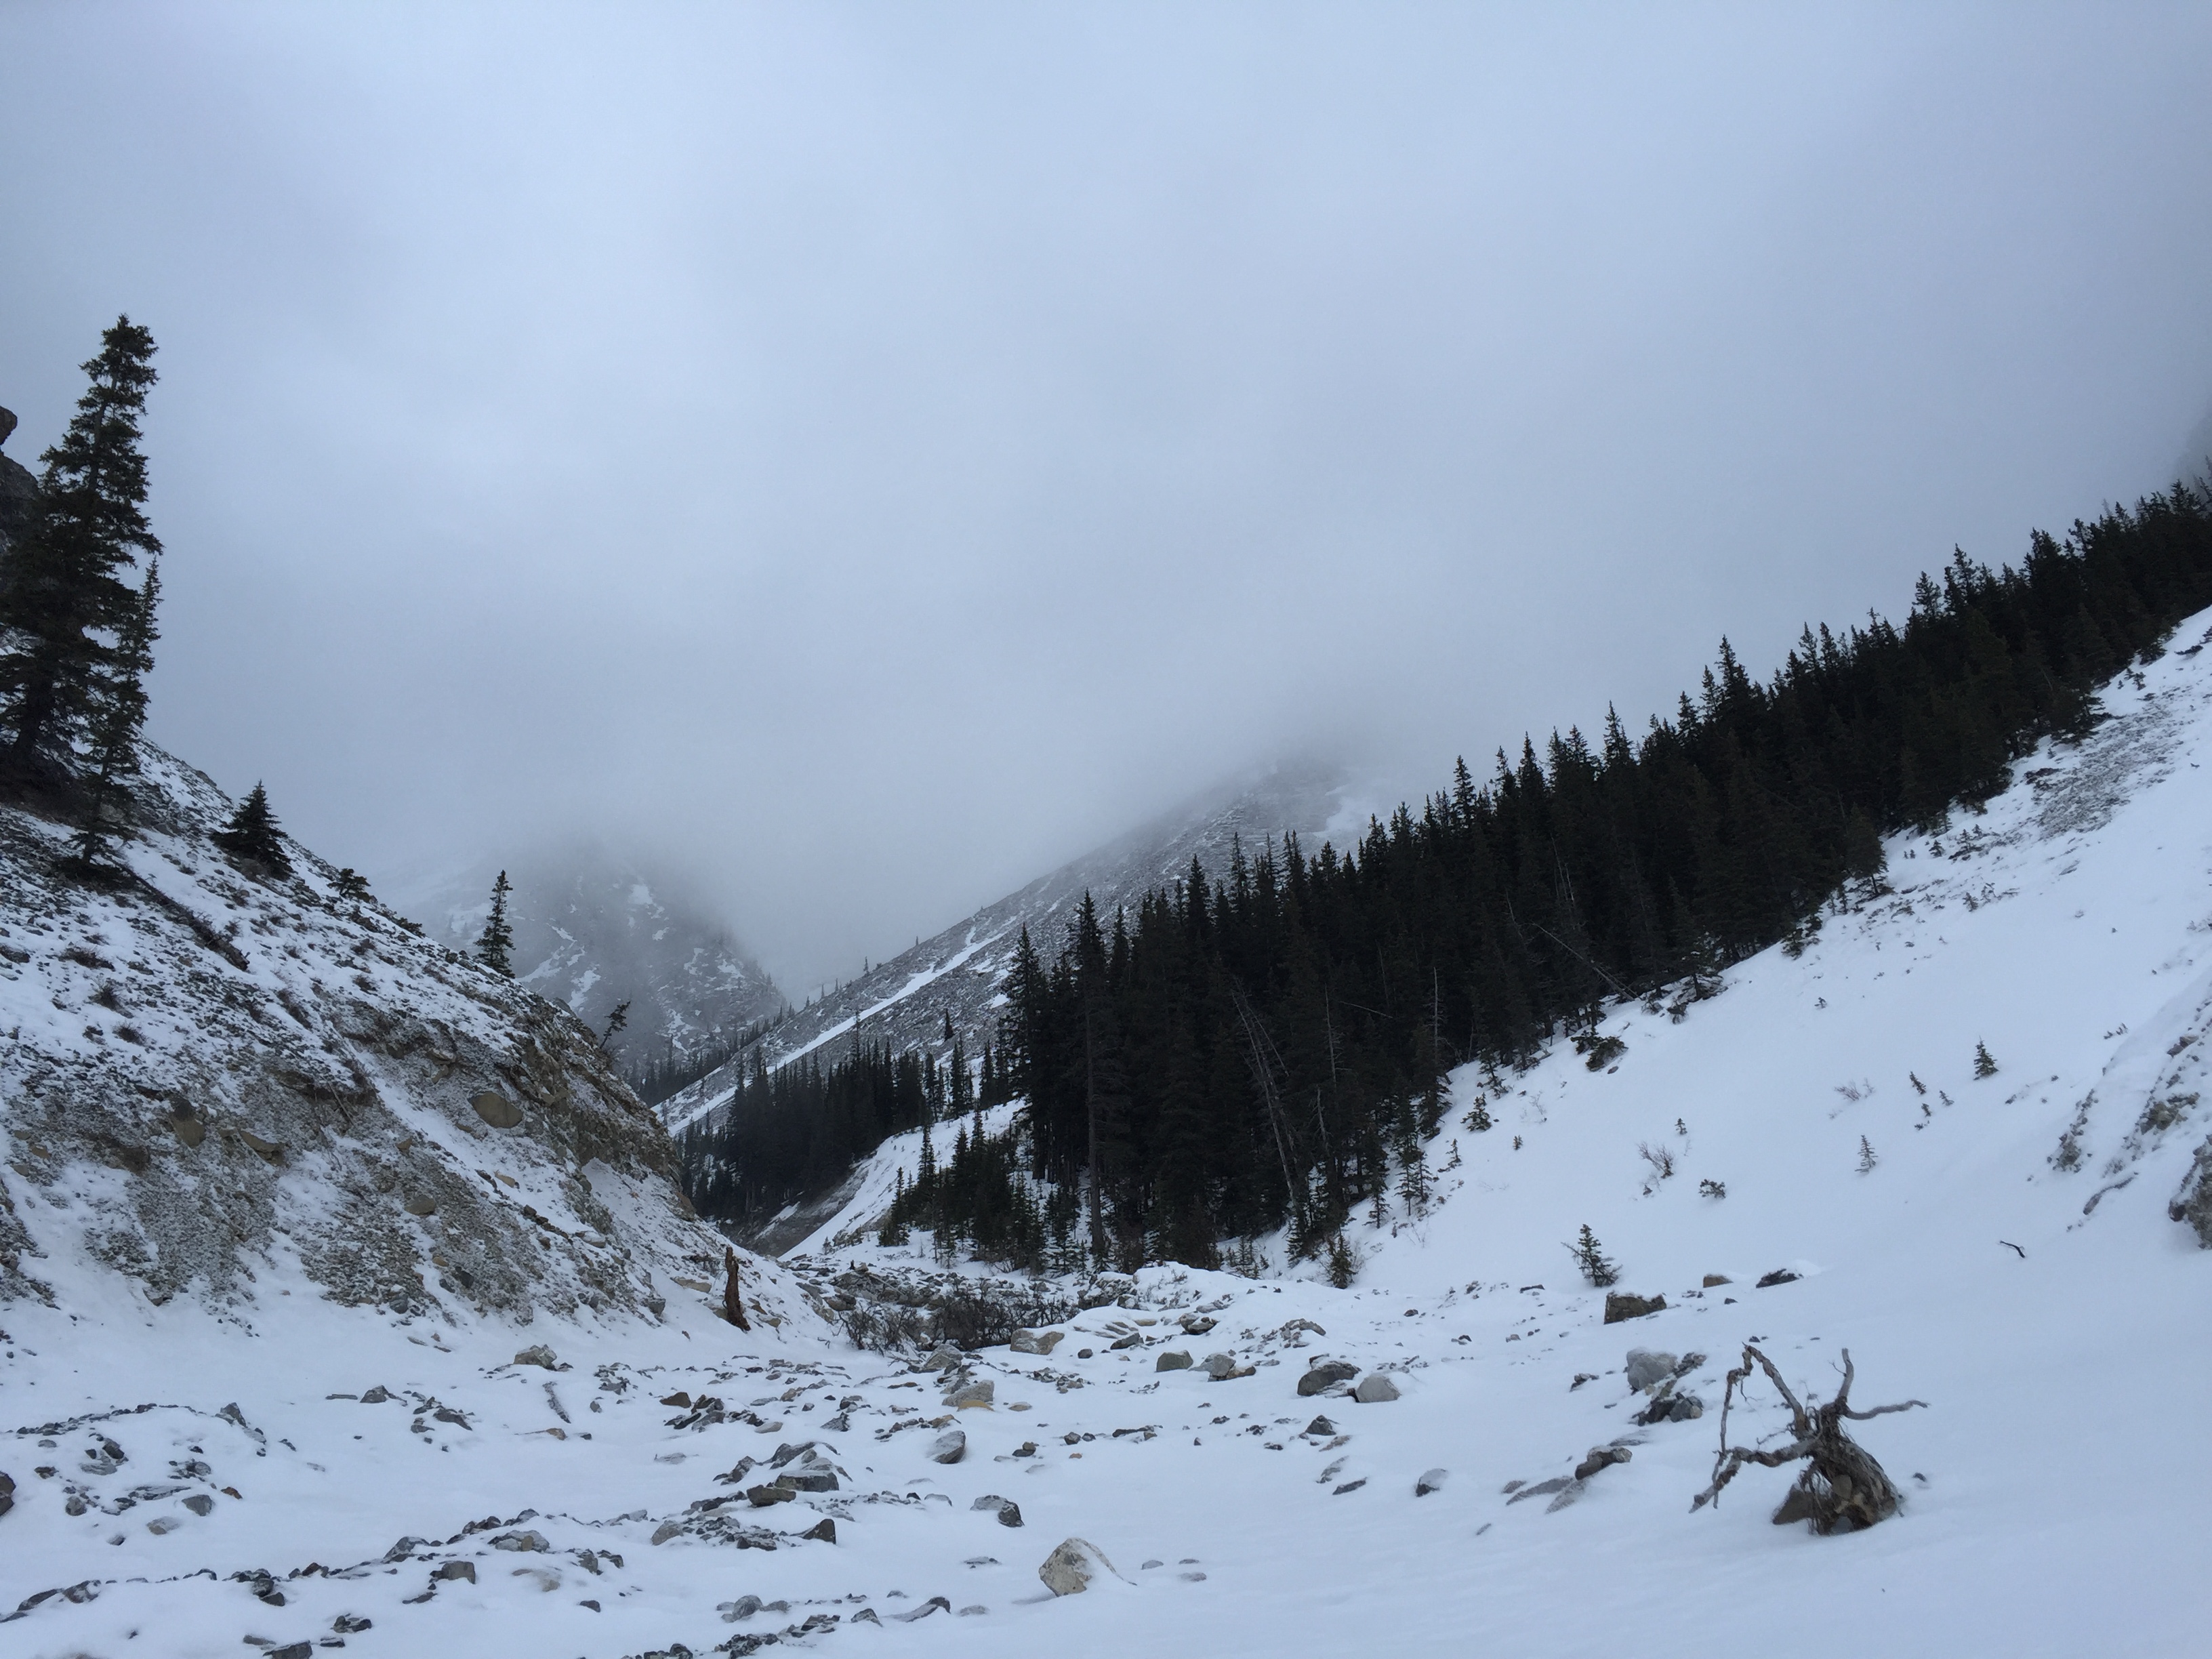
The basin narrows before opening into a large scree bowl. When we finally reached this area around 12:30pm we noticed the large cliff bands up on our left. Good thing we descended back into the canyon when we did! Upon entering the bowl the weather conditions deteriorated. The general idea was to aim to the climber’s right, as to gain a ridge. With the limited visibility it was hard to gauge when exactly the ridge would be gained. Foreshortening was in full effect.
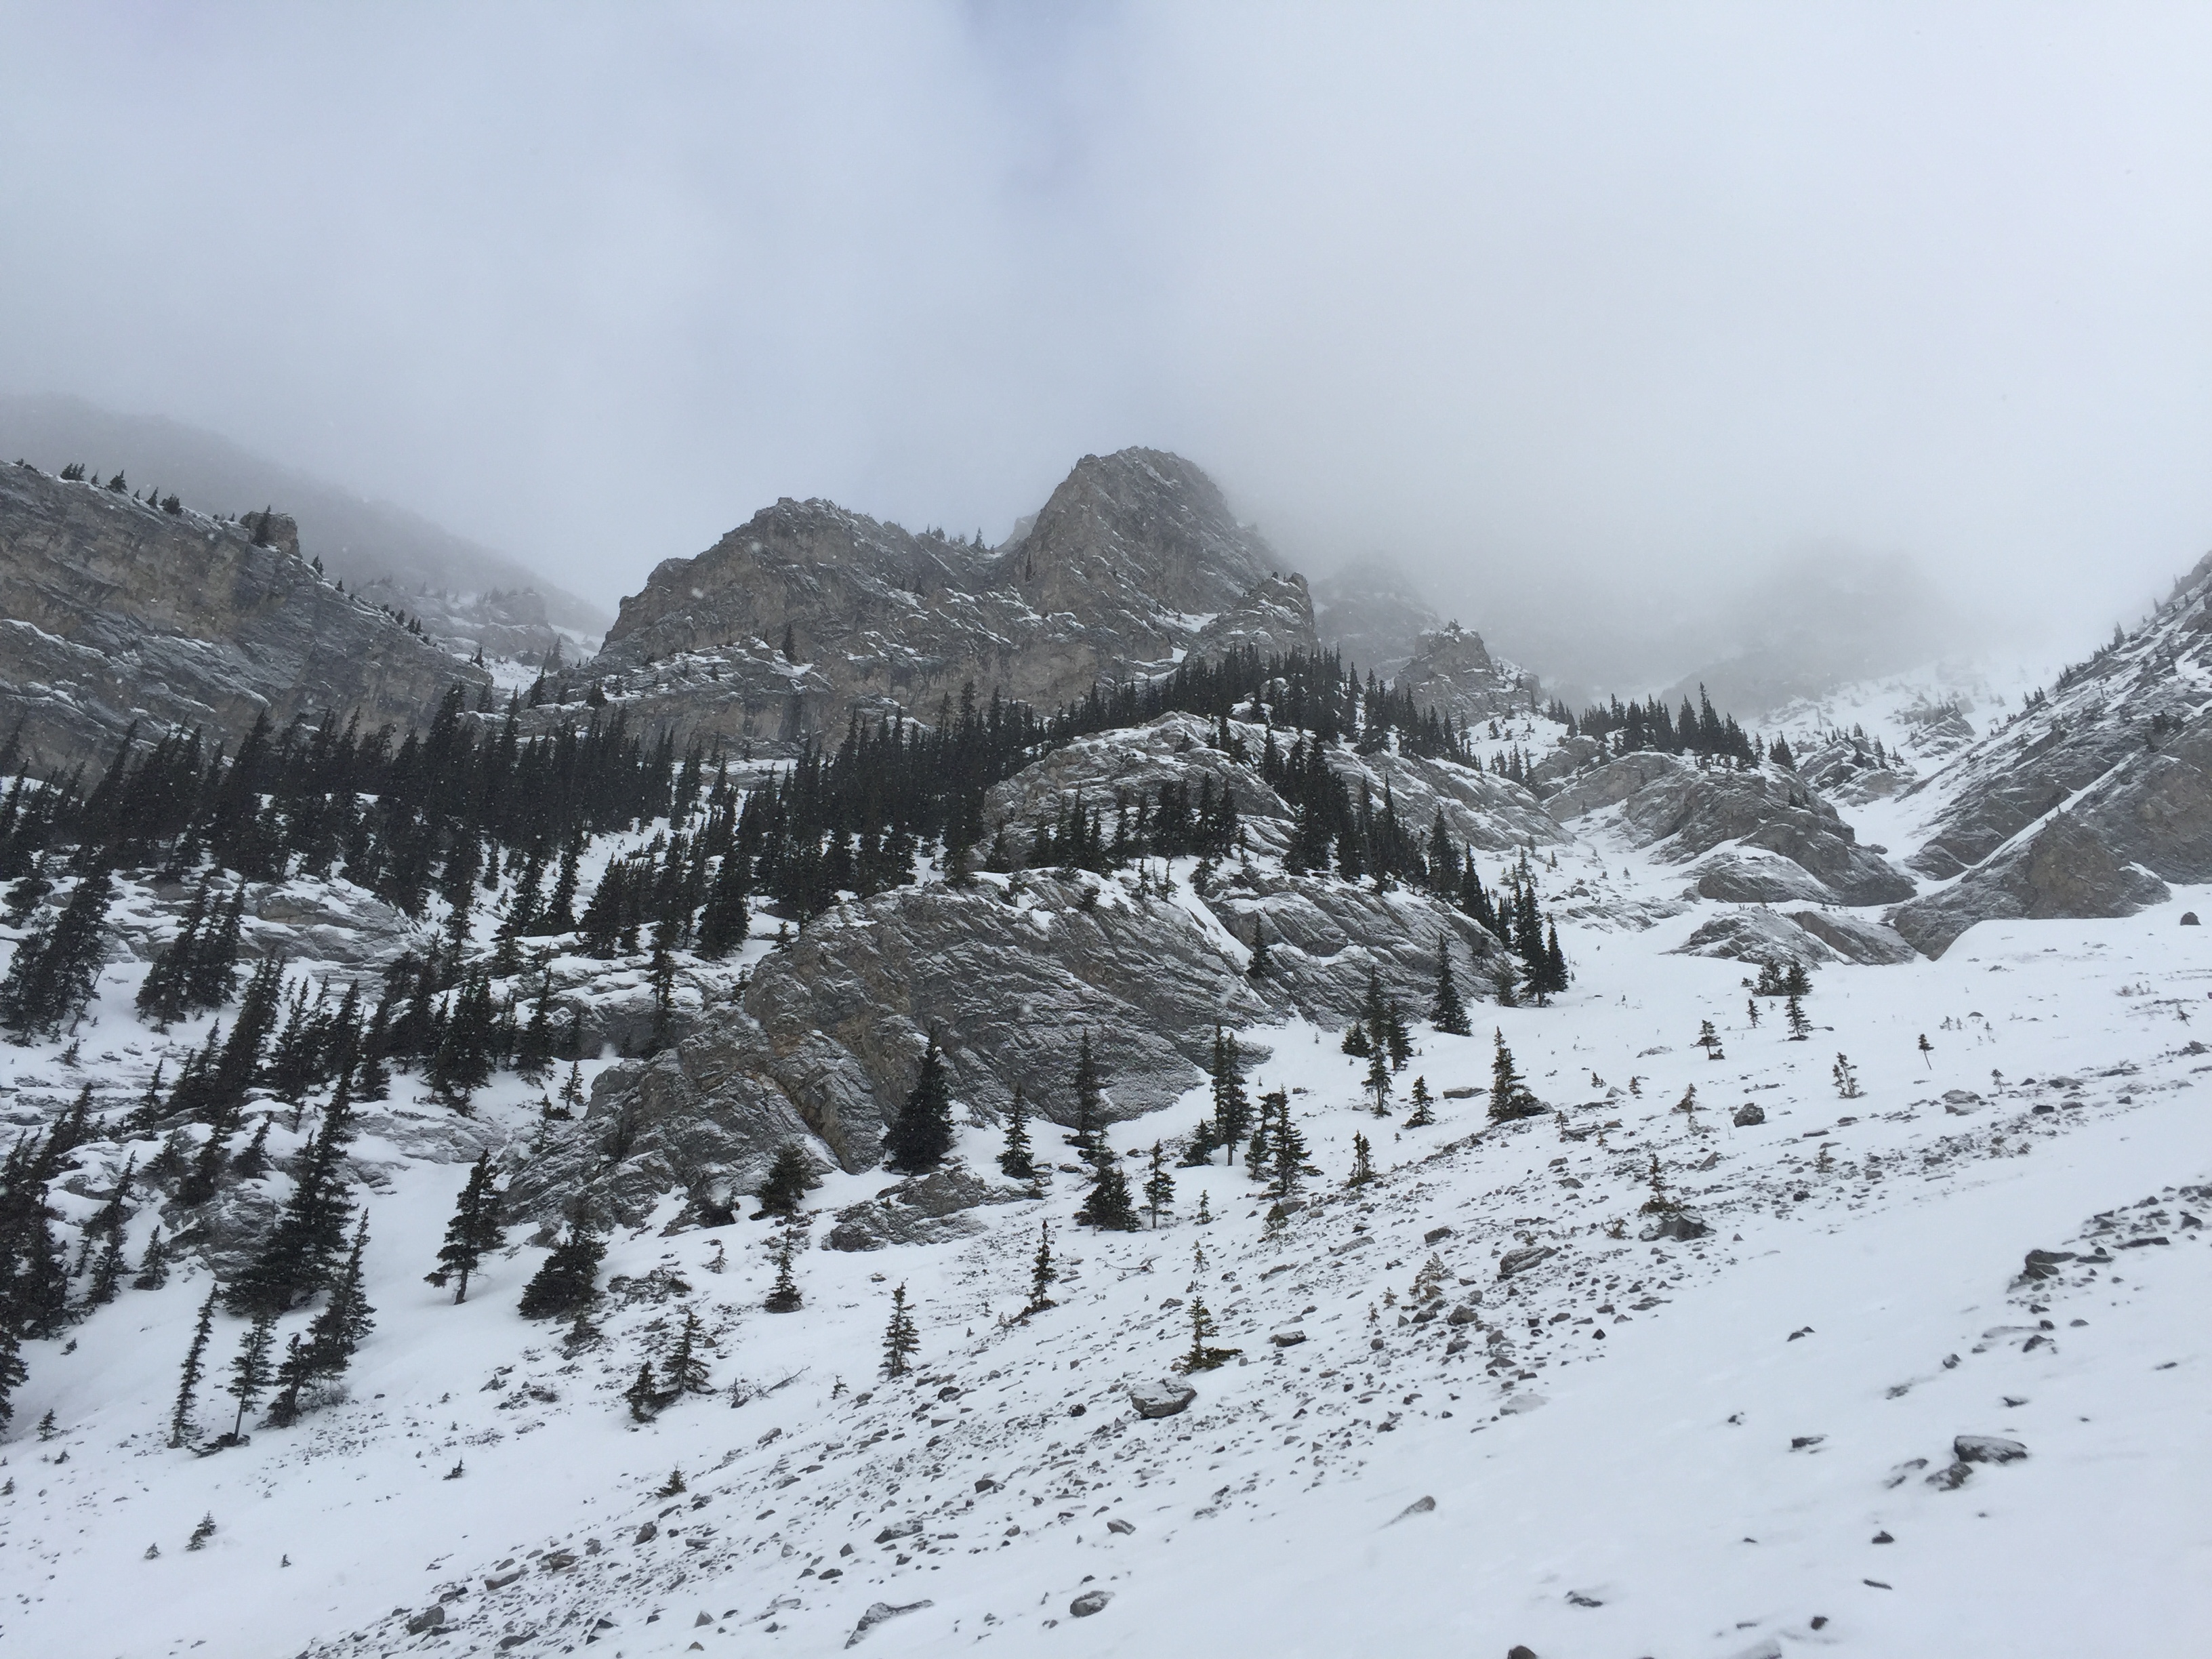
The footing through here would be a nightmare in summer. On this particular trip the scree was mostly frozen – not enough for crampons – but the ground was stable enough for steady progress. However at this point it was approaching 2pm and JJ was starting to tire. Our progress slowed considerably with the increased grade of the slope. The ice axes were heavily used. In gaining the grey bump you’re merely switching from one scree slope to another.
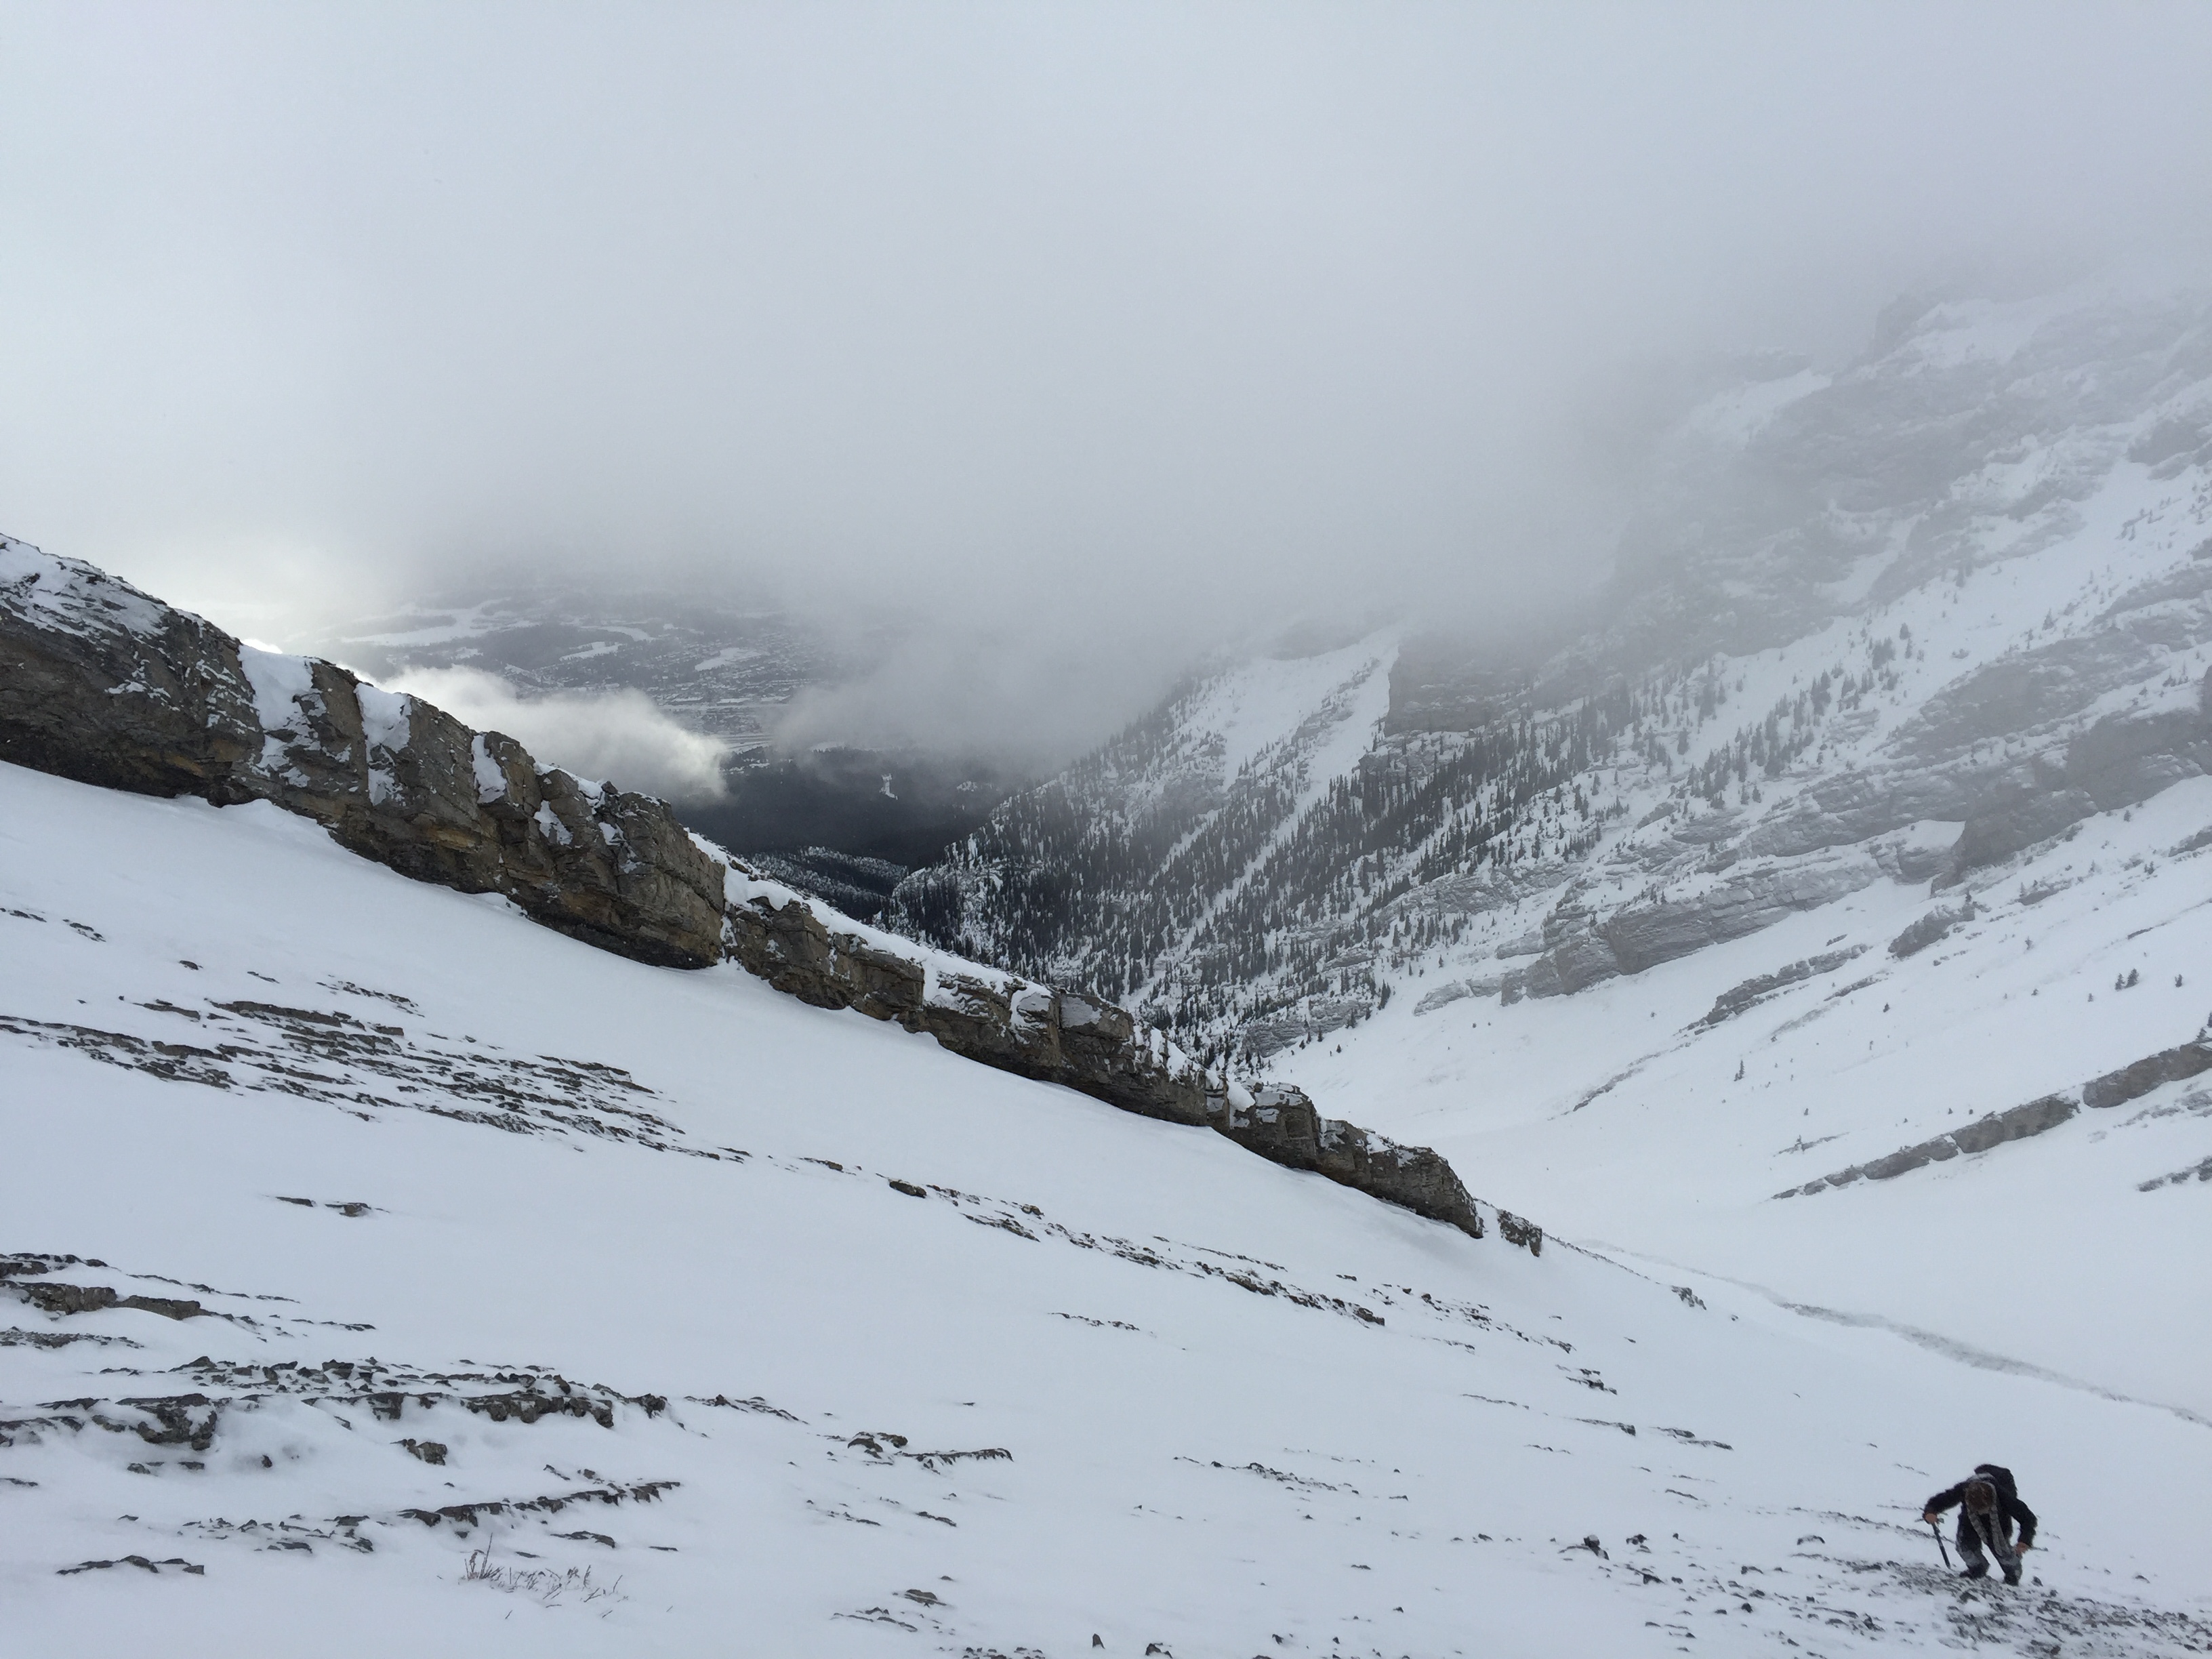
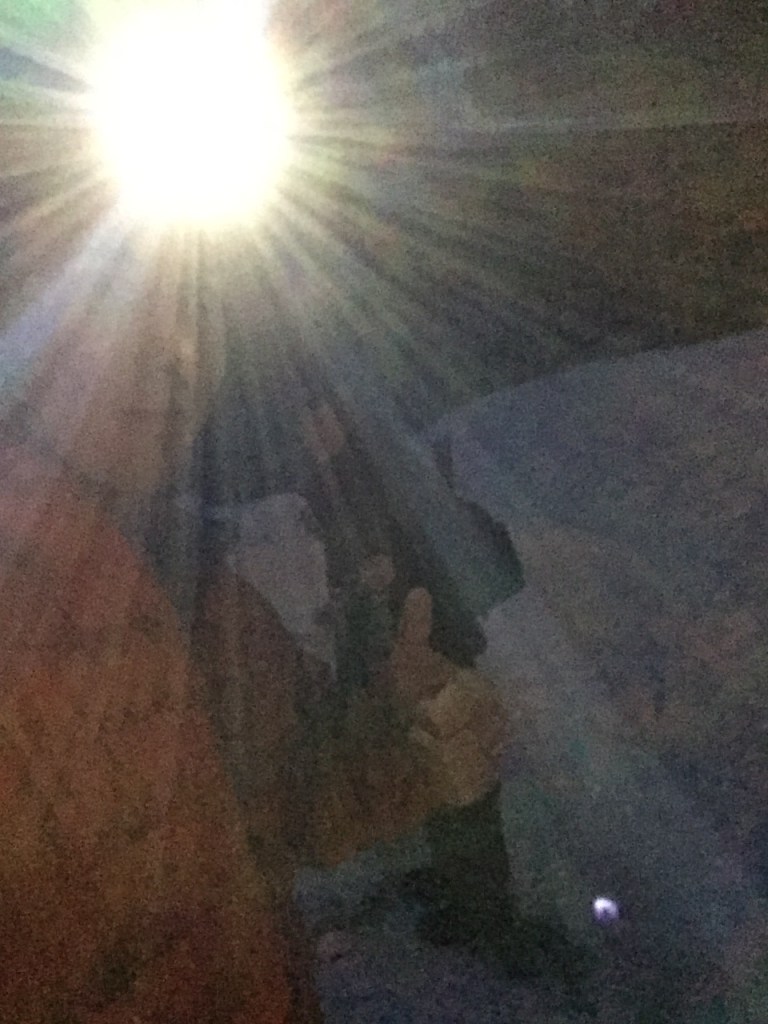
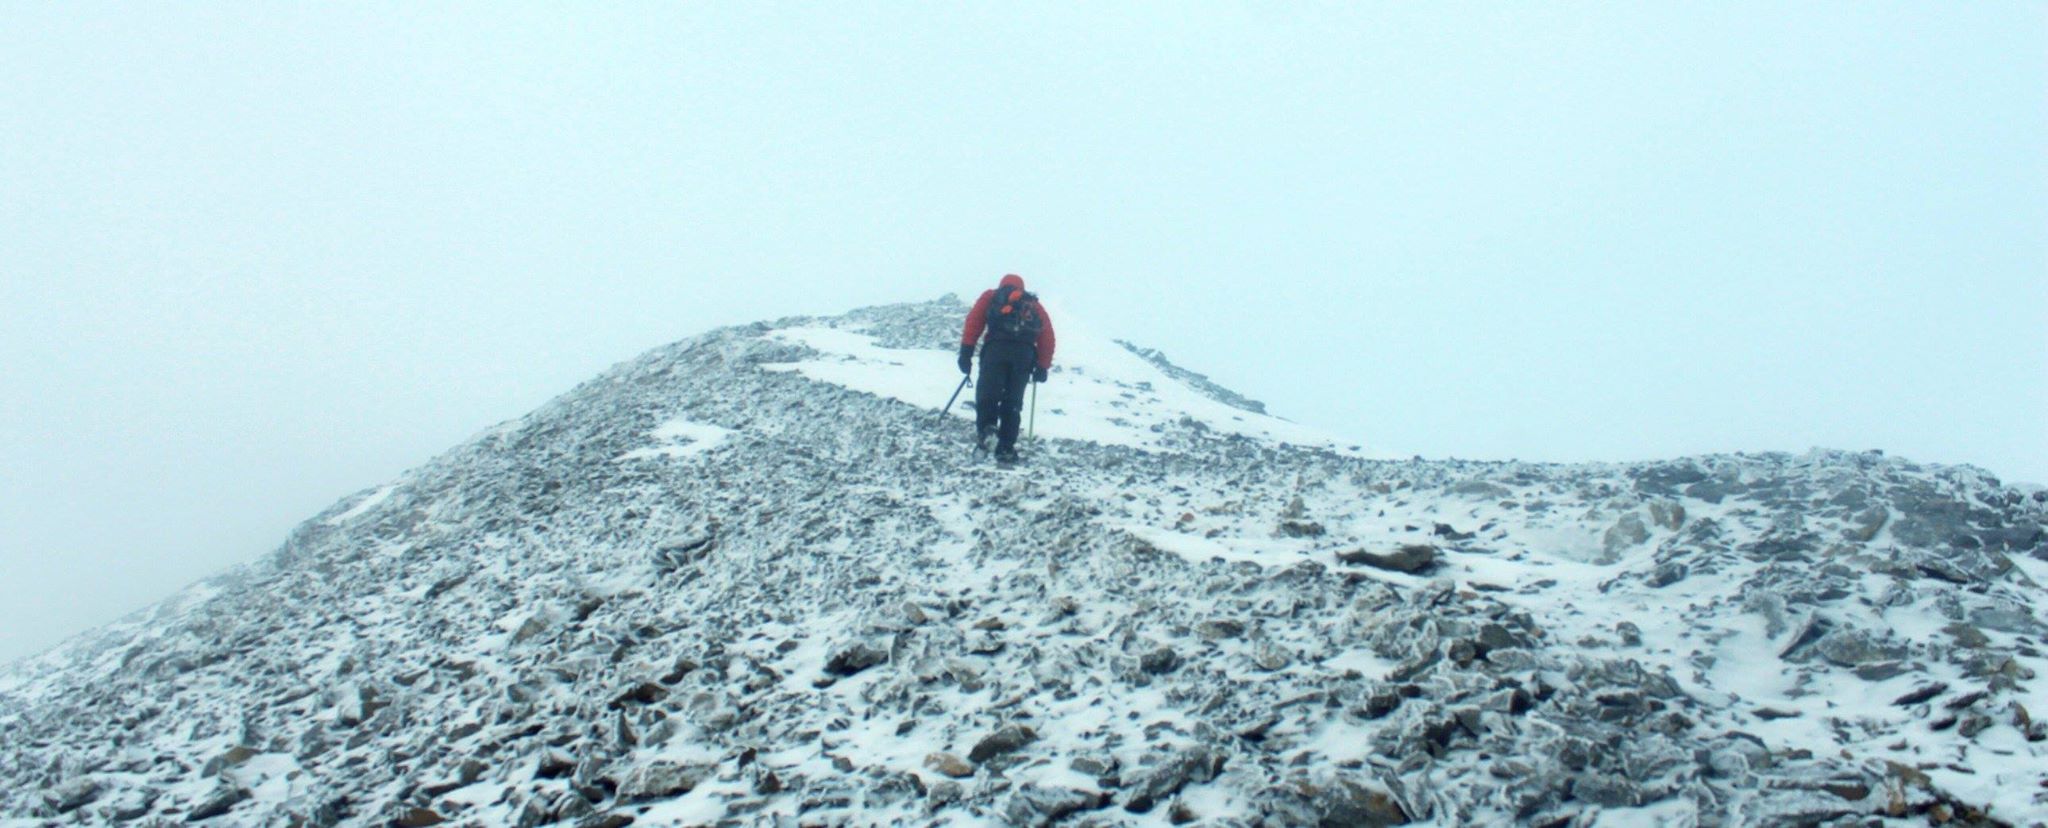
Eventually the slope reached to the summit ridge. At this point, 2:50pm we still had 150m of vertical to gain and were dangerously close to our designated turn around time. We had both headlamps and a hand held flashlight, and had left a distinct fresh trail through the snow so we opted to push for the summit. Also at this point, my iPhone 6 had finally had enough of the cold and shut down completely right after capturing a couple photos from above the scree bashing:
The sudden drop in temperature that killed my phone’s battery charge was thanks to the snow cloud that rolled in some 5 minutes after. Visibility was again low and now flat flakes were falling. We were damn determined to finish this one as neither of us wanted to ascend that bloody slope again! However JJ was very fatigued at this point, it took him nearly half an hour to catch up to where I took the photos. He needed a decent break before continuing.
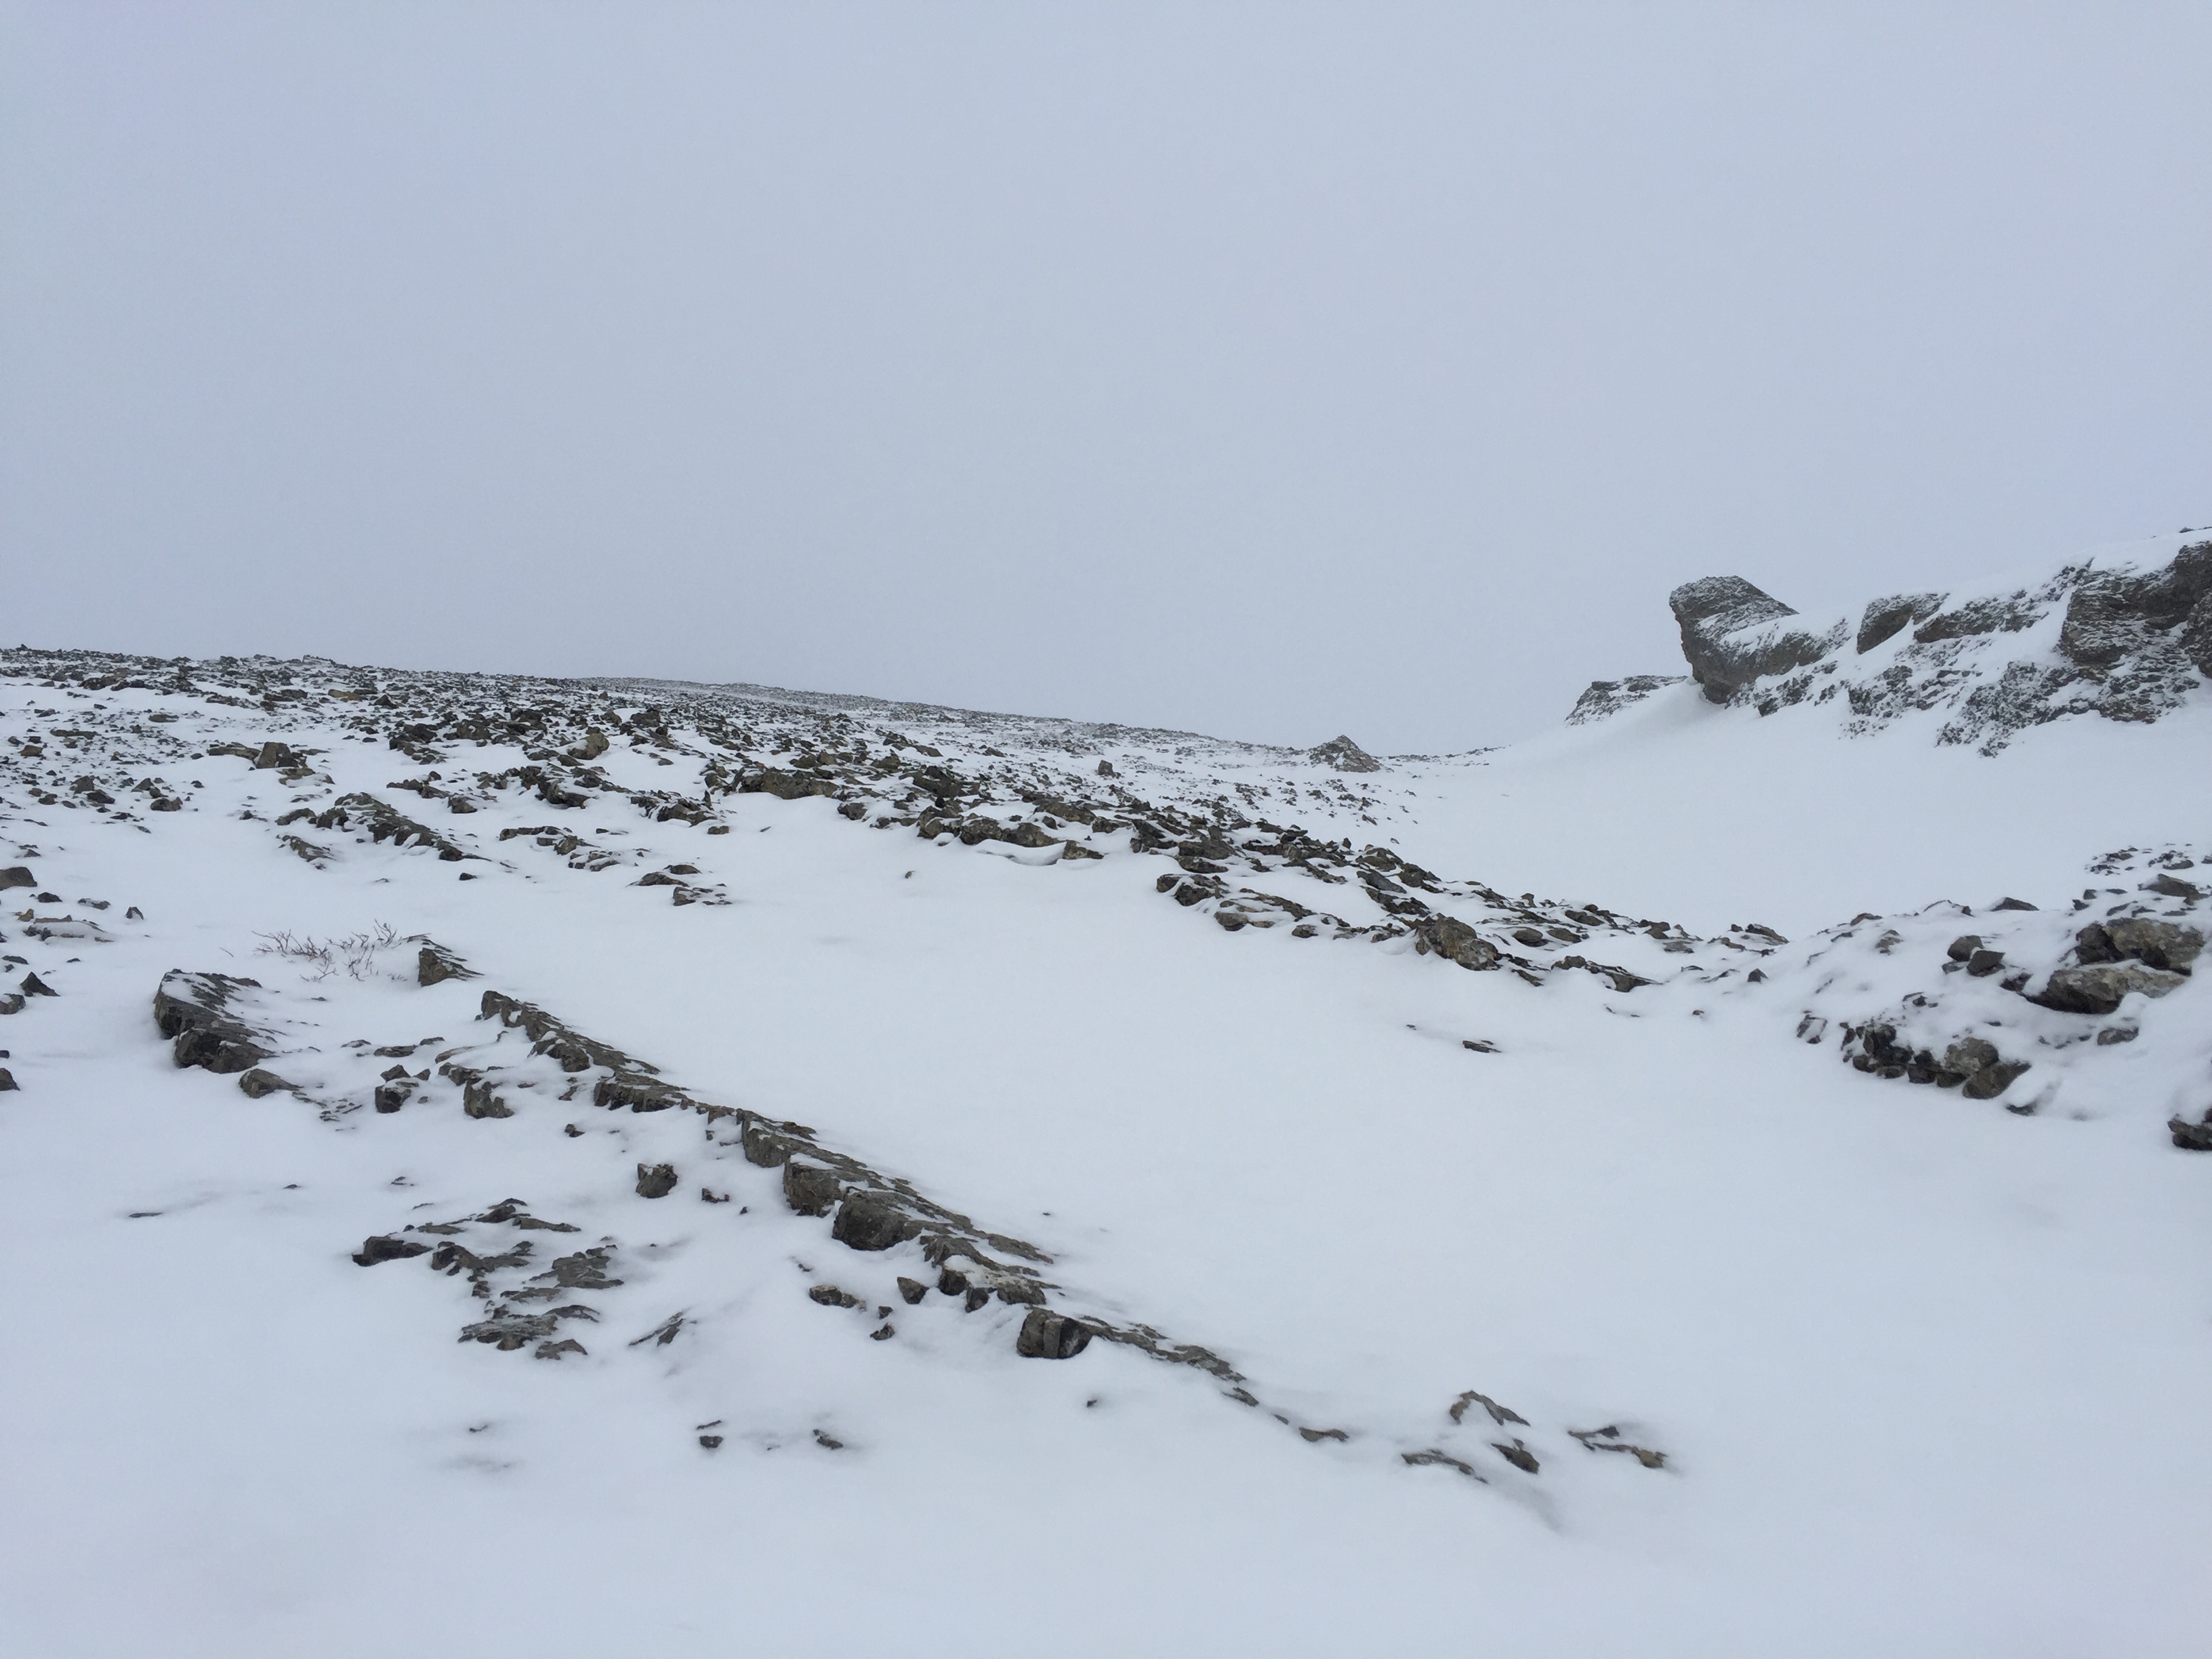
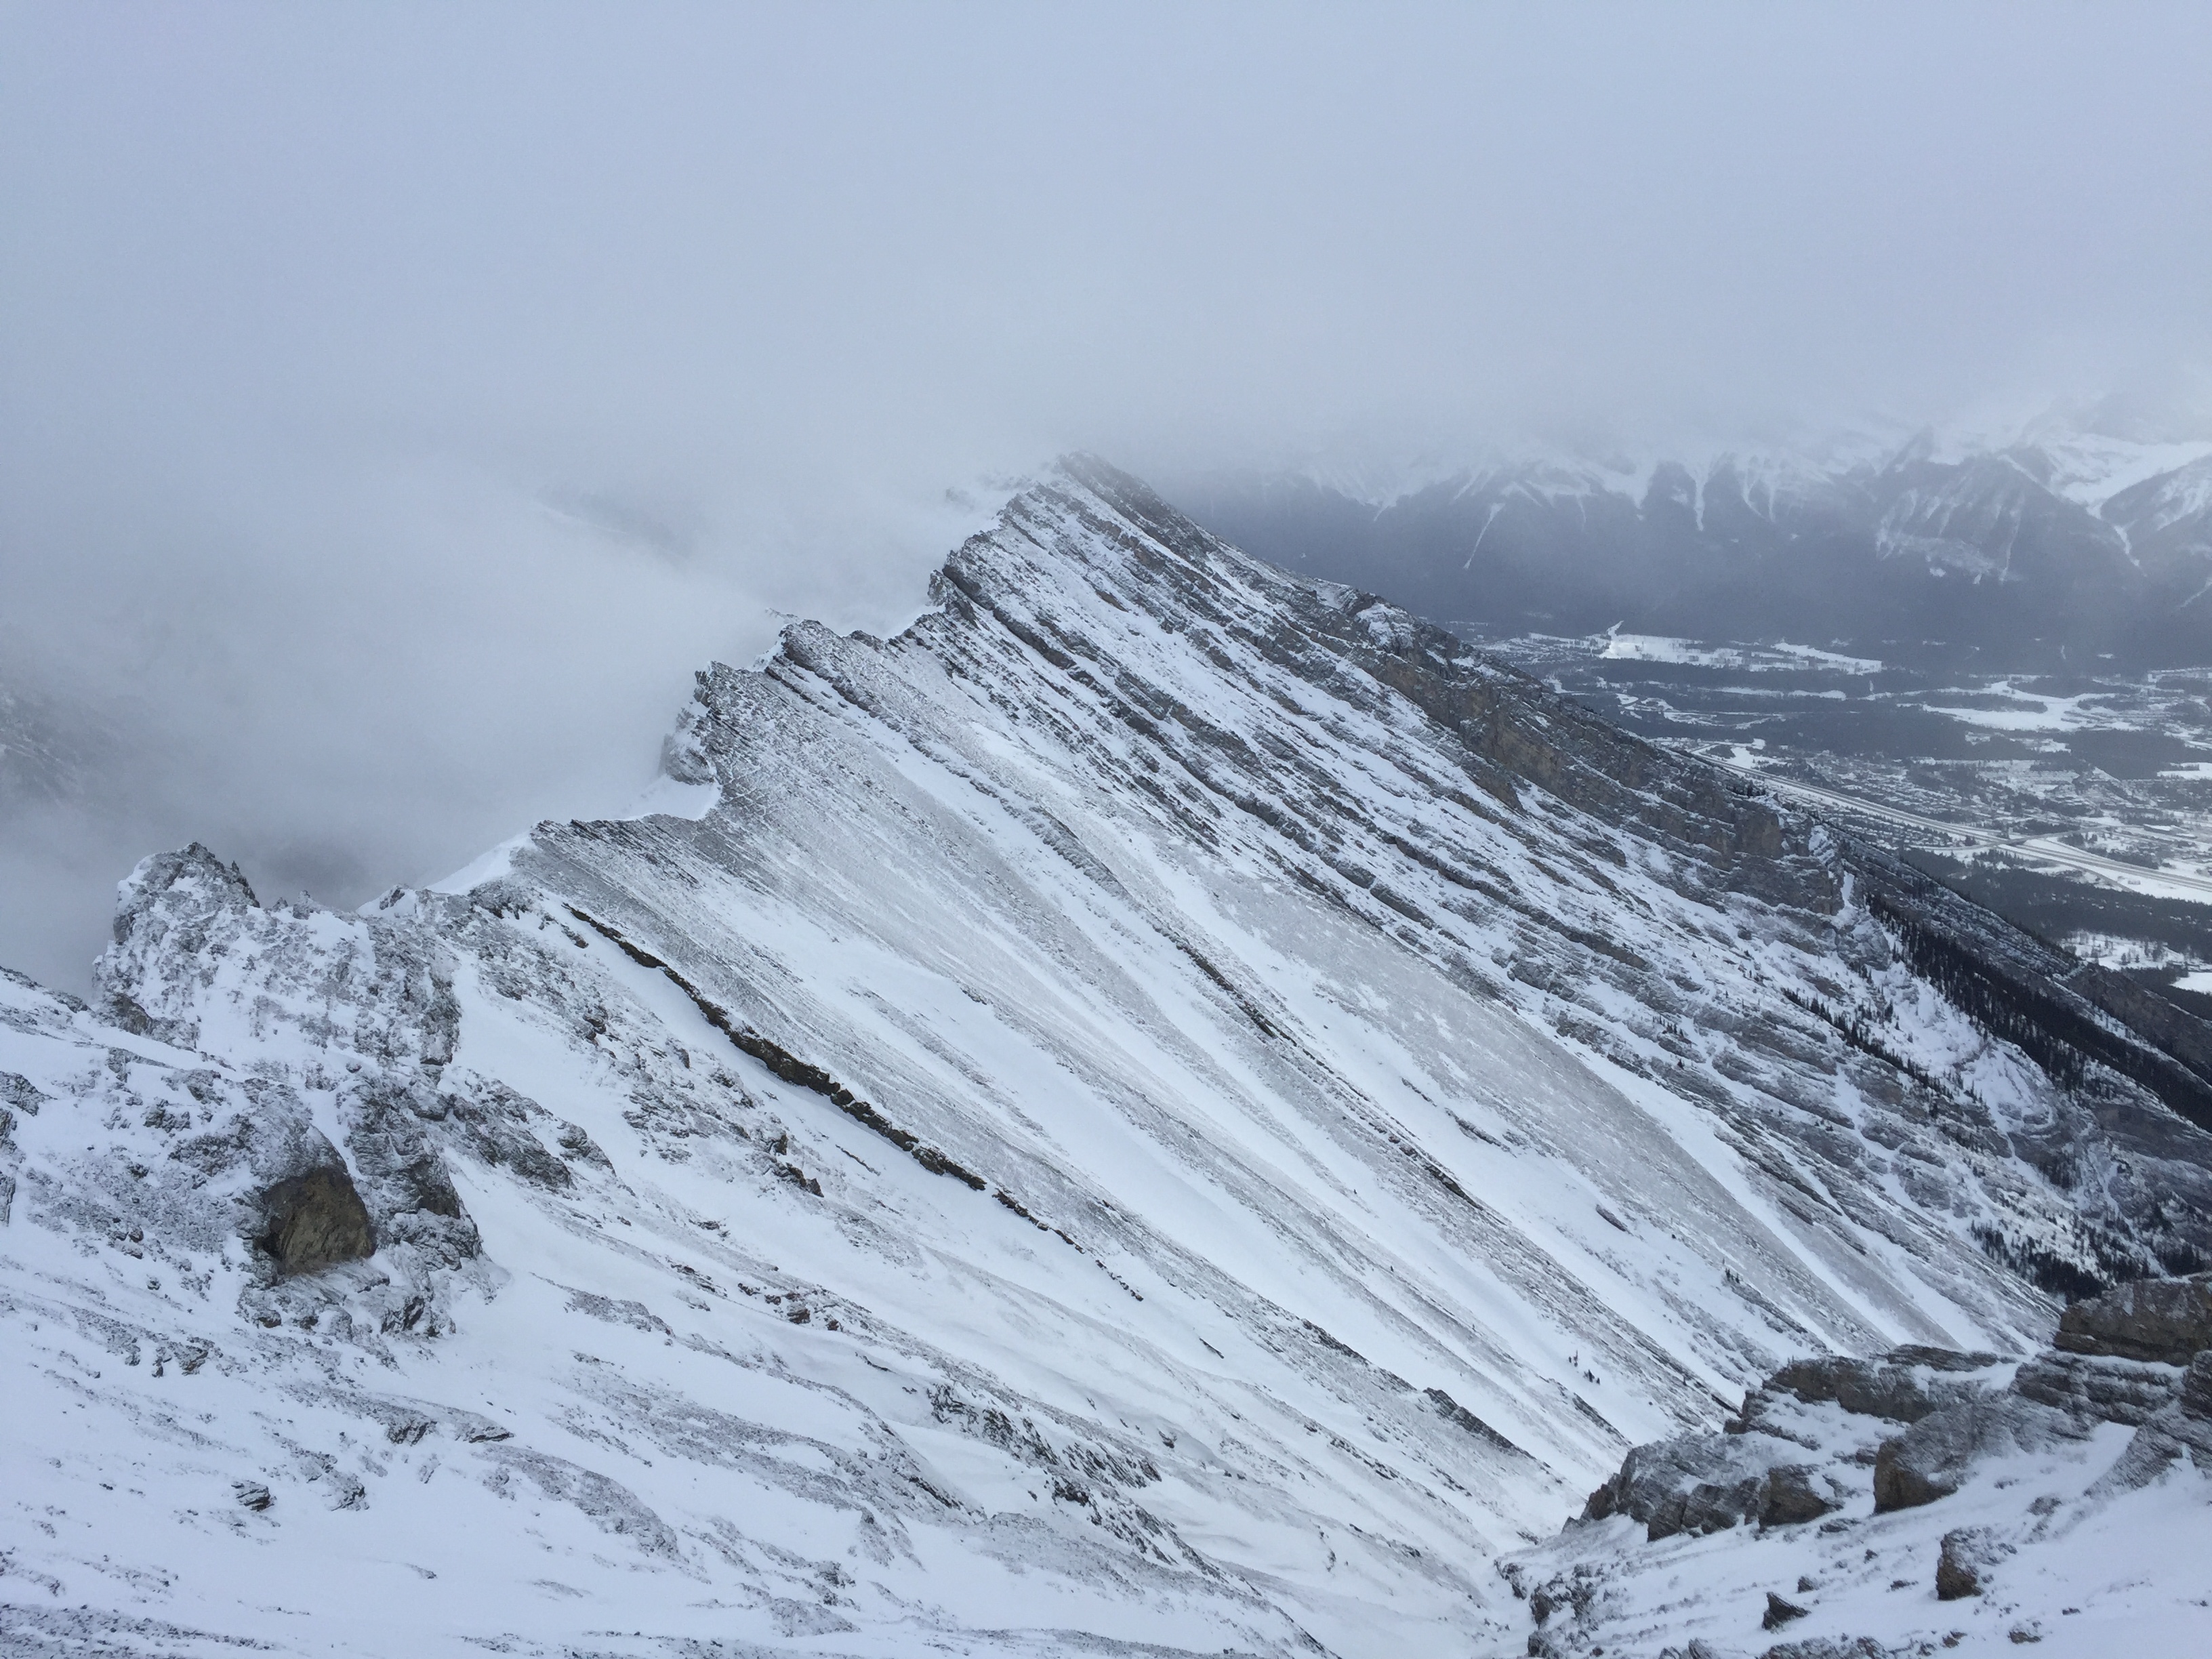
Once re-motivated and fed we finally took on the remaining section of the summit ridge. Compared to the slopes below, this was considerably more exposed and approached a moderate level of scrambling in some spots. One feature to note is roughly 10 minutes before the summit there is a large boulder blocking the way – take the climber’s left to navigate around it as the opposite side is too exposed.

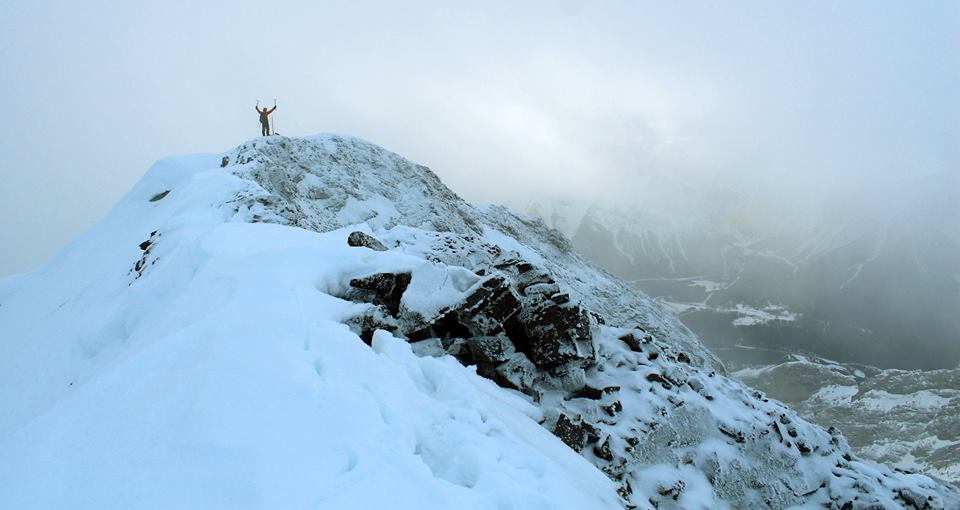
We finally reached the summit at 3:30pm. A large cairn with a stick planted in it marked the top, however after digging around in the snow we could not find the summit register. Further along the ridge were two small points also marker with cairns. To be sure we reached the top, we spent the extra 10 minutes exploring these but it was clear that the original high point was in fact the south summit. Oh well, the extra effort made for some great summit shots. Our adventure did not end there however…
…We had lost track of time with our summit push and post-summit exploring. It was already 4pm, a full hour past our designated turn around time. Through the cloud coverage we could also see that the sun was quickly setting and sooner than later we would be in the dark. For the first part of the ridge and slope we simply followed our zig-zagged tracks in the snow from earlier.
While on the summit it had accumulated snow below us and thankfully we made up some lost time boot-skiing back down to the scree bowl. Nearly 700m descended in 50 minutes. However the remainder of the return hike dragged on for over 4 hours. Most of our tracks from earlier had been covered by the snowfall. Every other step one of us would twist an ankle or fall through the snow. Among other issues 2/3 of our lights lost power early in the evening, we were both being guided solely from my headlamp.
We legitimately became lost having followed the wrong set of tracks away from the creek bed and into the forest. After nearly an hour of second guessing and navigating through the trees and cliffs we found signage of the Montane Trail. 45 stressful semi-lost minutes later we found ourselves in the parking lot for Silver Tip Golf Course. The hour’s walk home from there was considerably more easy than the two hours leading up to that moment. Exhaustion would be an understatement.
I am very lucky to have had JJ as my hiking partner that day – his calm collective nature was the key to getting unlost and back home that night. In summary – yes, this peak can be done in winter but perhaps better done in early winter before the creek bed and basin fill in with snow.
