
December 10th, 2018. Aoraki Mt Cook National Park – New Zealand.
Round Trip: 4 hours, Elevation Gain: 750m
Easy Scramble
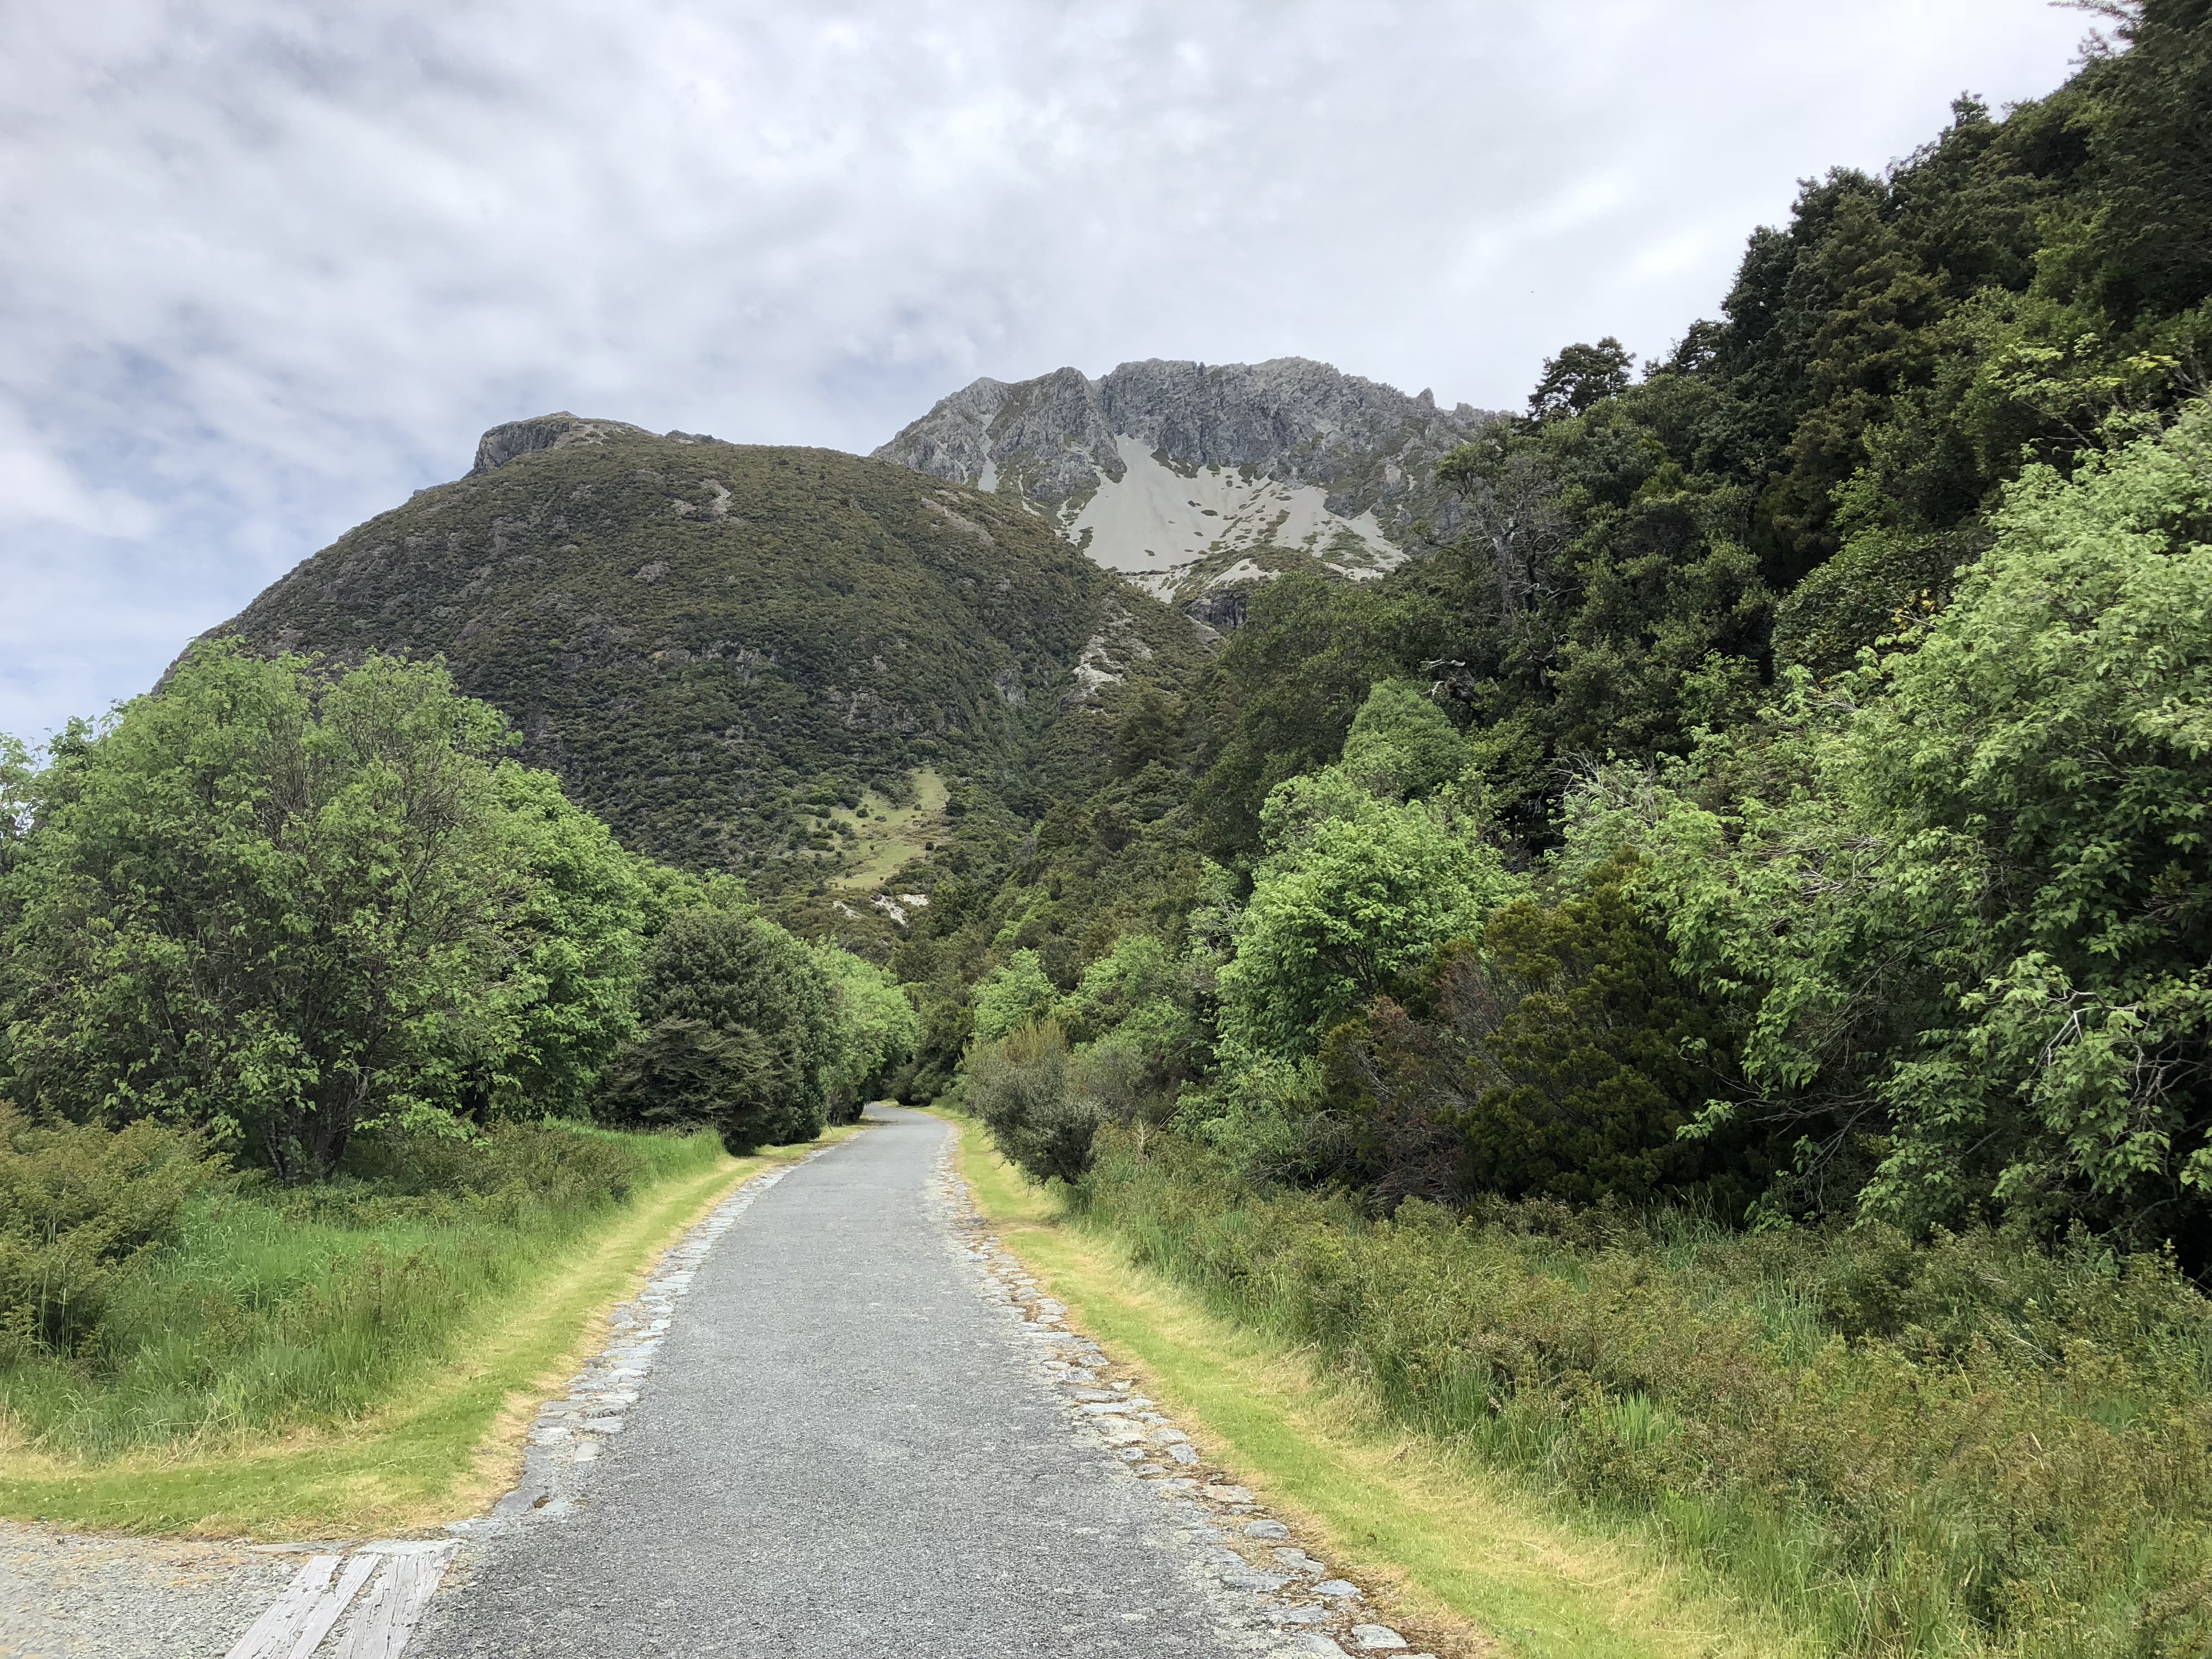
Sebastopol Peak is the initial high point of Sebastopol Ridge that leads west towards Mount Annette. From Mount Cook village follow the well marked tourist hikes of Governor’s Bush to Red Tarns. For those familiar with scramble ratings in the Canadian Rockies, this is mostly an easy scramble with one brief moderate section below the summit.
While this appears to be a regularly ascended high point, we were pleasantly surprised to only encounter one other person once above the Red Tarns part. It’s a fast two hour ascent of 750m, giving you ample time to explore other trails in the same day if limited on time while in the park.
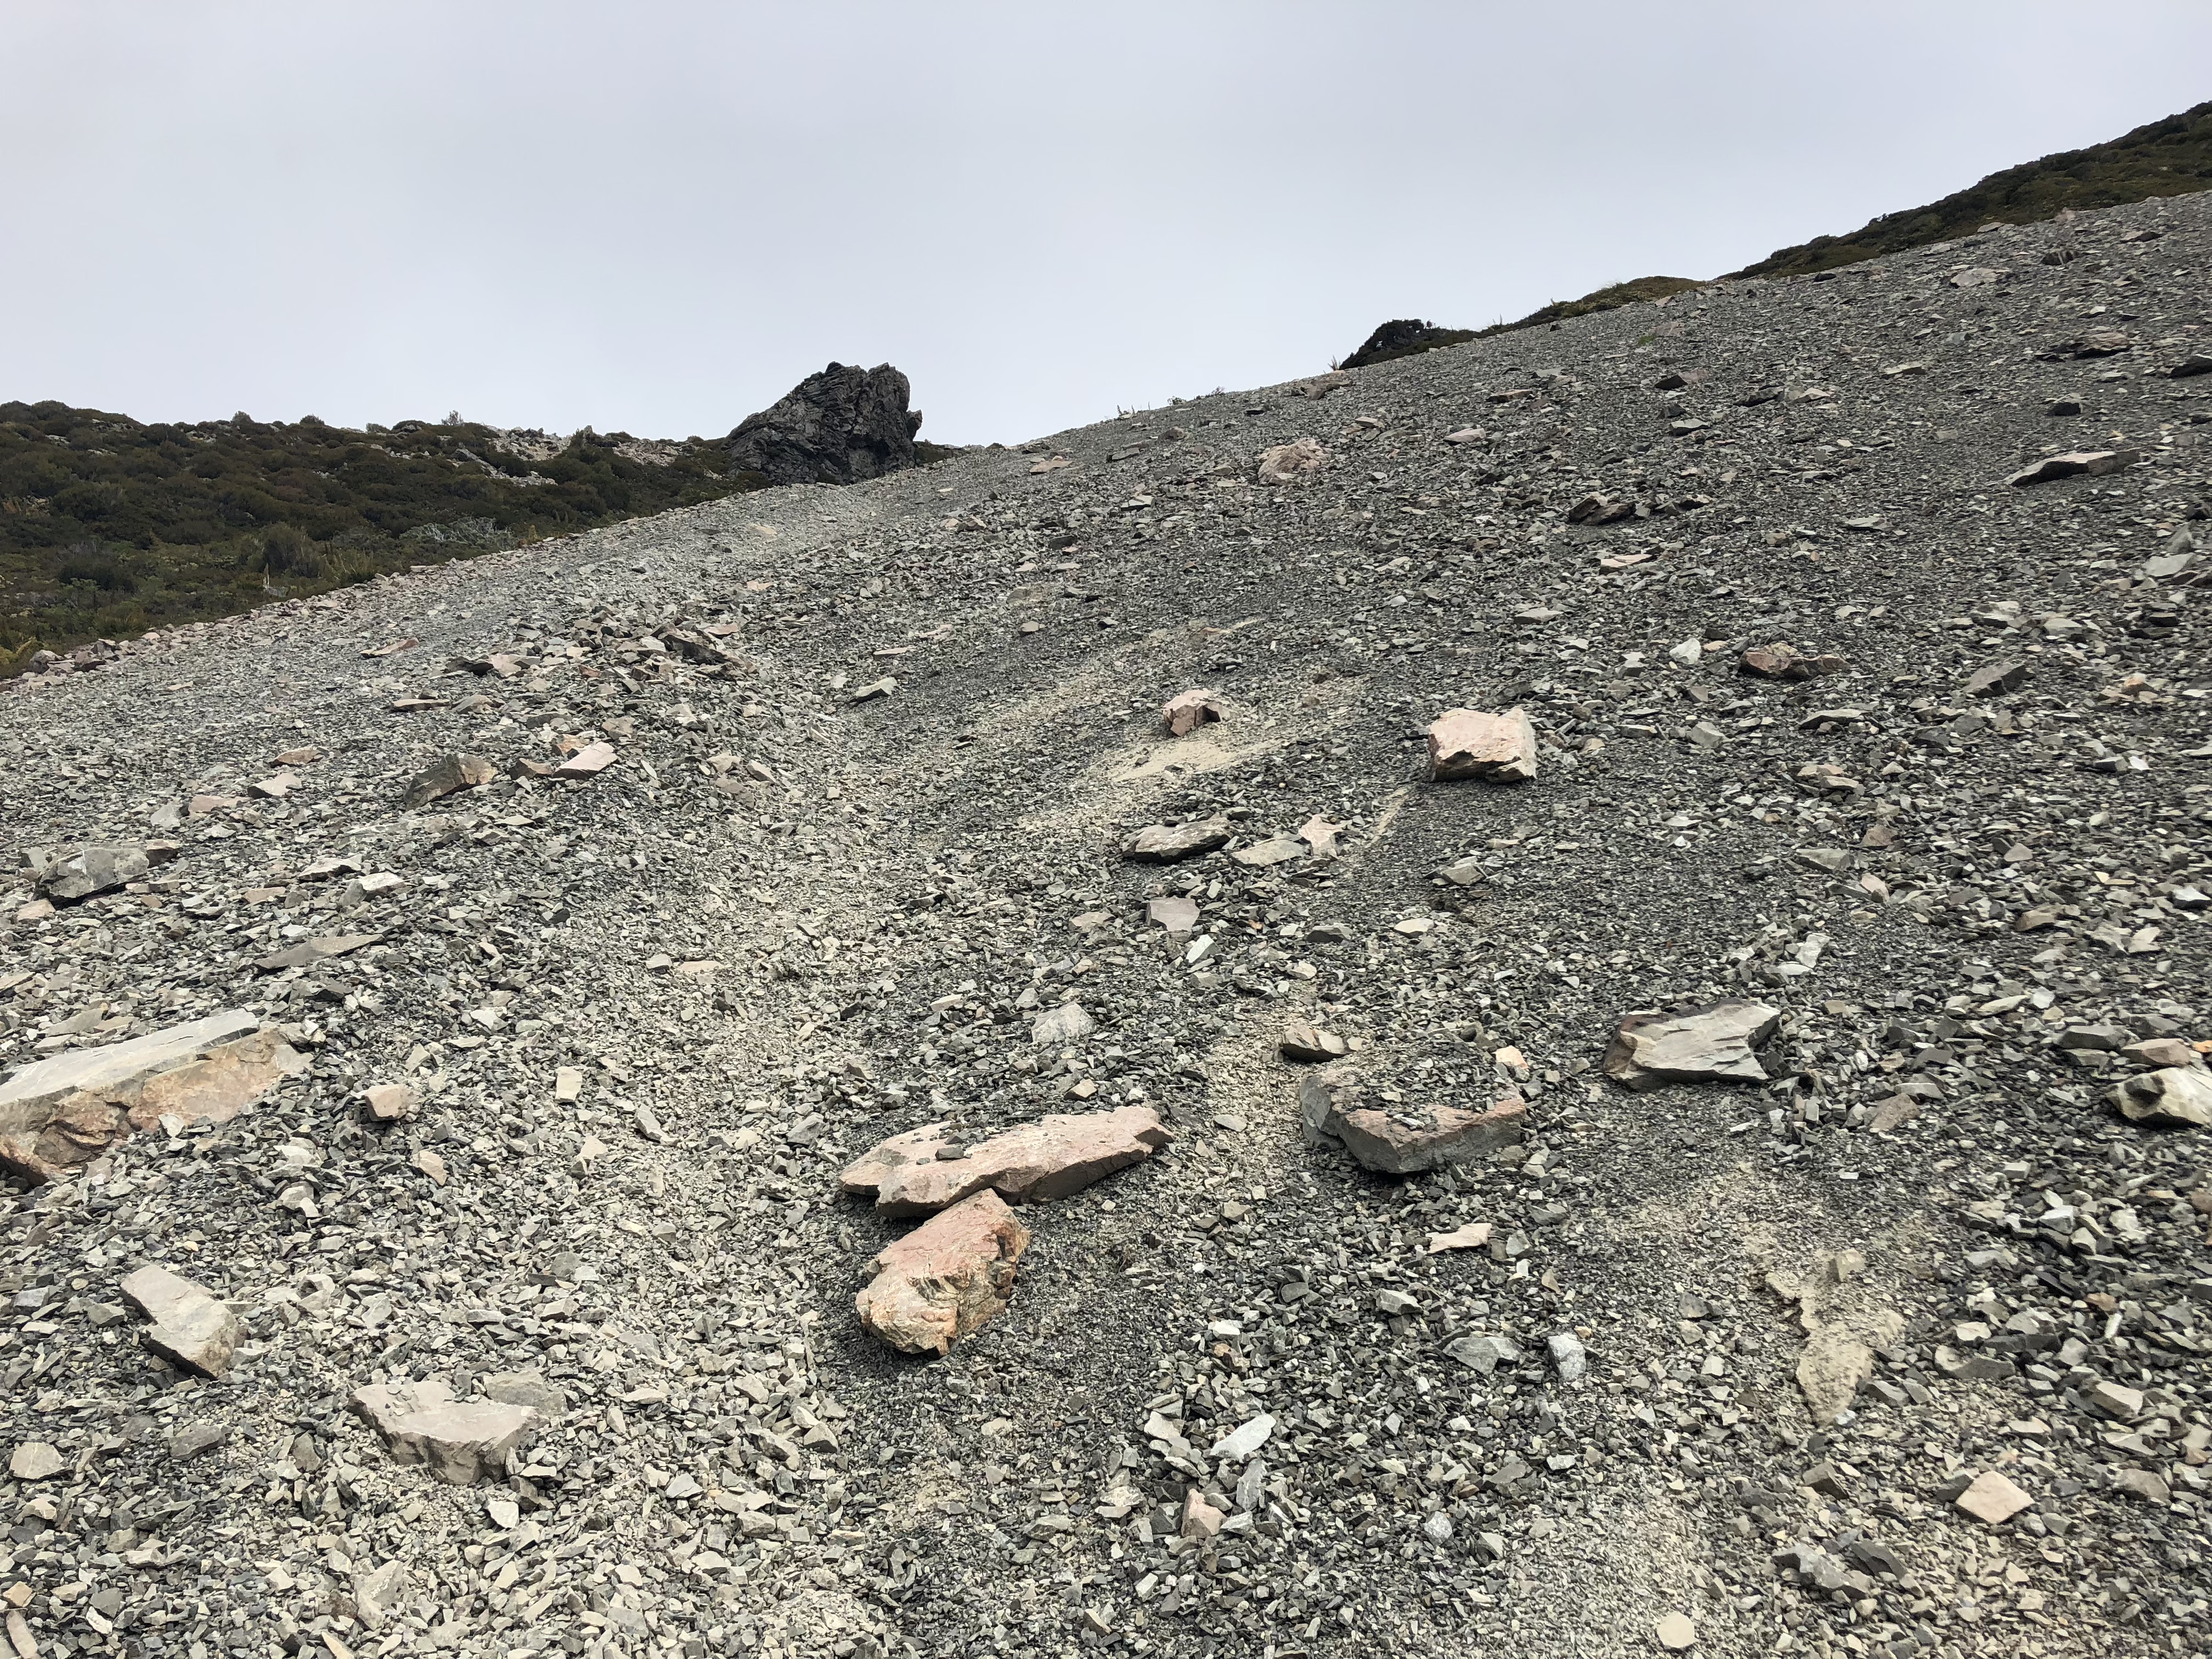
Note: while this is an easy scramble there is a fair bit of loose rock above the vegetation line. We both managed to dislodge a few large rocks below the summit. If in a large group, be sure to spread out and communicate with each other.
Bri and I decided to tackle this one after work. We had previously been up to the Red Tarns and noticed a worn path leading away from the tarns up a grey scree slope. We did some online research and found that summitpost.org to be the most insightful resource for this route.
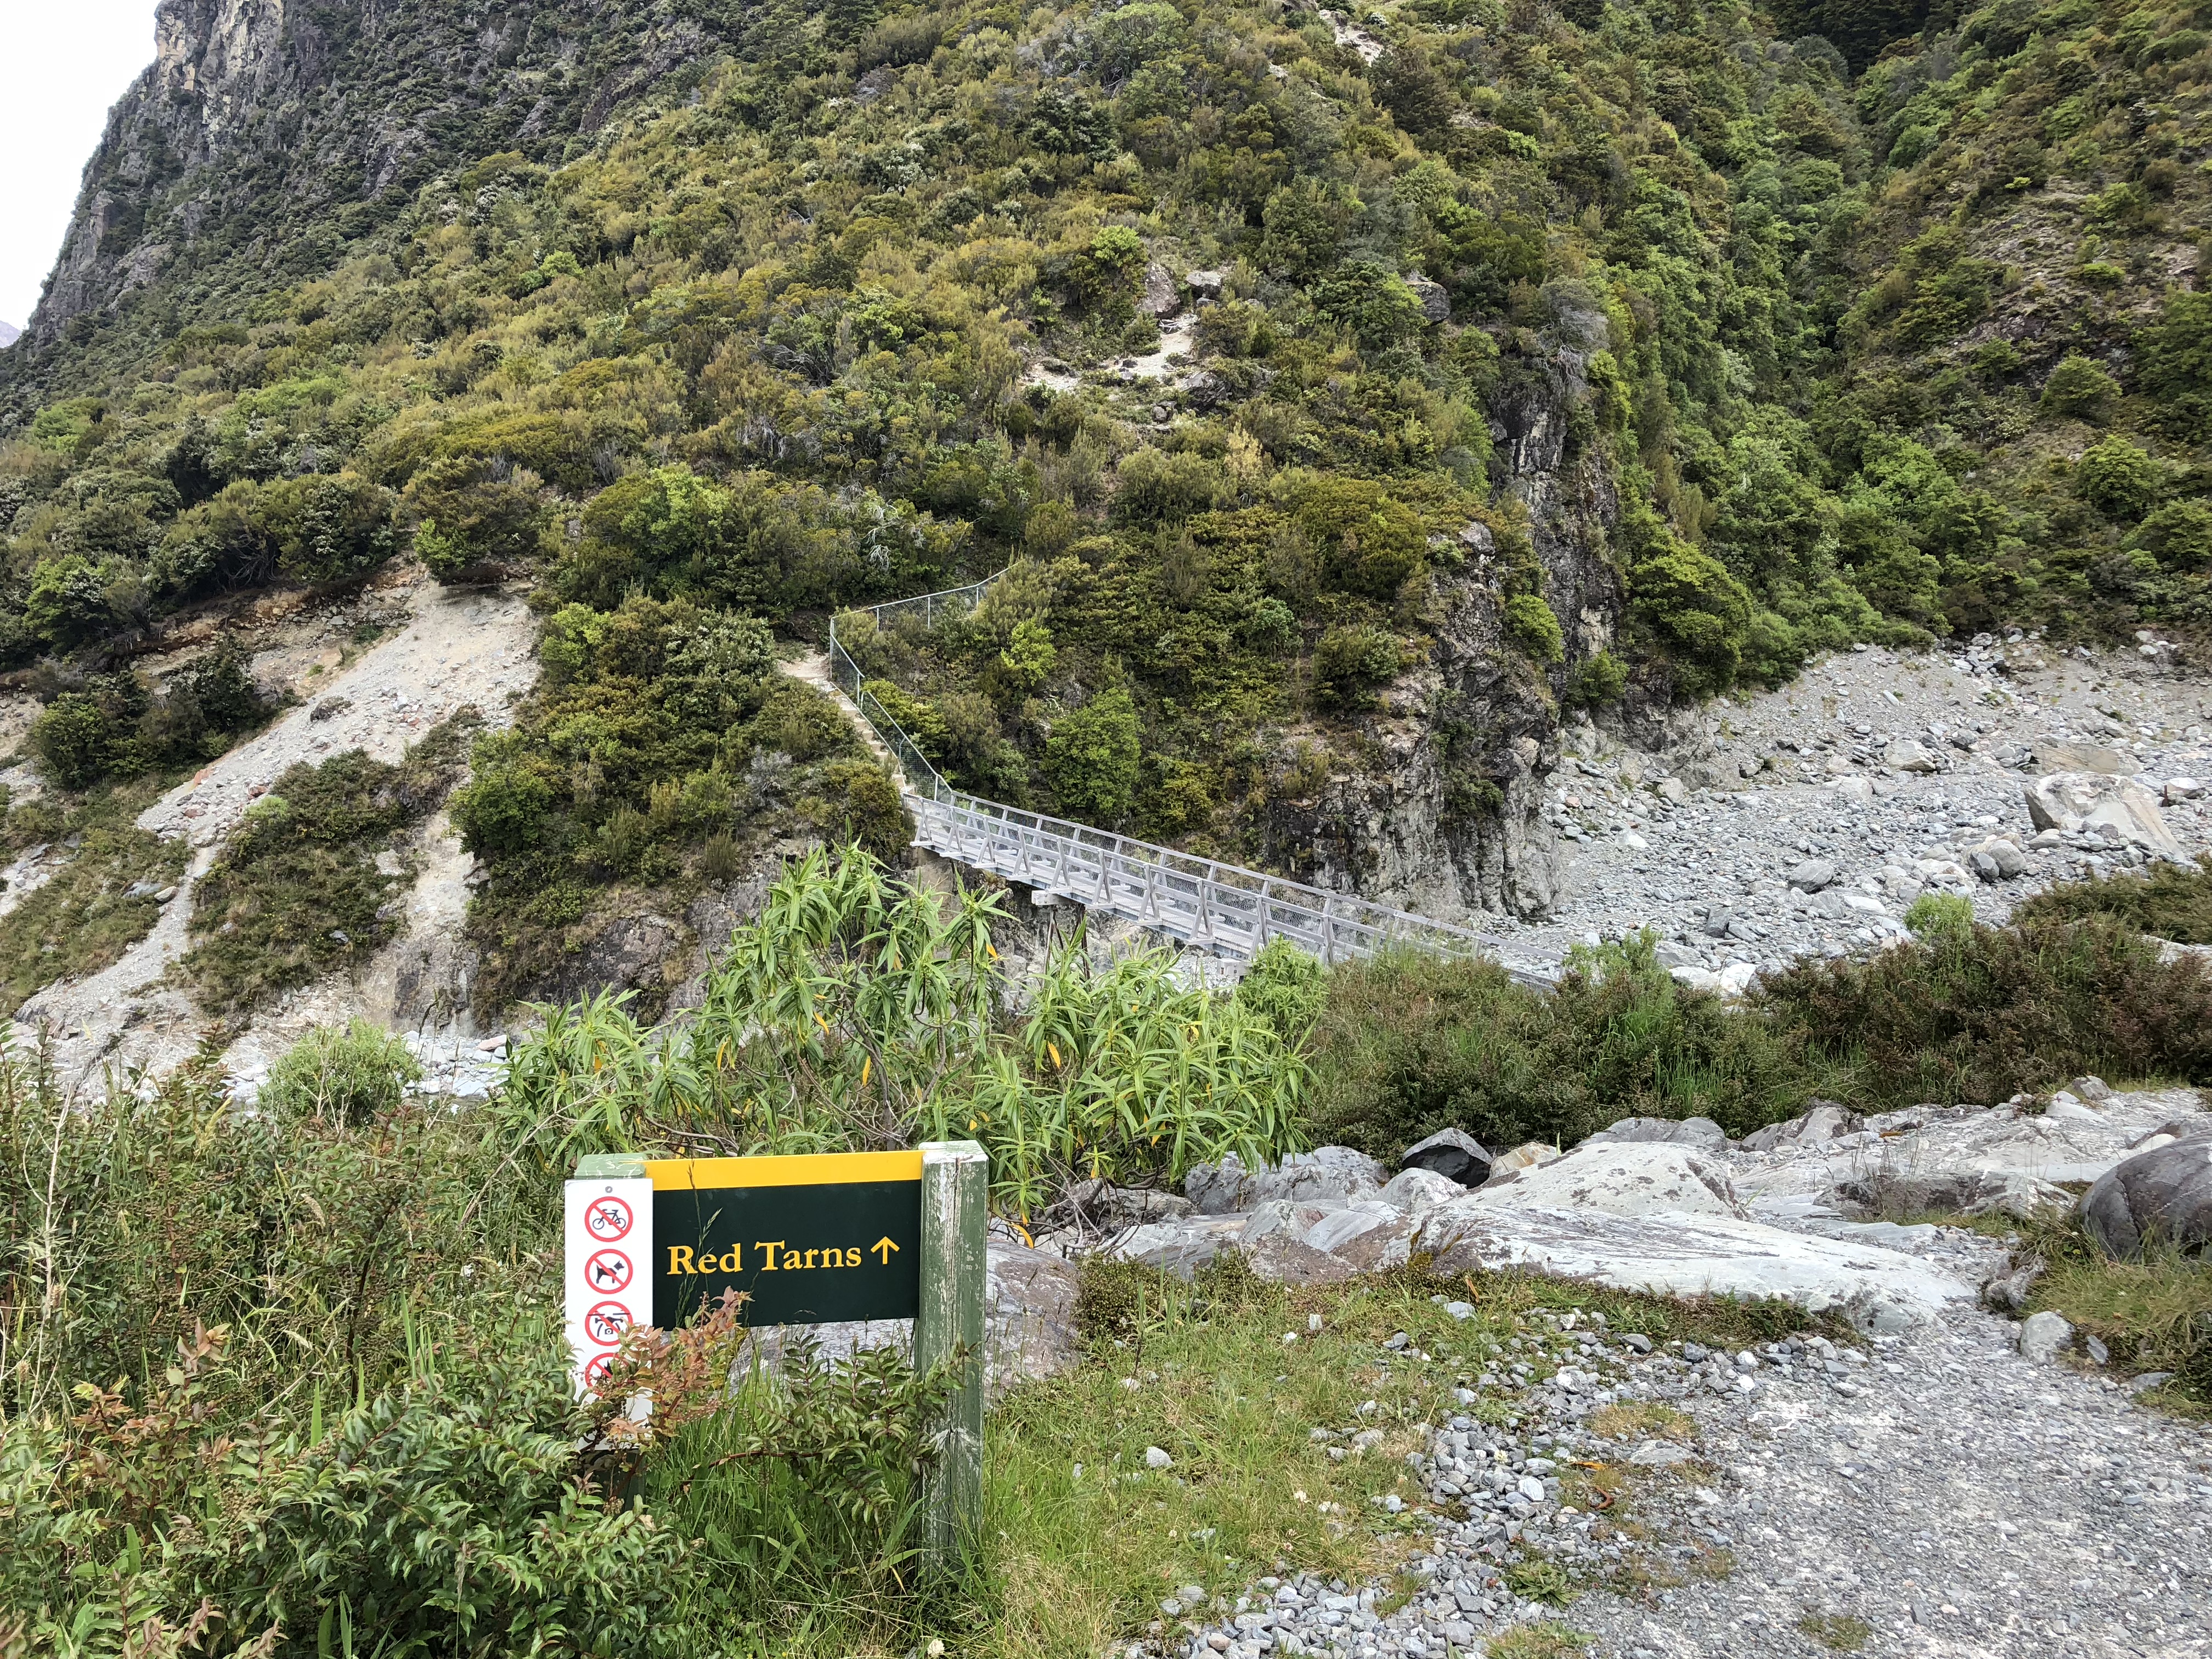
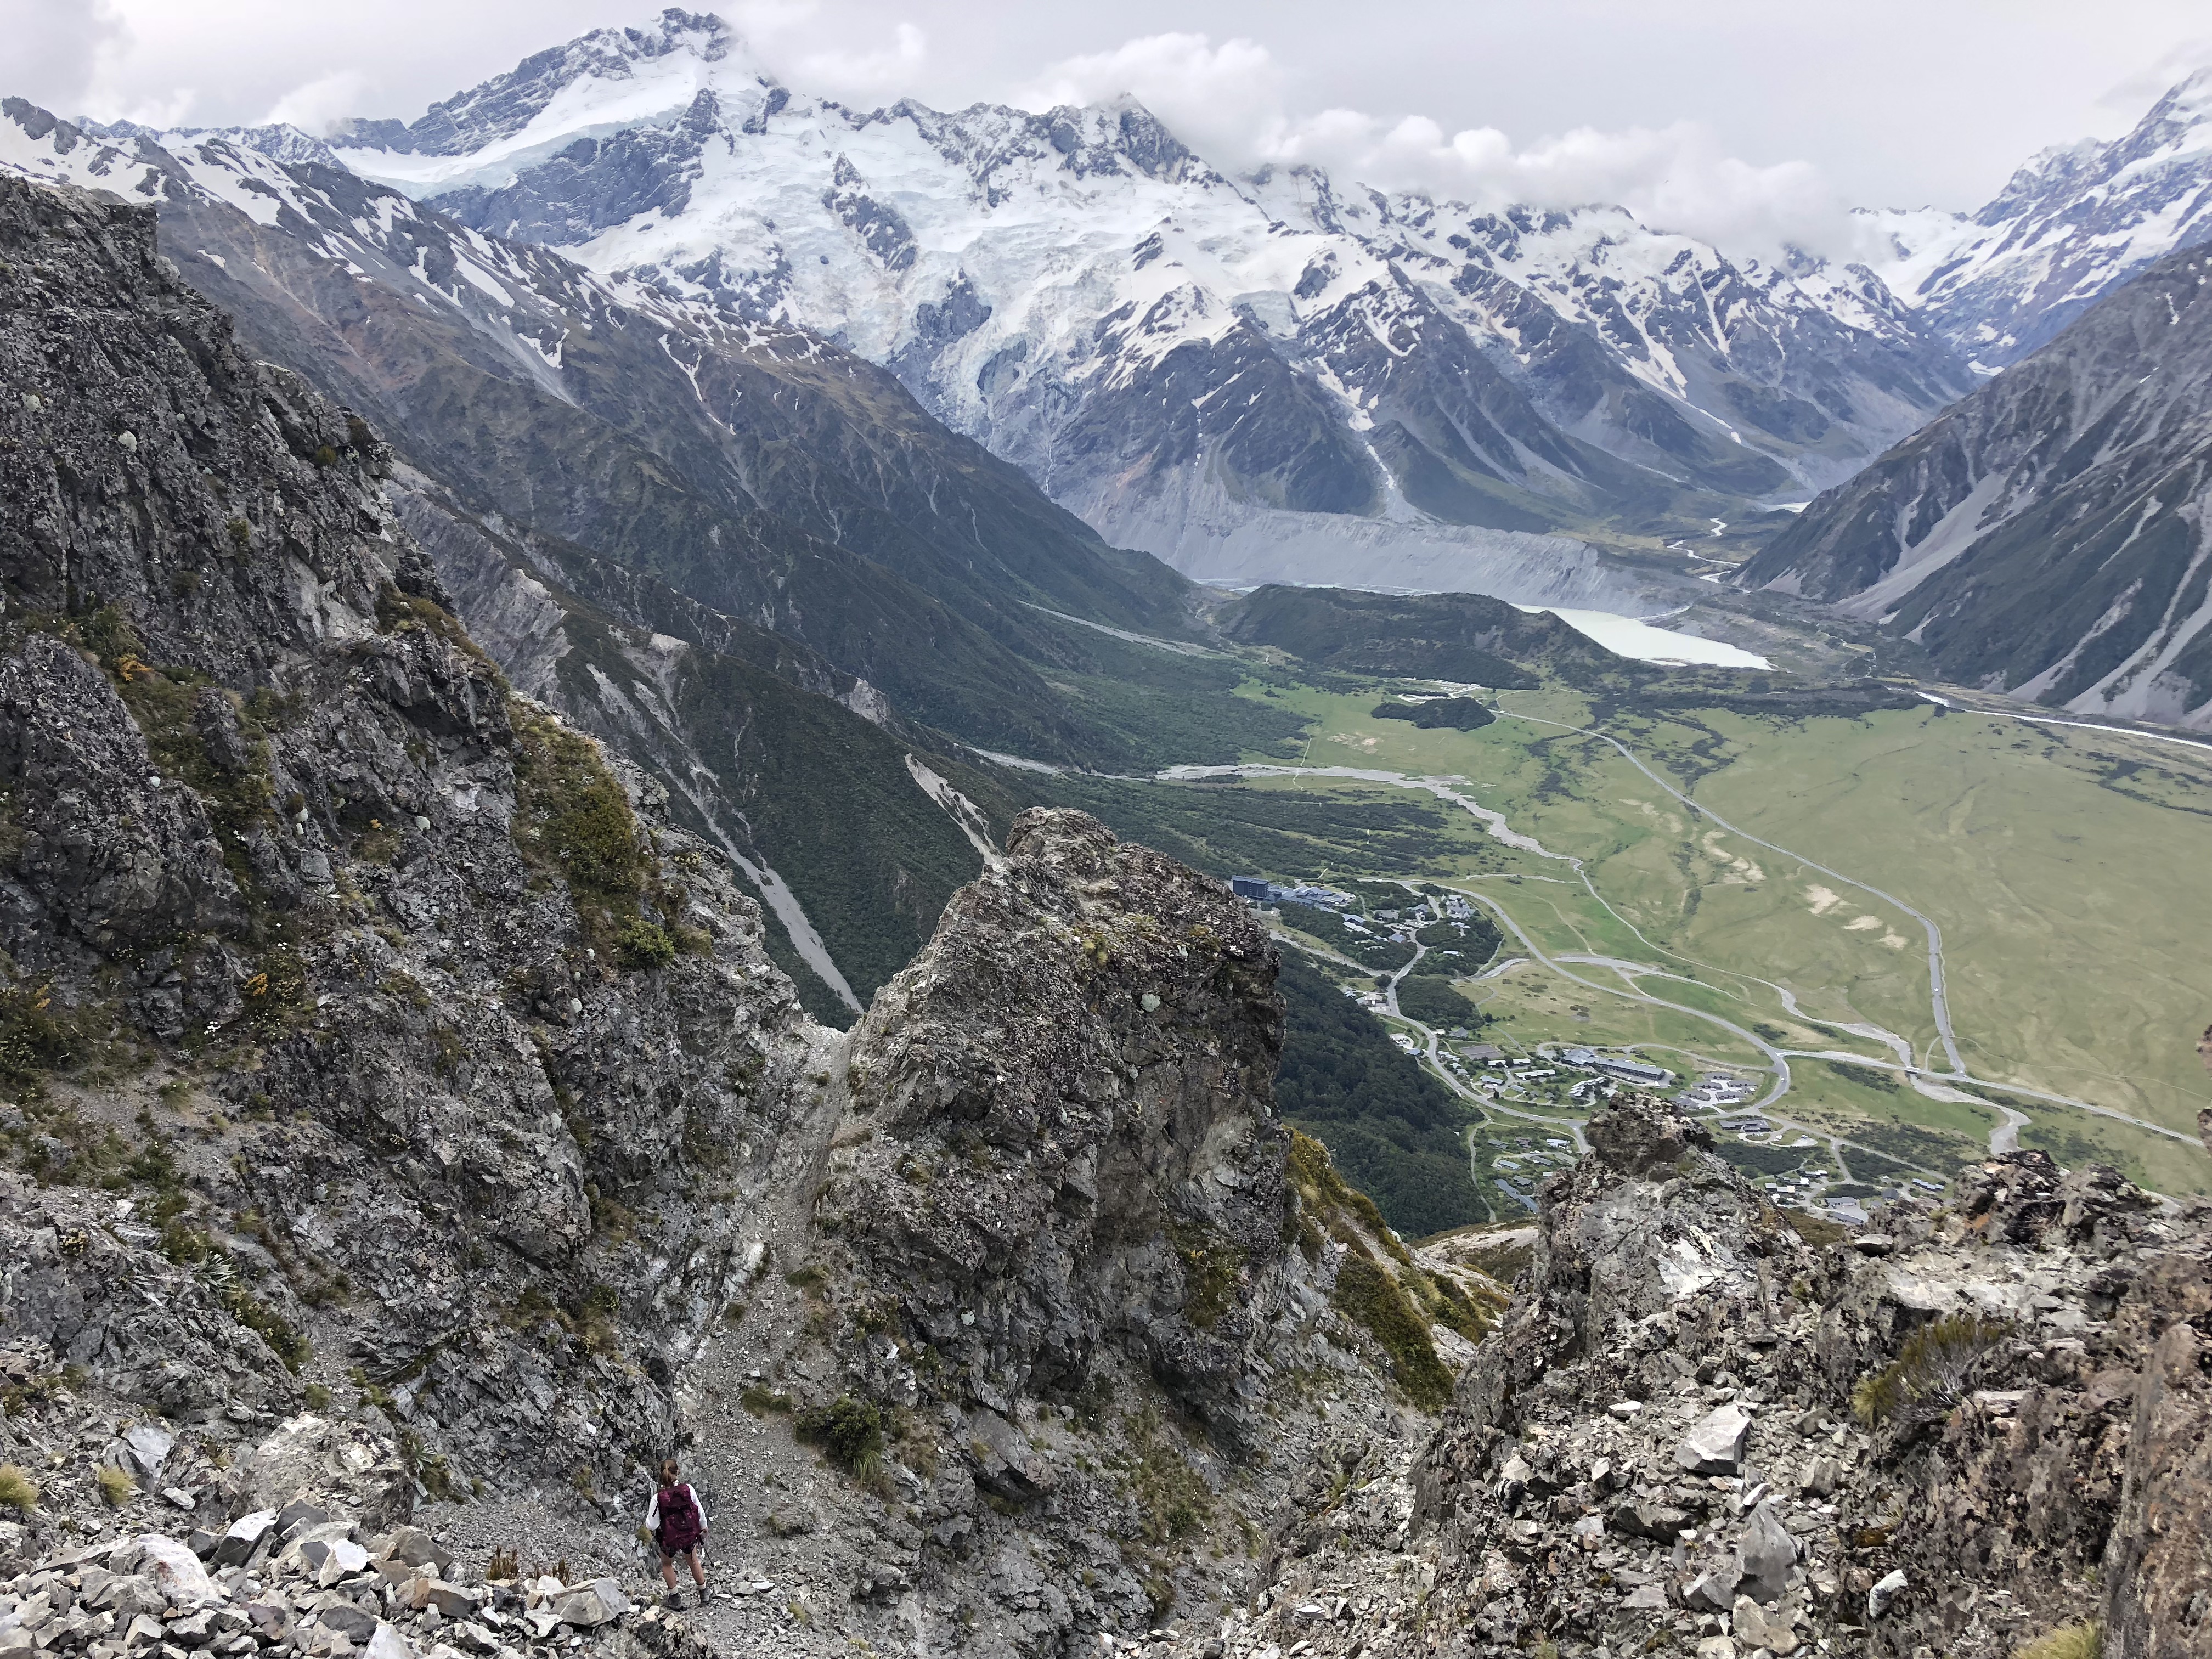
For the approach you will first need to stomp up 300 metres worth of steps to the Red Tarns. This is a popular tourist route but nevertheless will get the heart rate going and is a great warm up before the real ascent begins. Plus the views are worth every step!
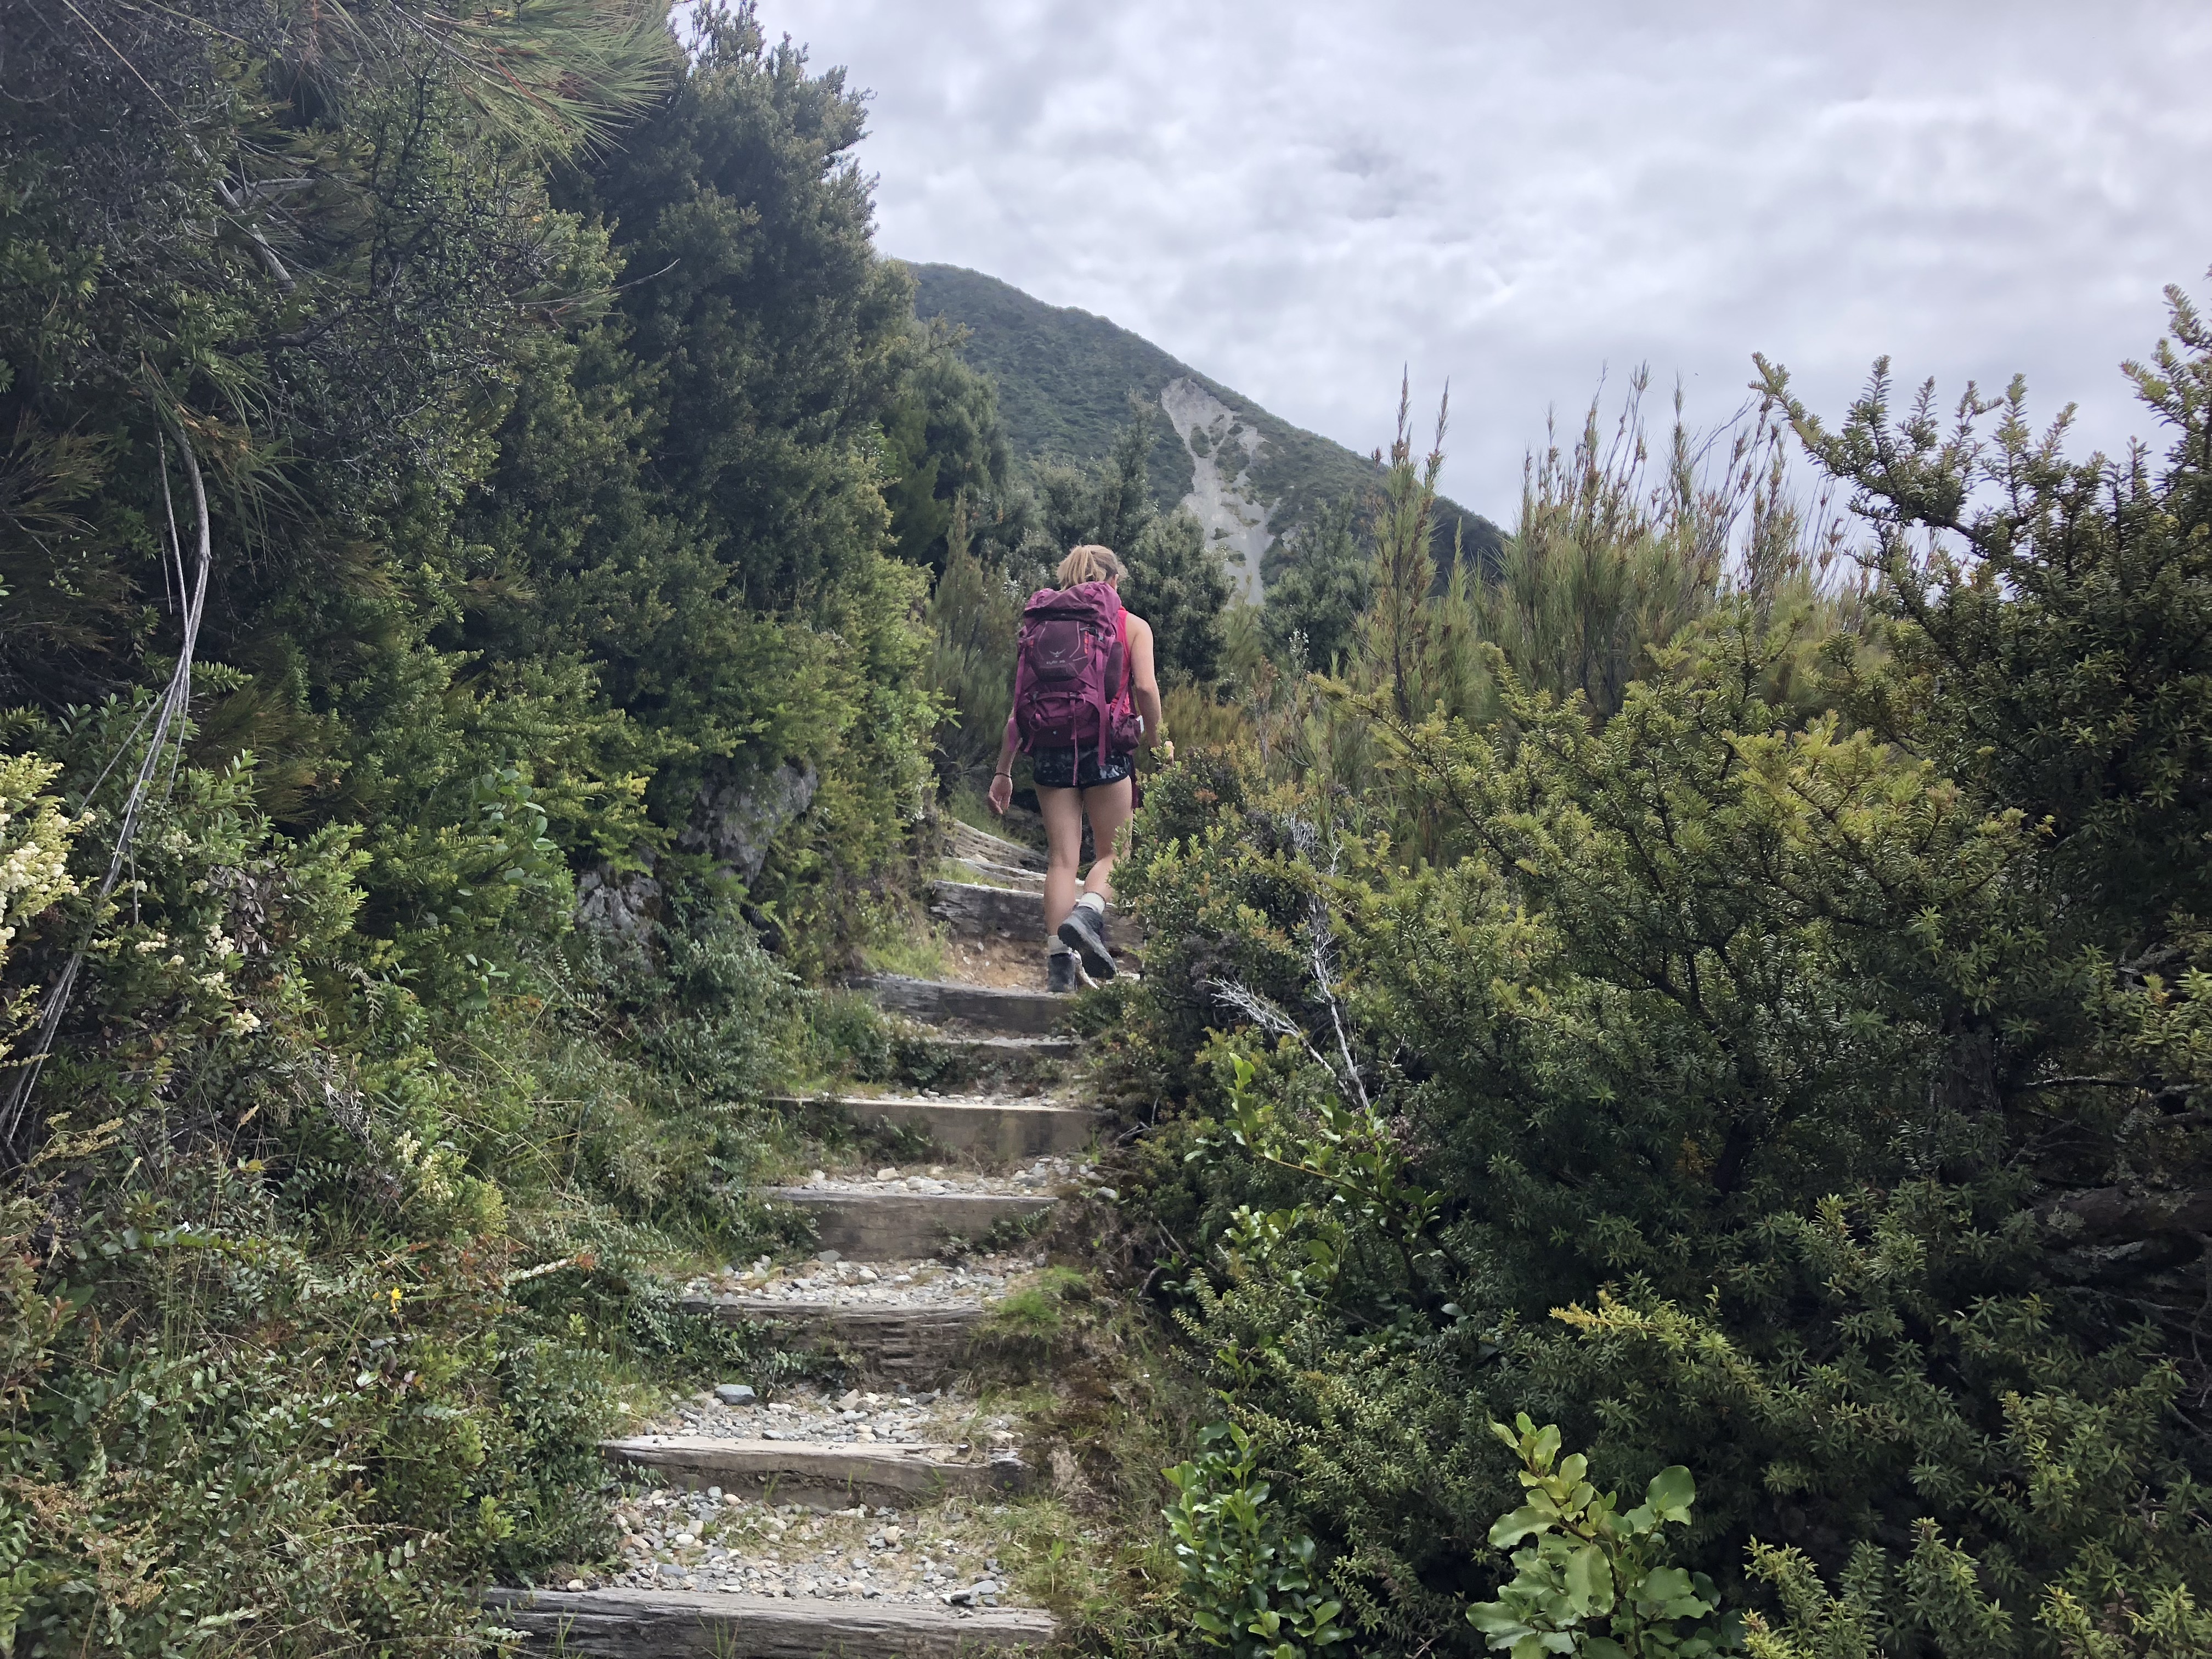
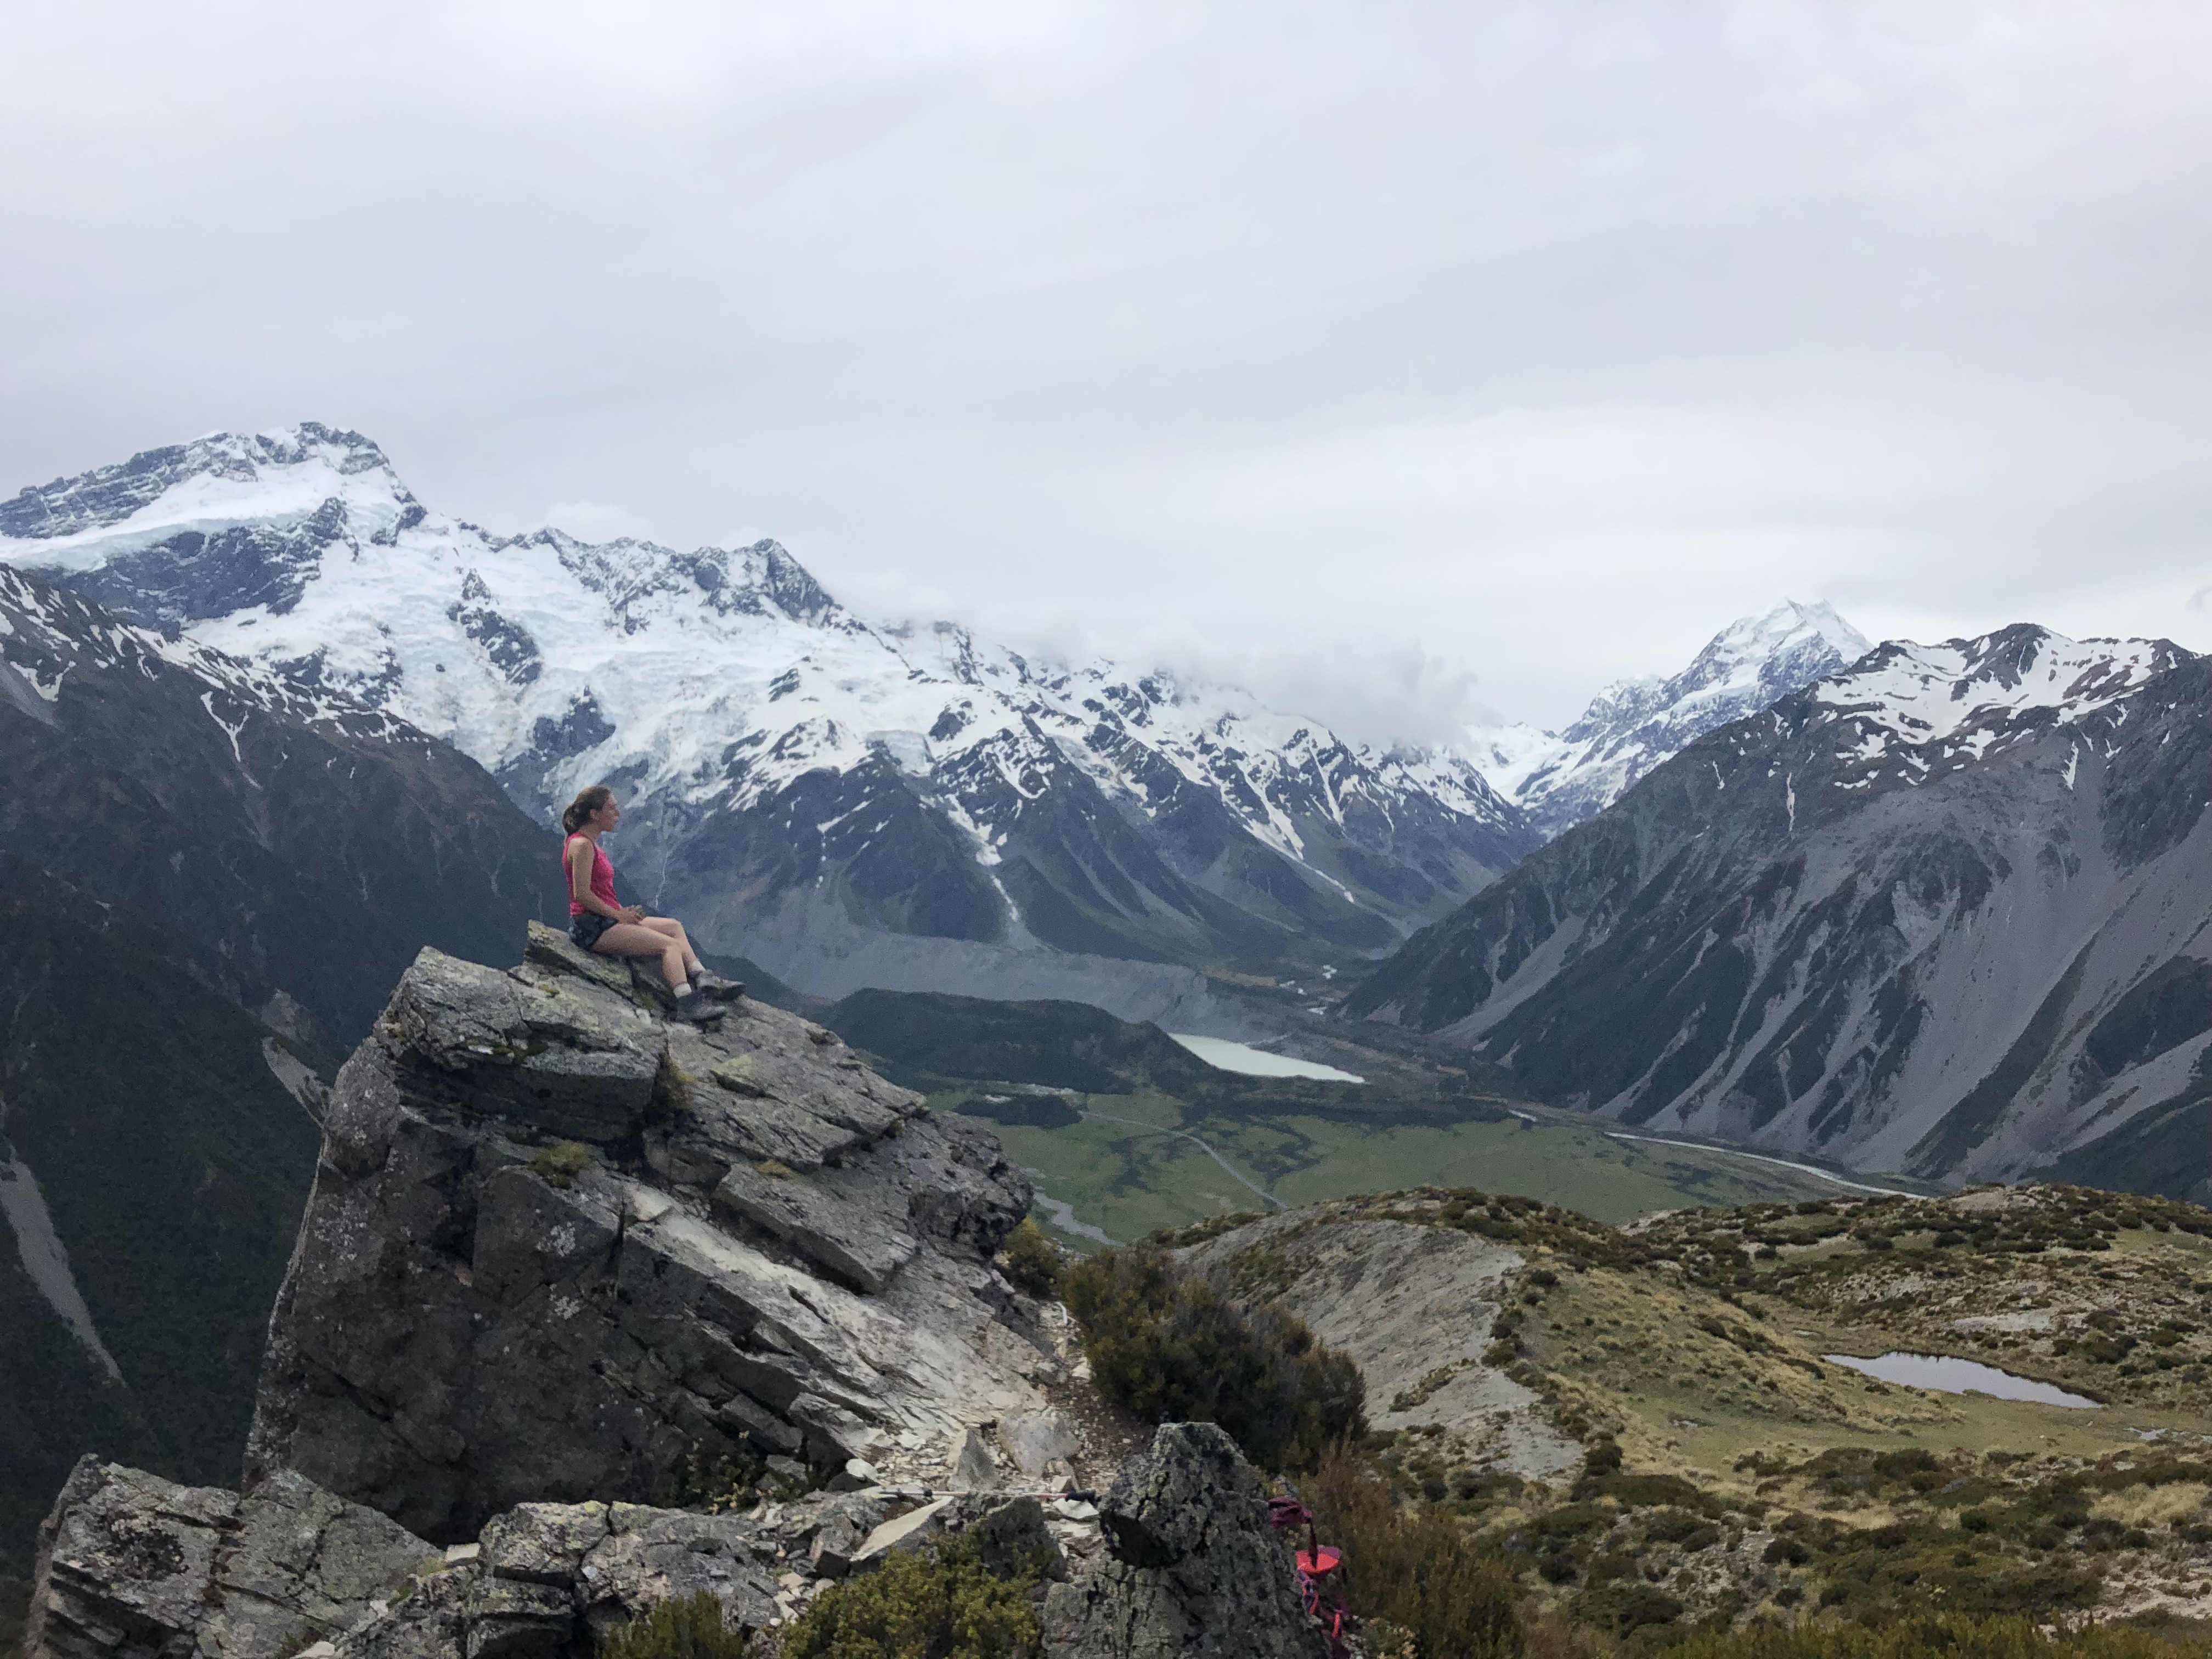
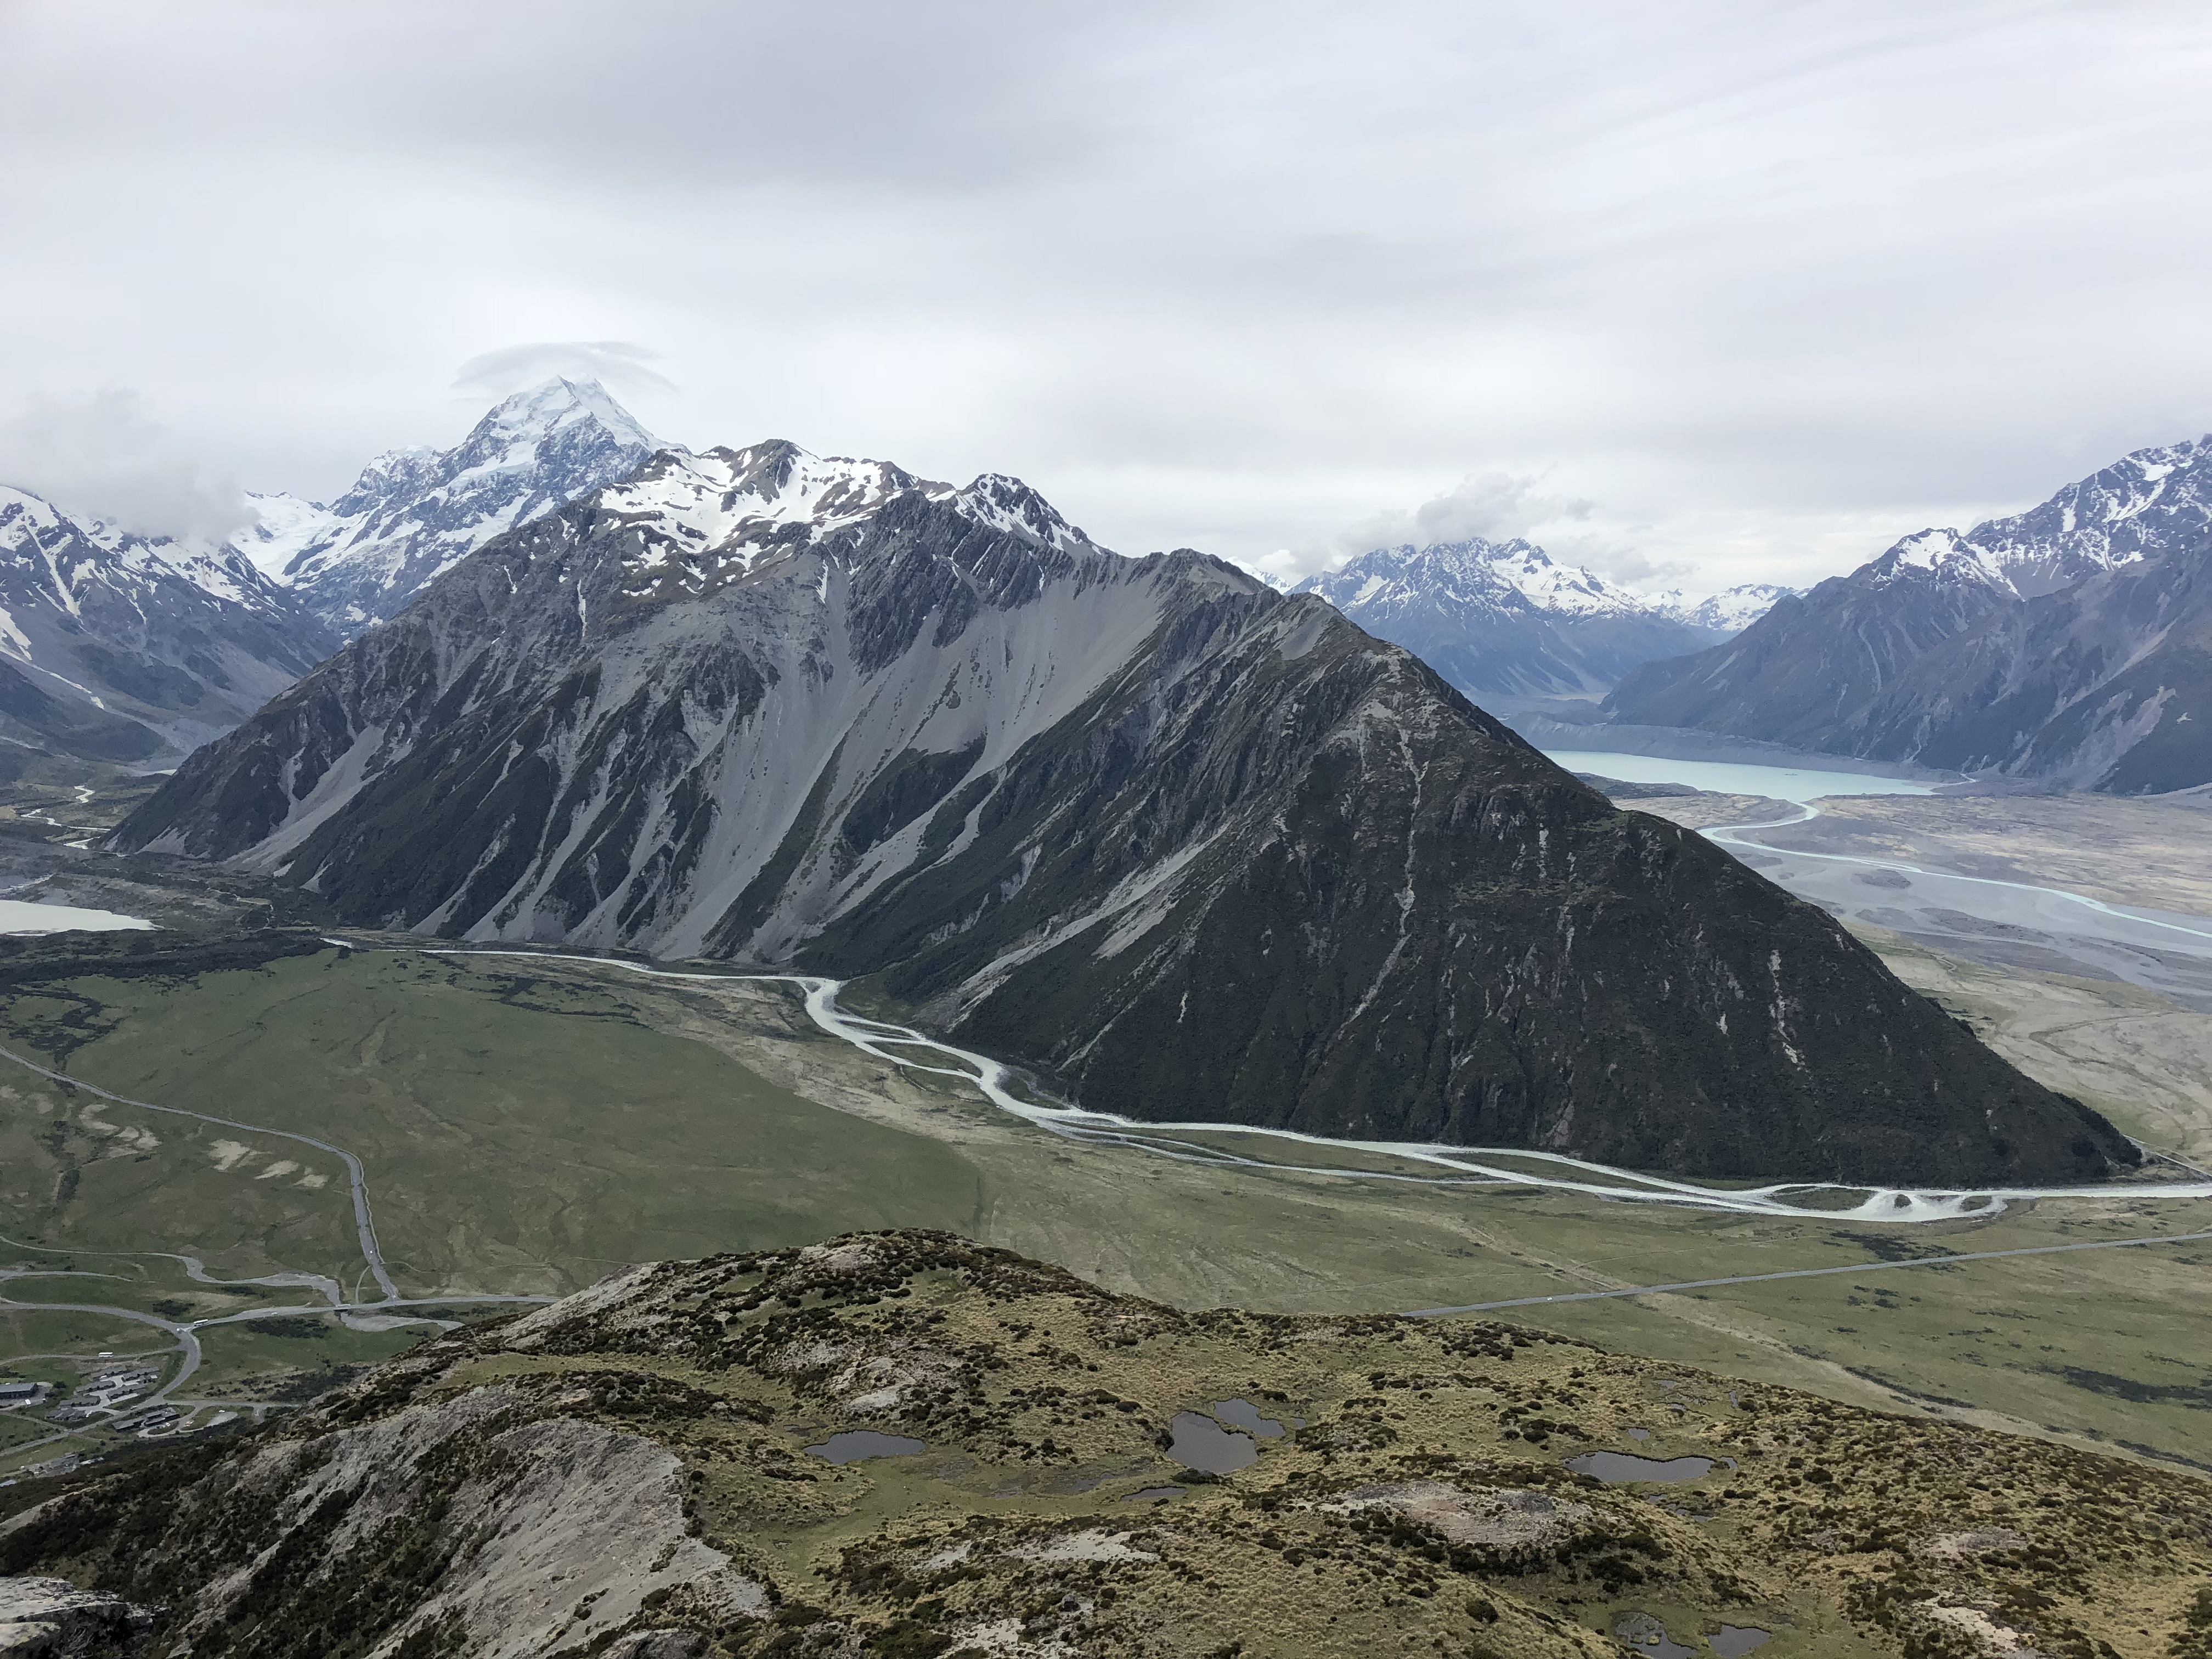
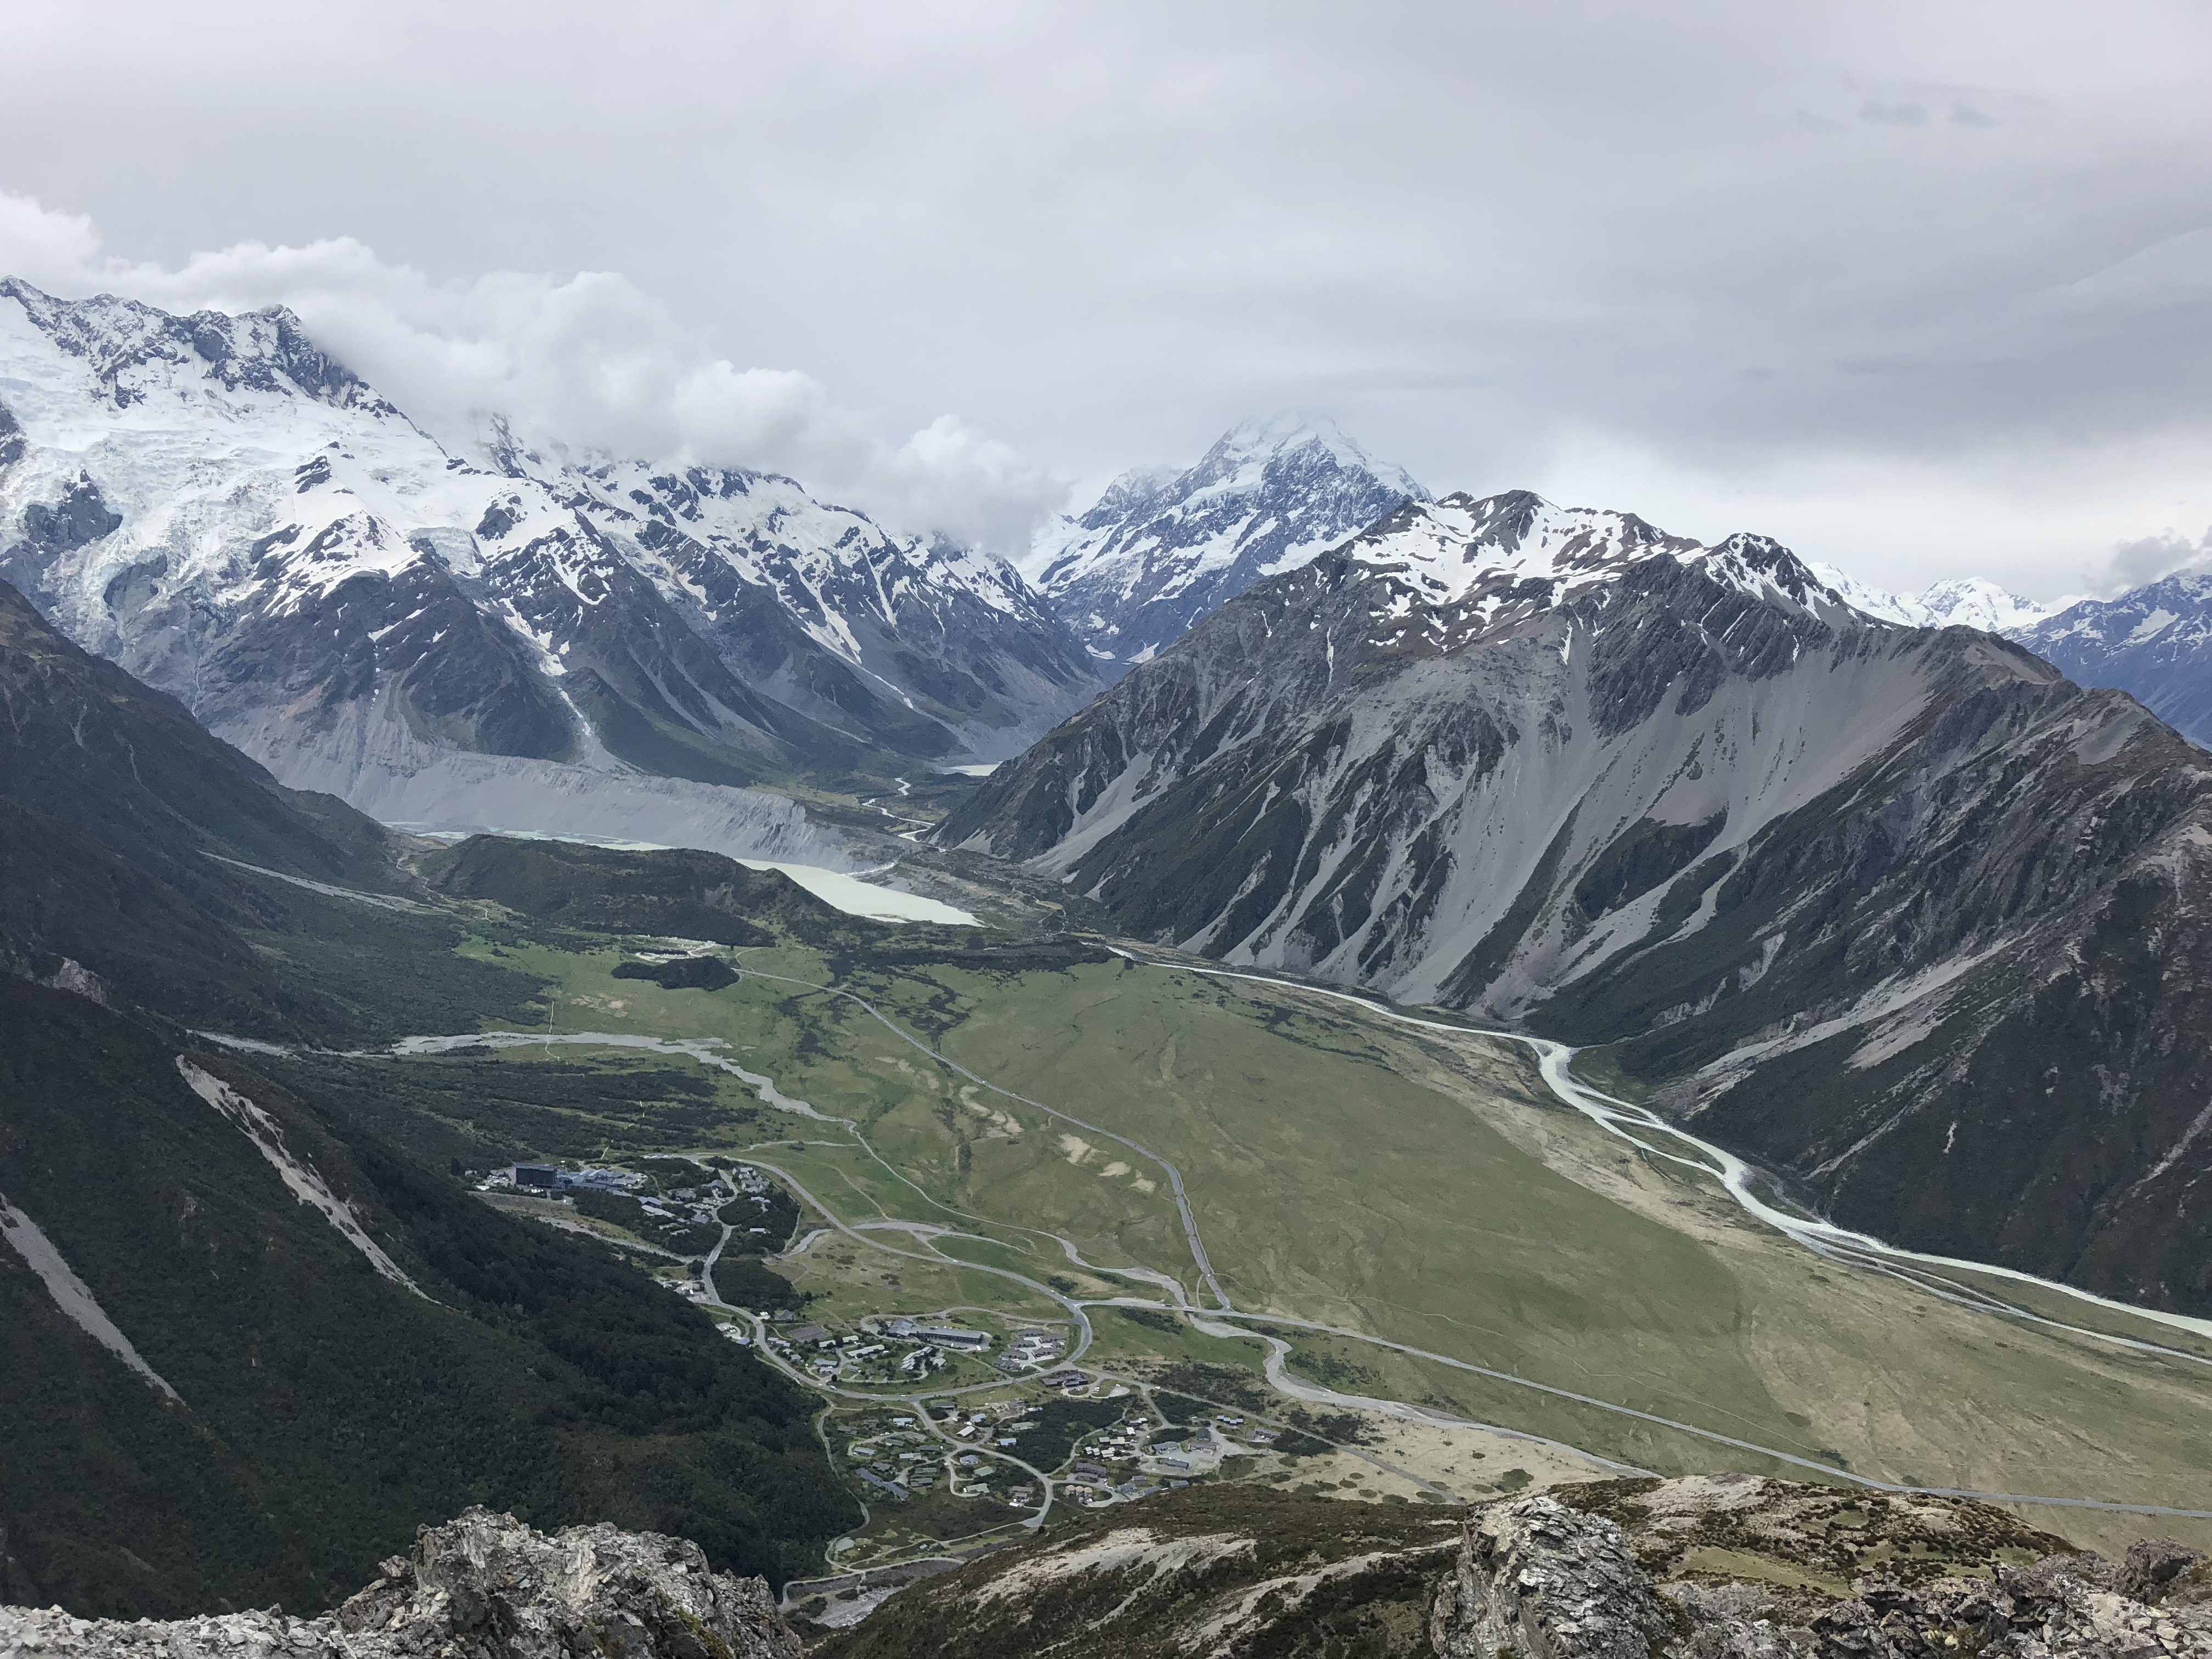
Once at the Red Tarns, one is already faced with the astonishing beauty of Aoraki National Park. On a clear day you’ll be greeted with views of Aoraki / Mount Cook itself! Pending on your energy level this is an ideal spot to have a quick break before tackling the scree slope above.
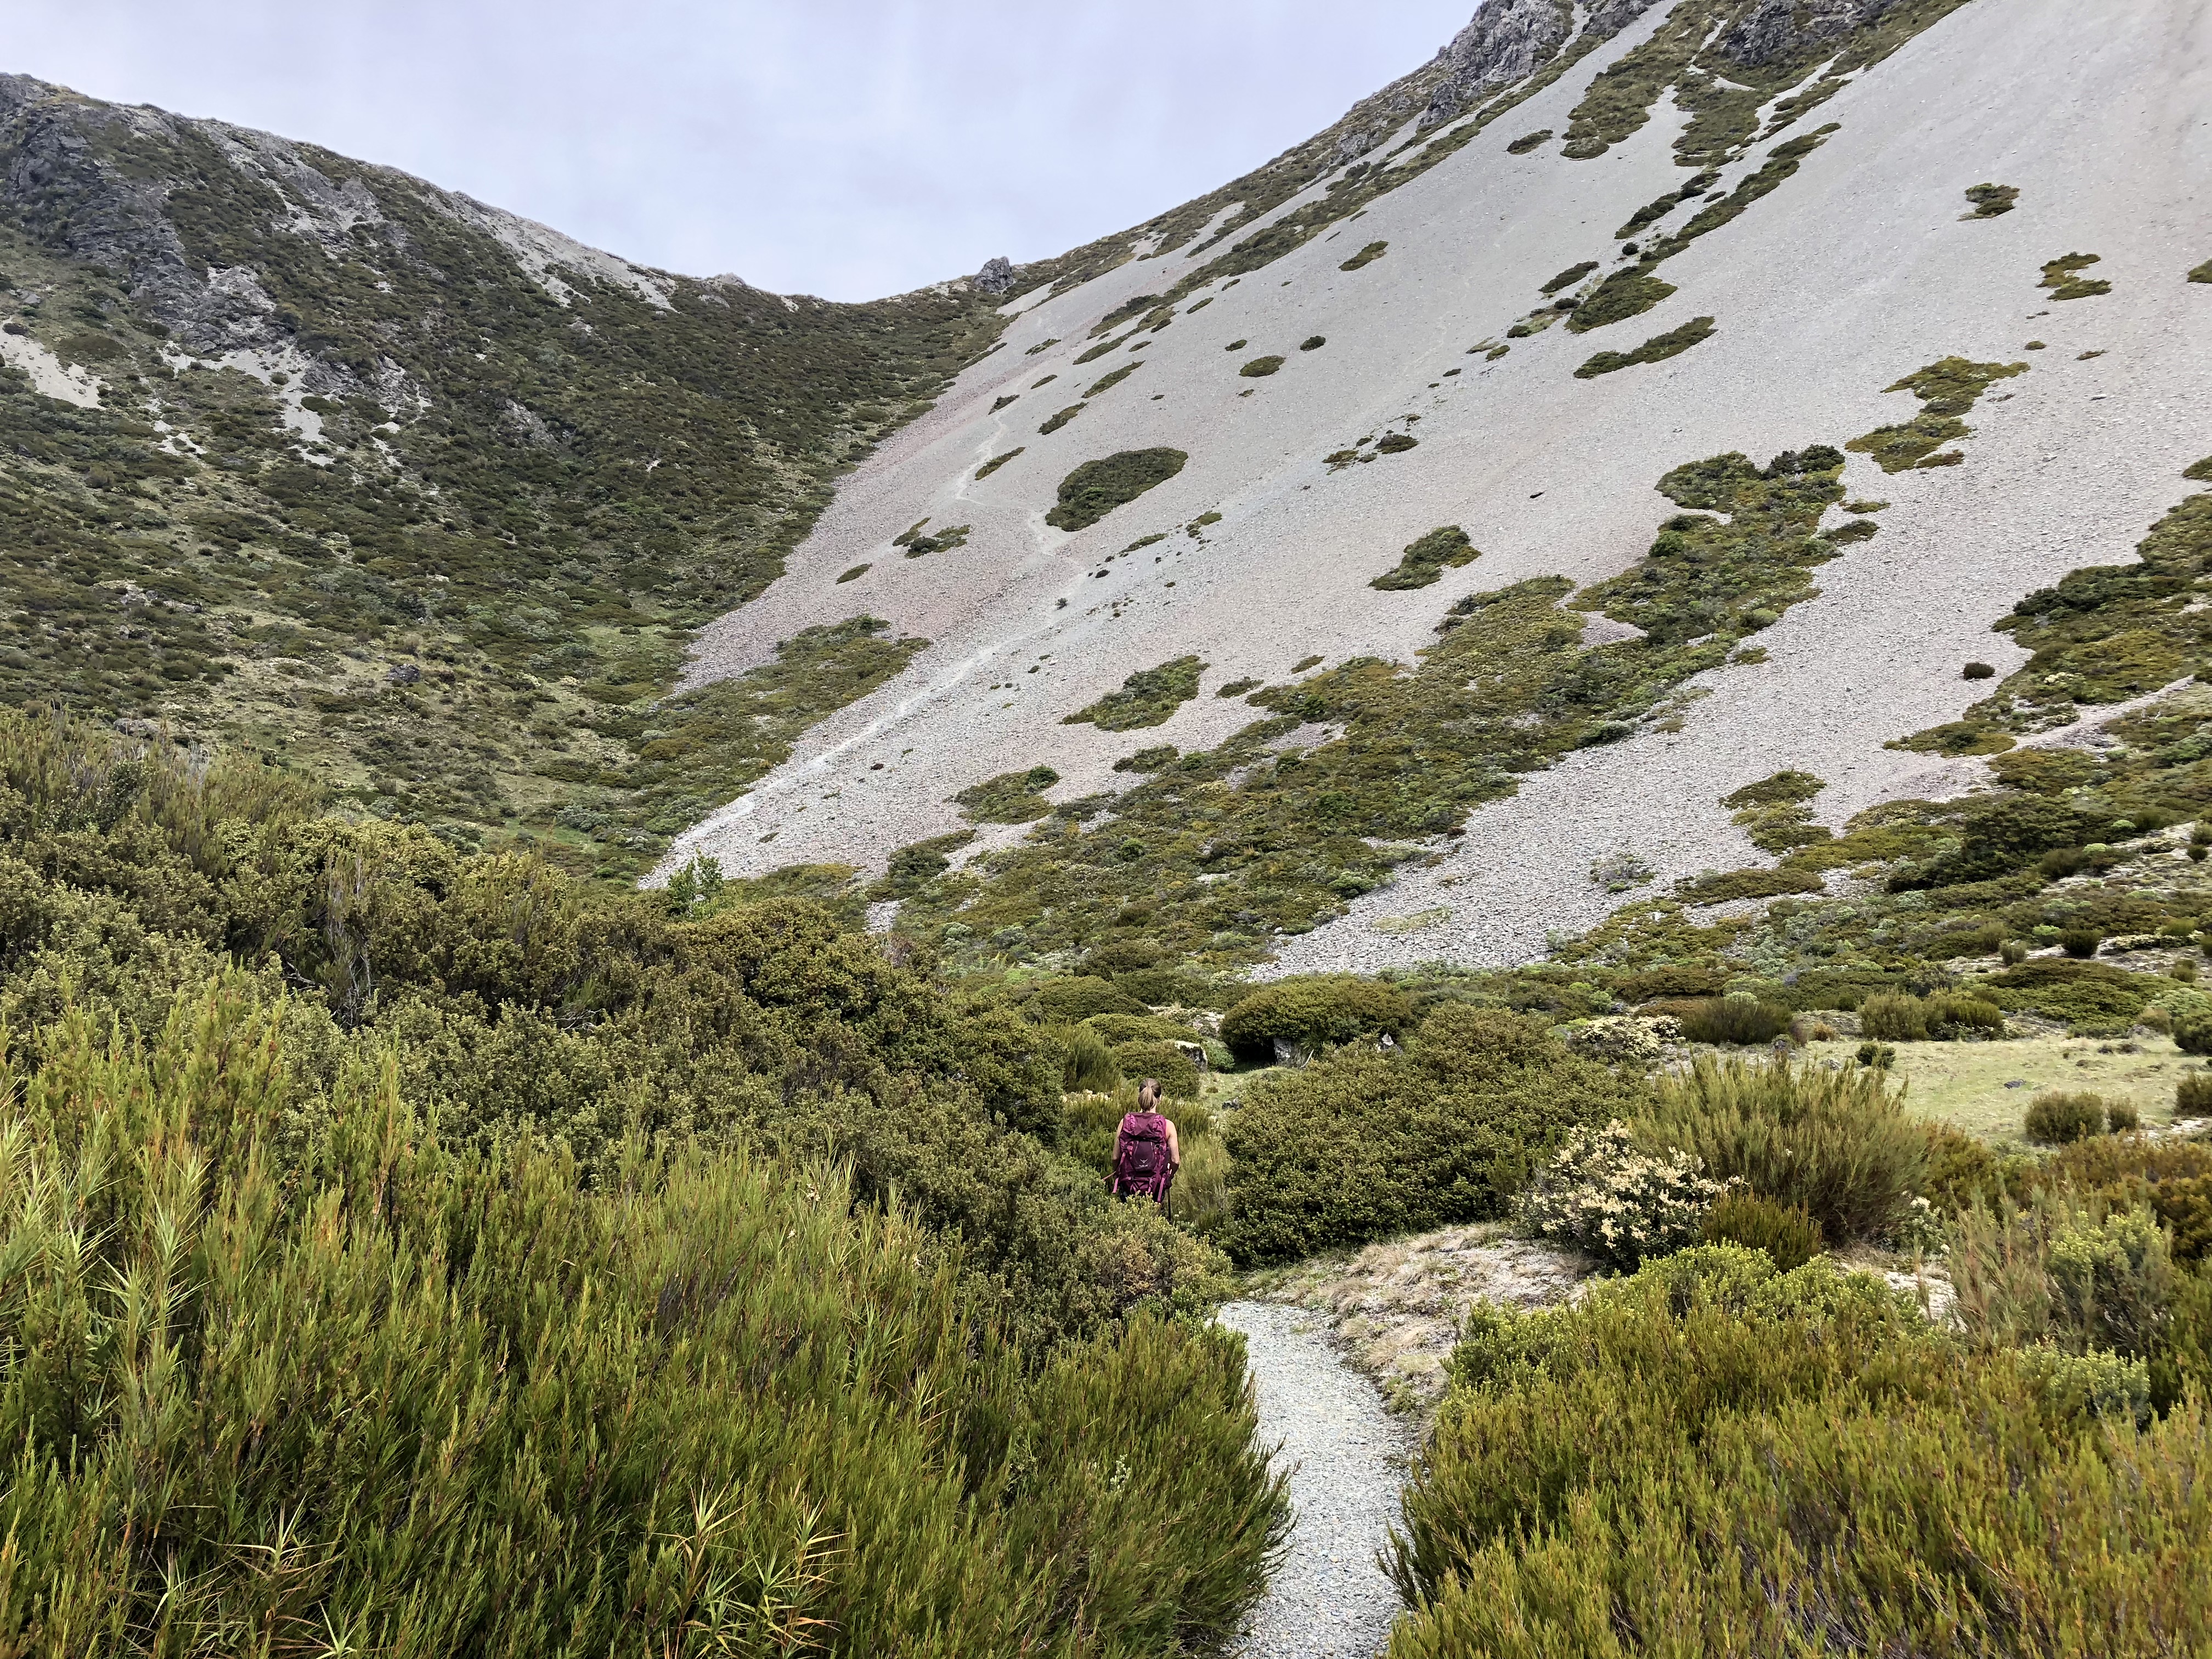
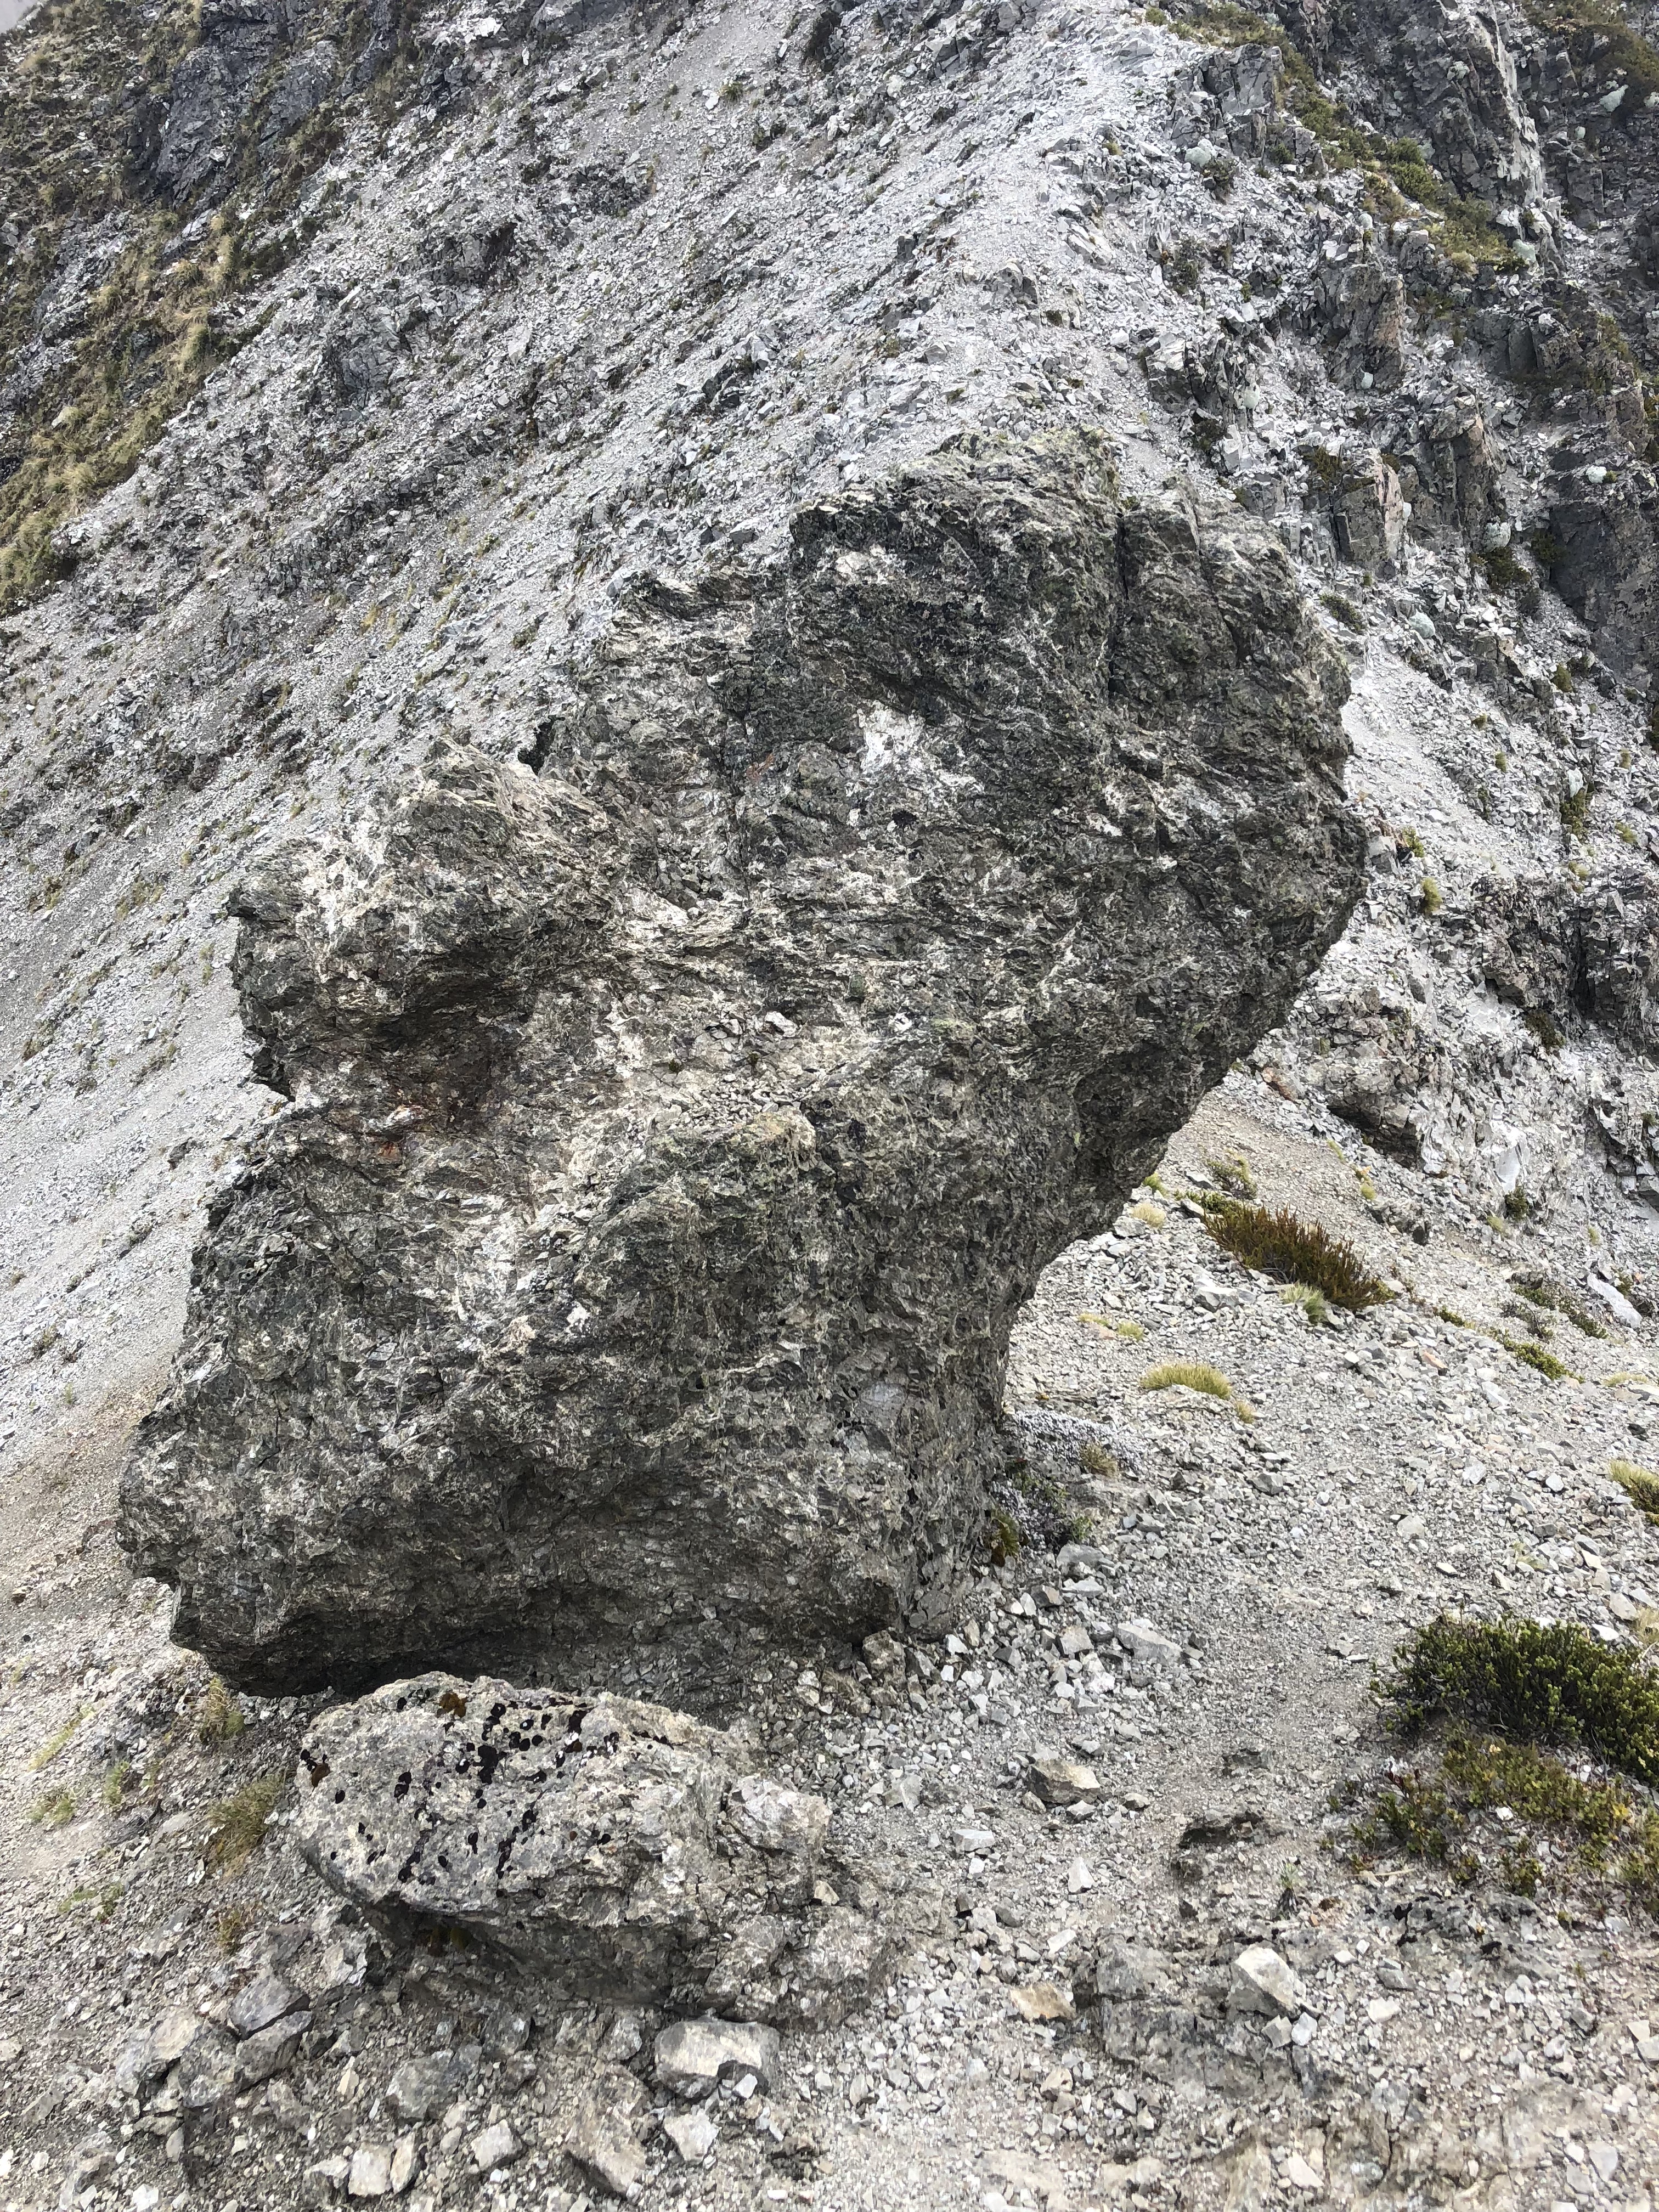
Depending on your energy level – or rather tolerance for scree bashing – you can either follow this scree slope all the way up to the craggy section or aim for the saddle. Towards the saddle, the scree slope does become increasingly steep. If aiming for the boulder, as we did, you will have navigate one of many improvised paths through the scrub to gain the cliffs.
Alternatively for those tapping out, there are more “red tarns” slightly beyond the boulder that do not require any further elevation gain. Be mindful of the vegetation and try to stick to the already existing (albeit faint) foot paths in this area.
Continuing upwards from the boulder there area several zig-zagging options that work up the scrubby slope into the cliff bands. Cairns are everywhere. Stick to the main path – its quite obviously more worn with larger cairns versus the side trails. For those wanting more of a hands on experience, a few sections off the main track offer moderate scrambling.
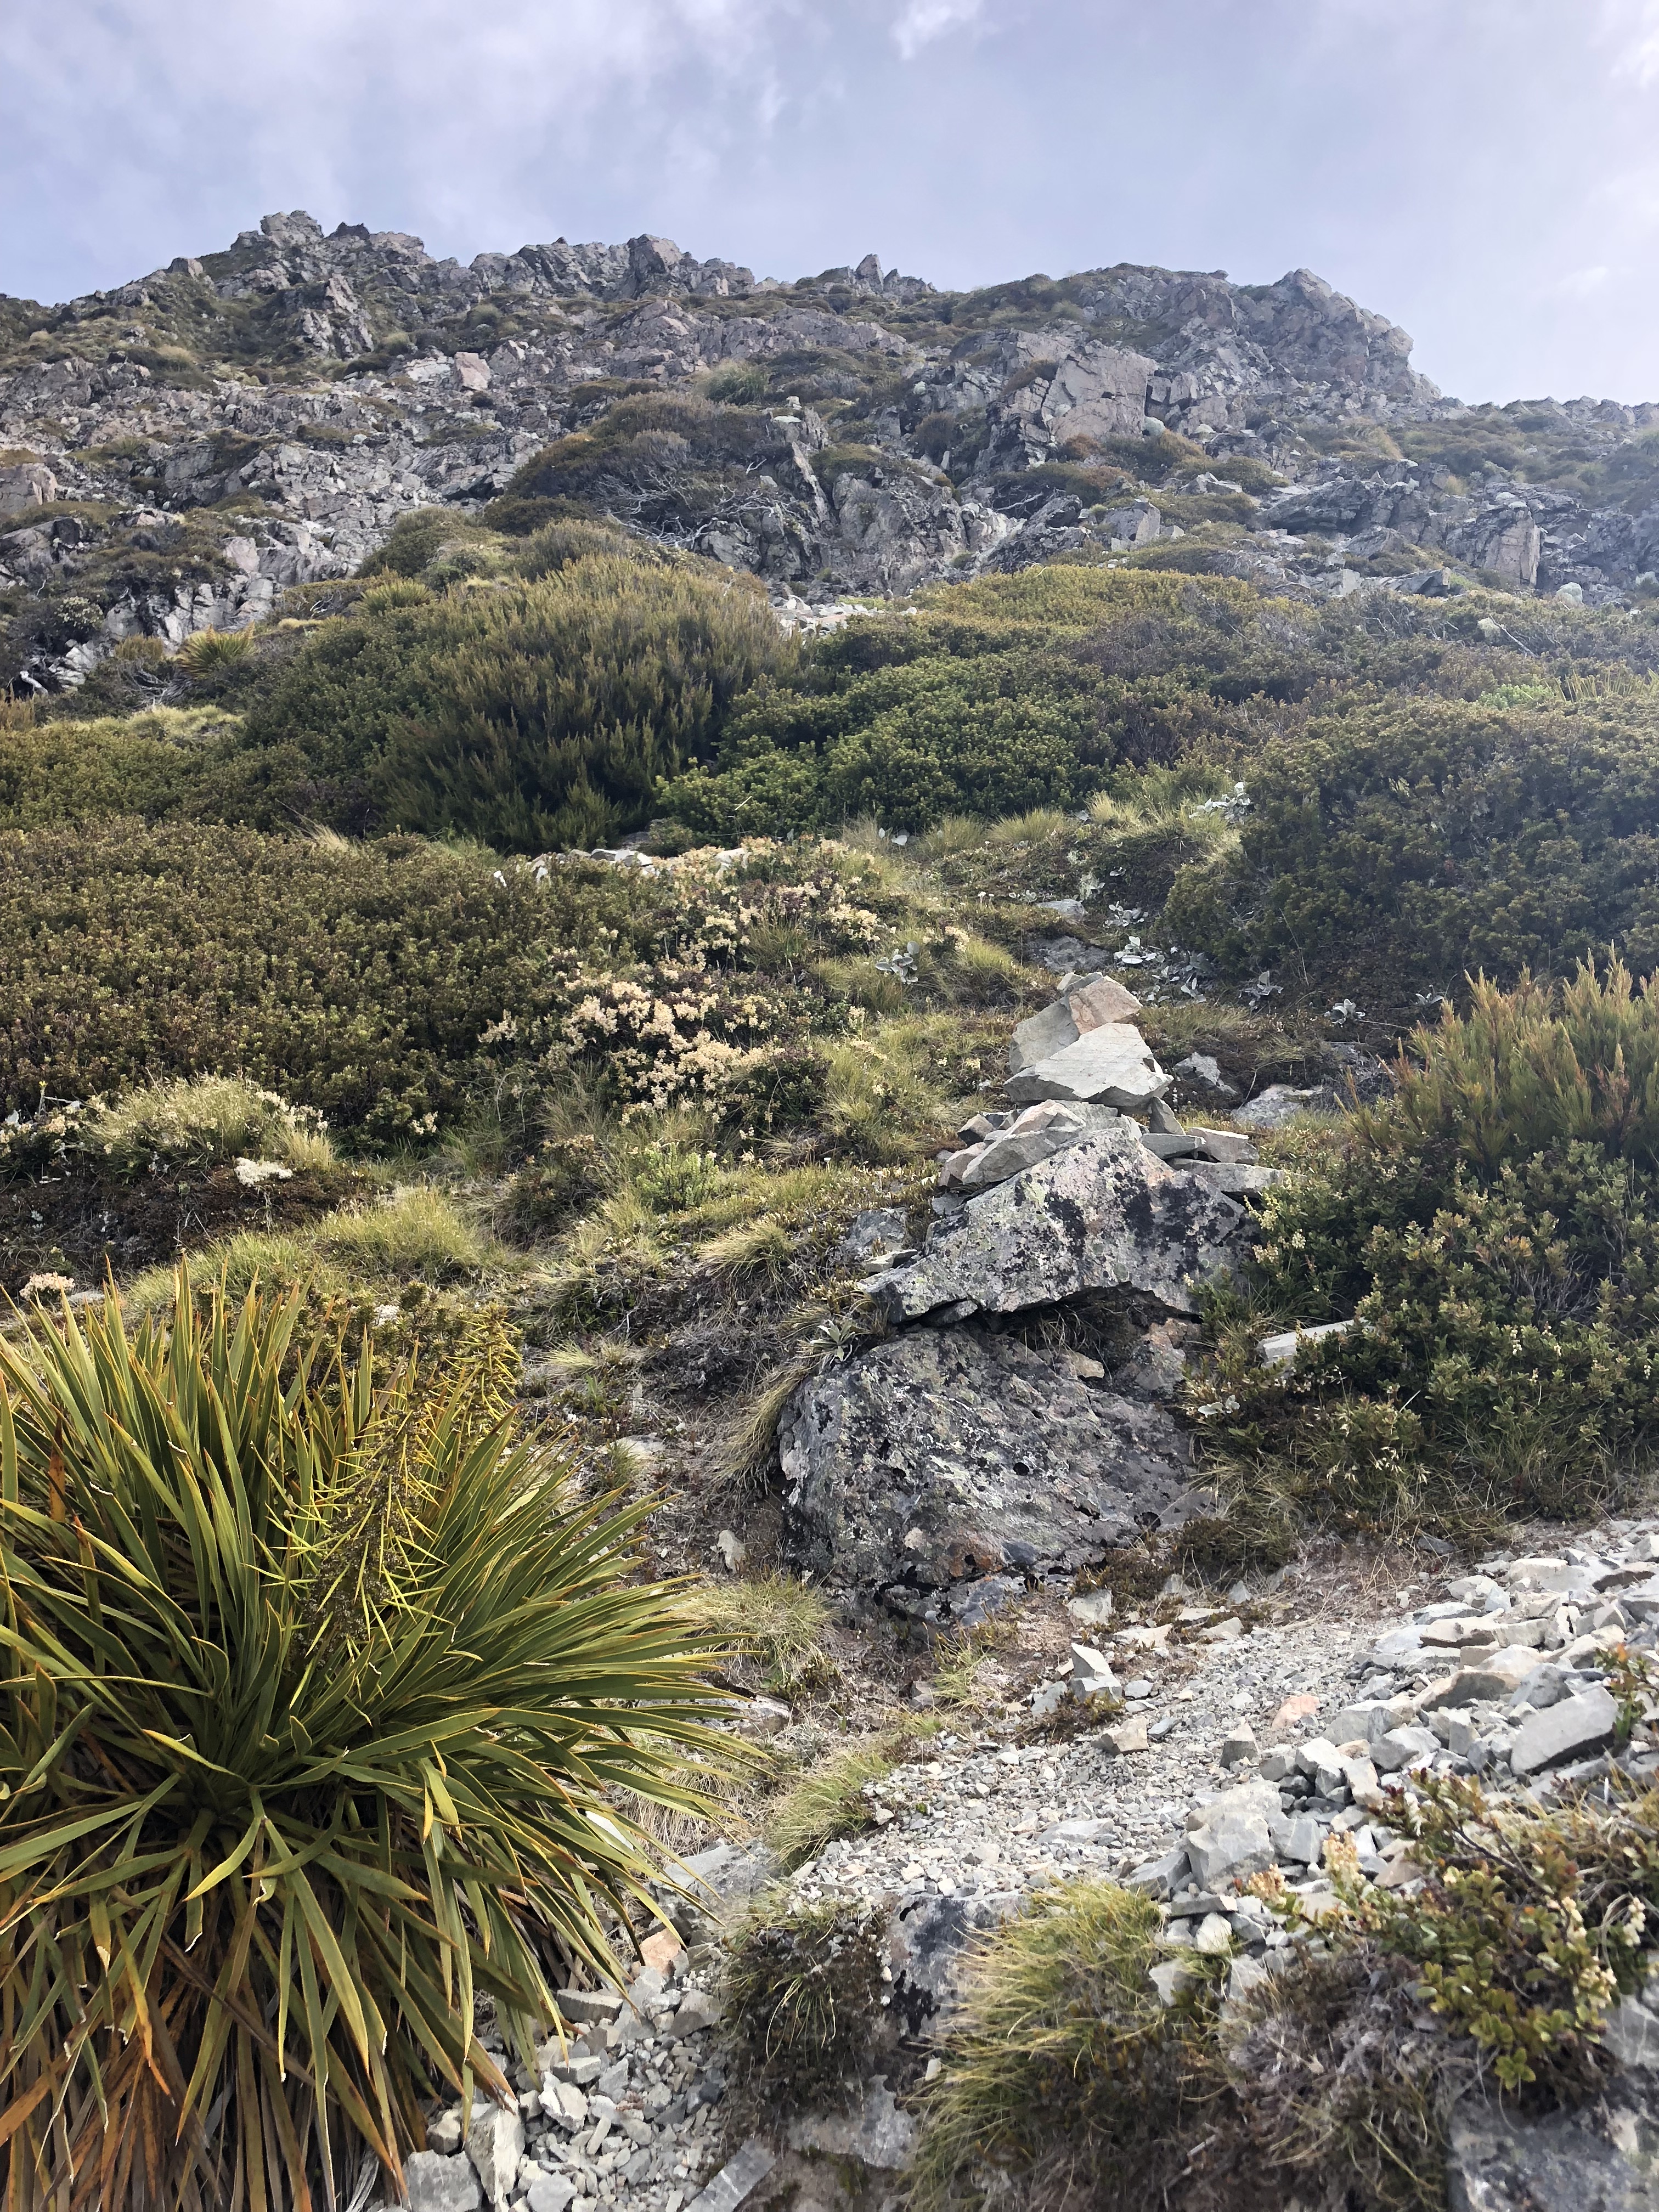
Once into the craggy area and fully above the vegetation the optional side routes become less appealing as the exposure increases. We found that the main “path” initially angles left through the scrub but once into the rock veered slightly right. Anytime we were in doubt, staying to the right seemed to keep things at an easy scrambling level.
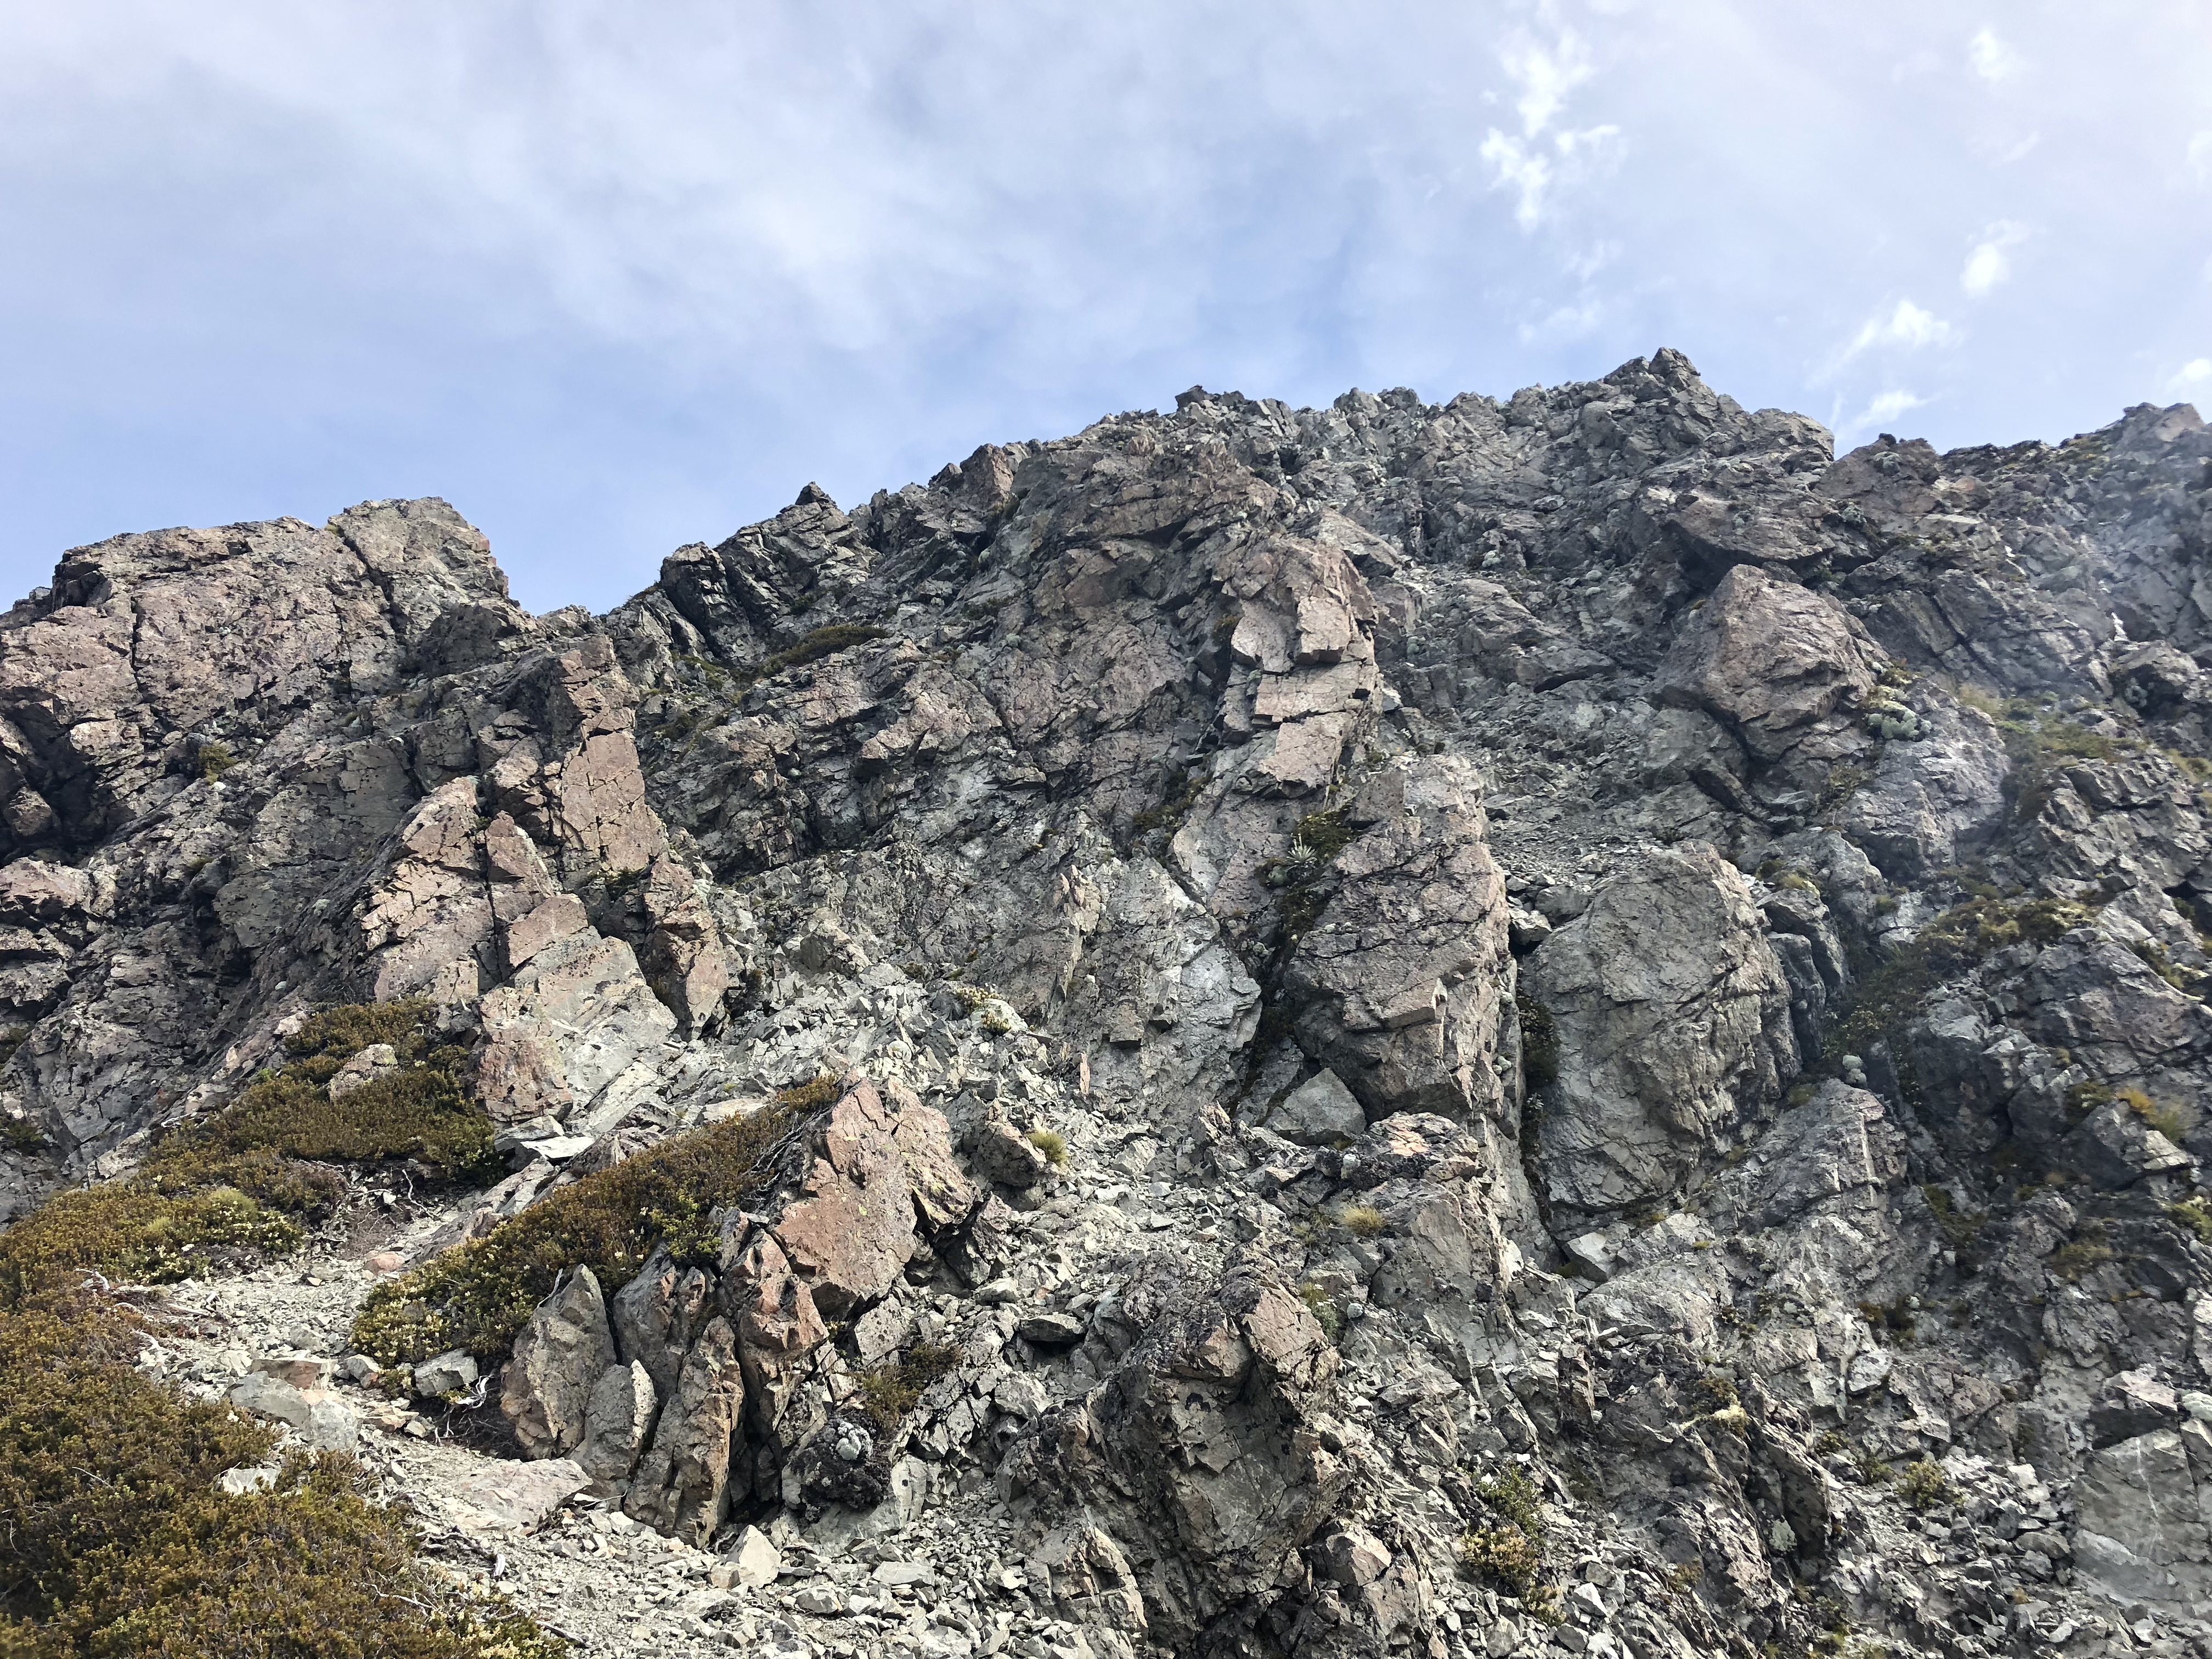
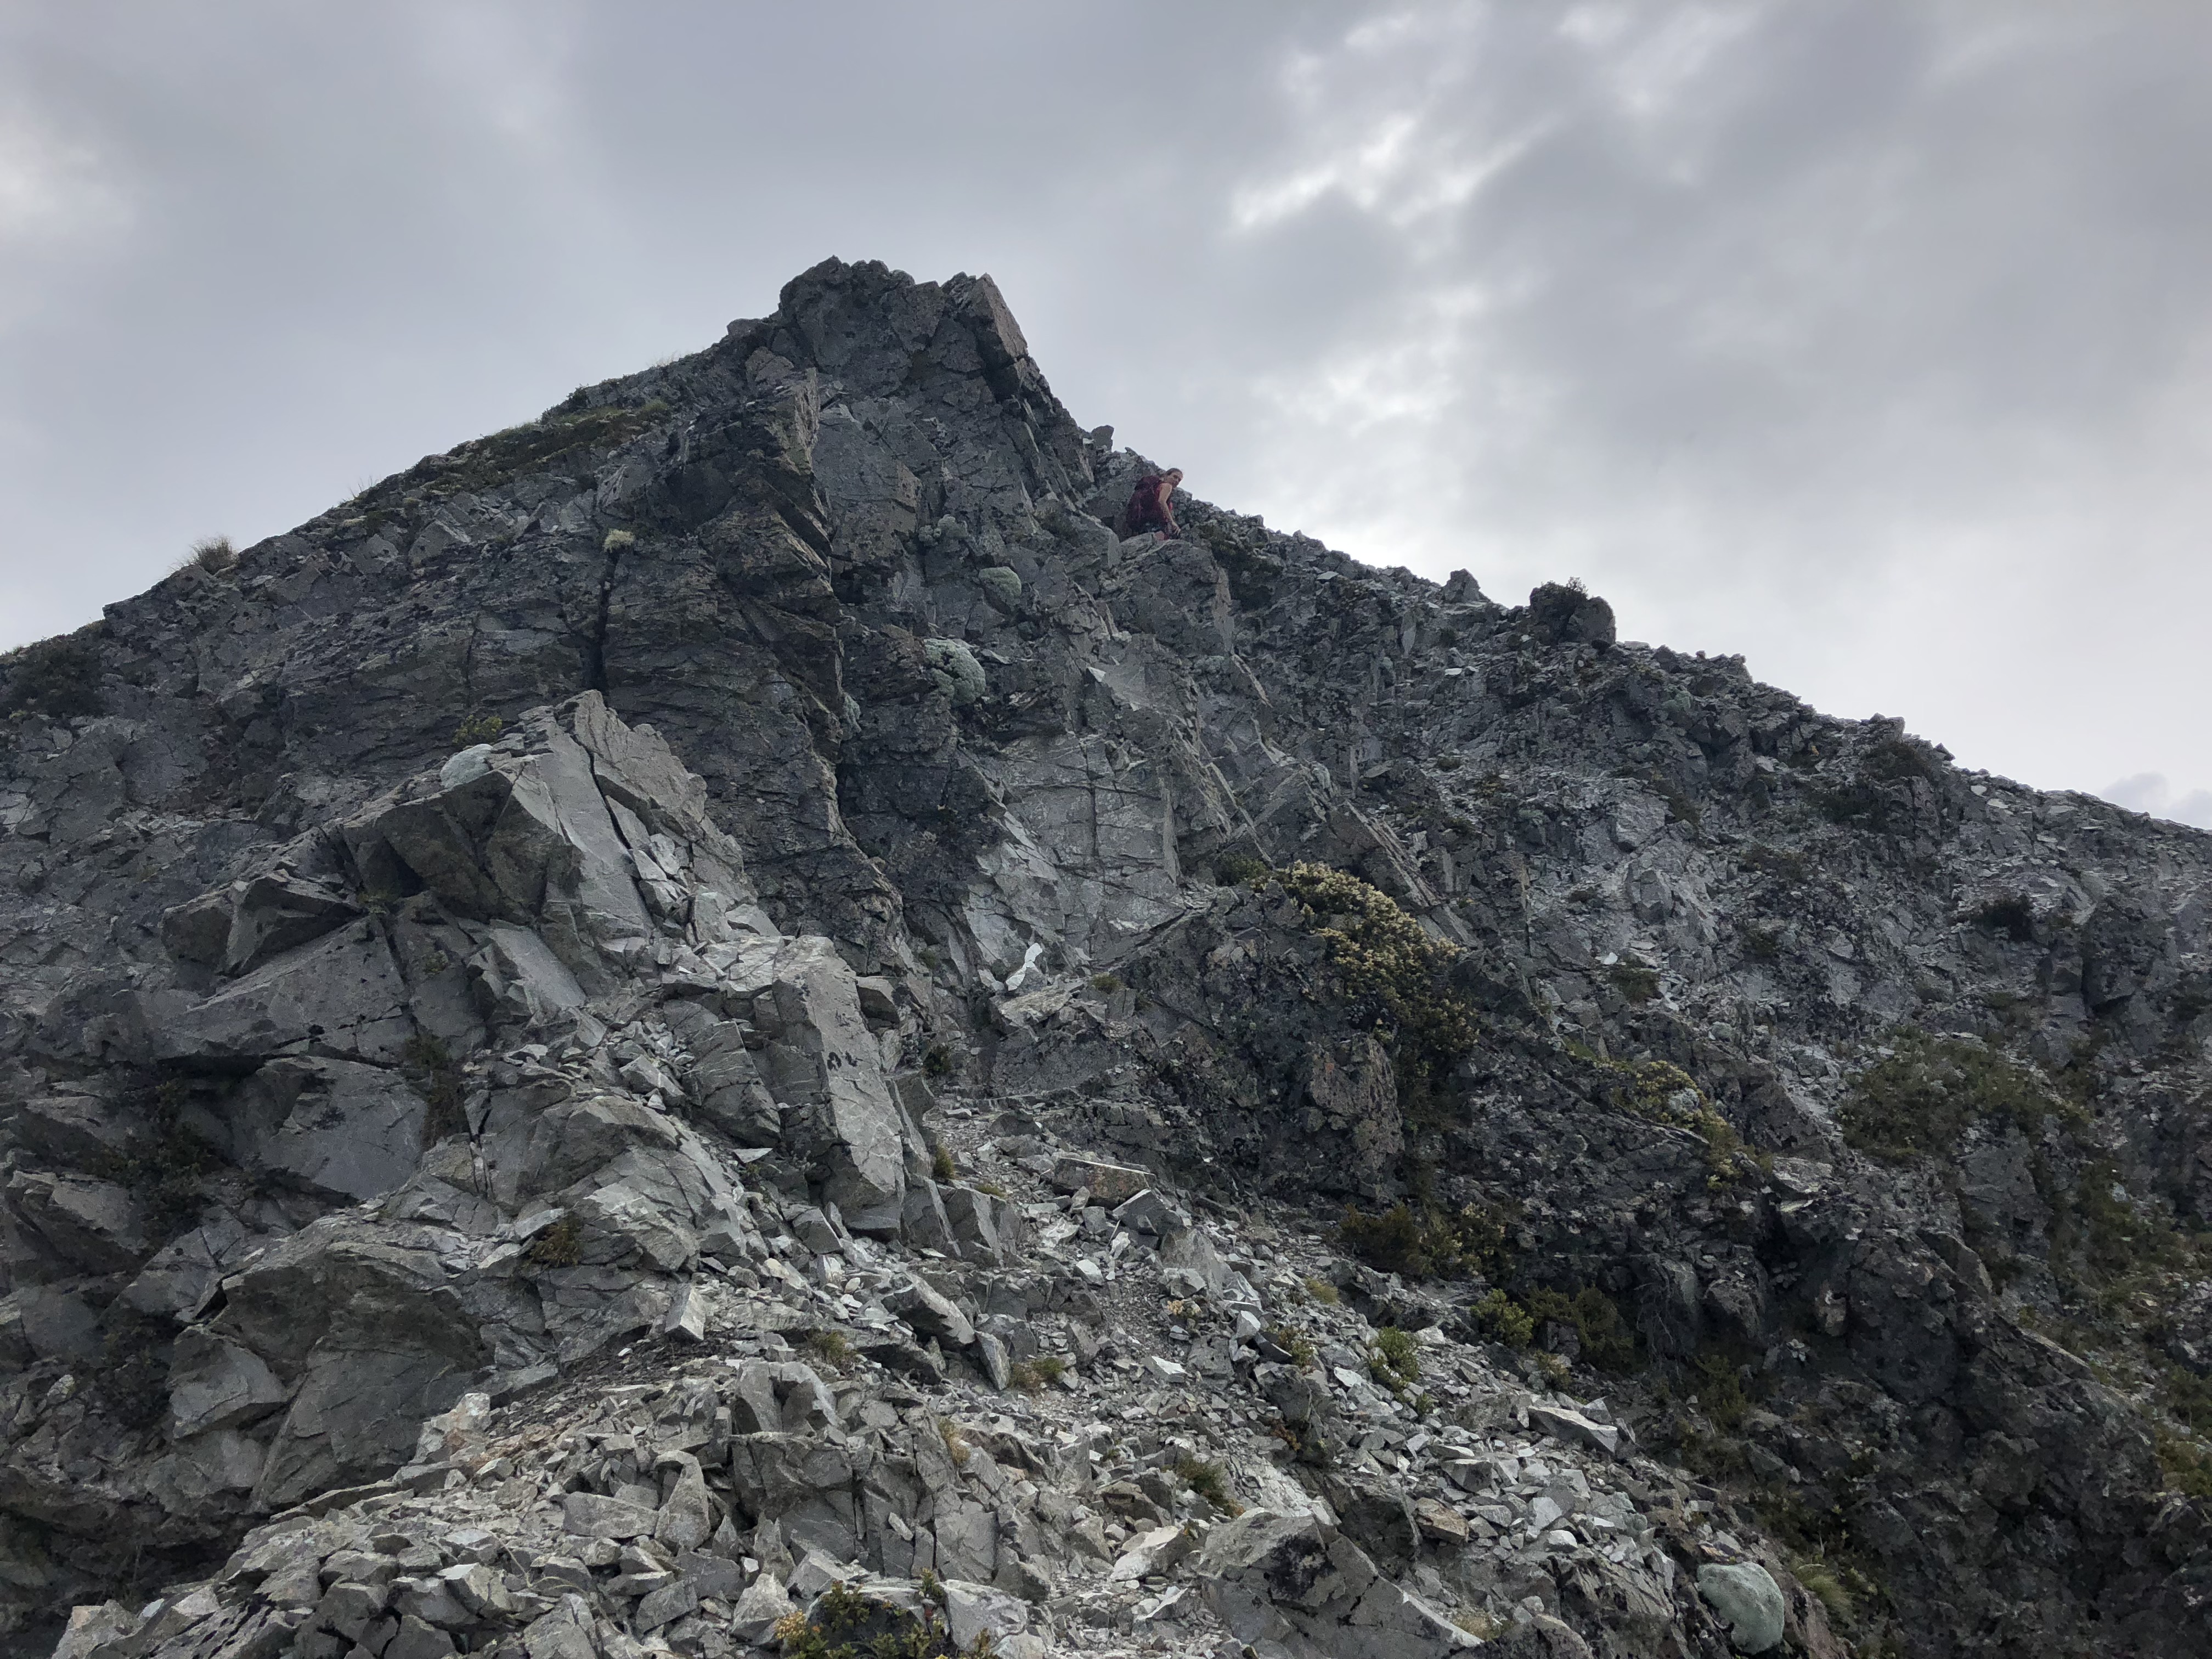
As you work your way through a couple brief hands-on sections, the route leads you up a steep narrow saddle. It looks worse than it really is, and for the most part is walk able. Once up and through the narrow saddles, the route continues up towards a summit ridge.
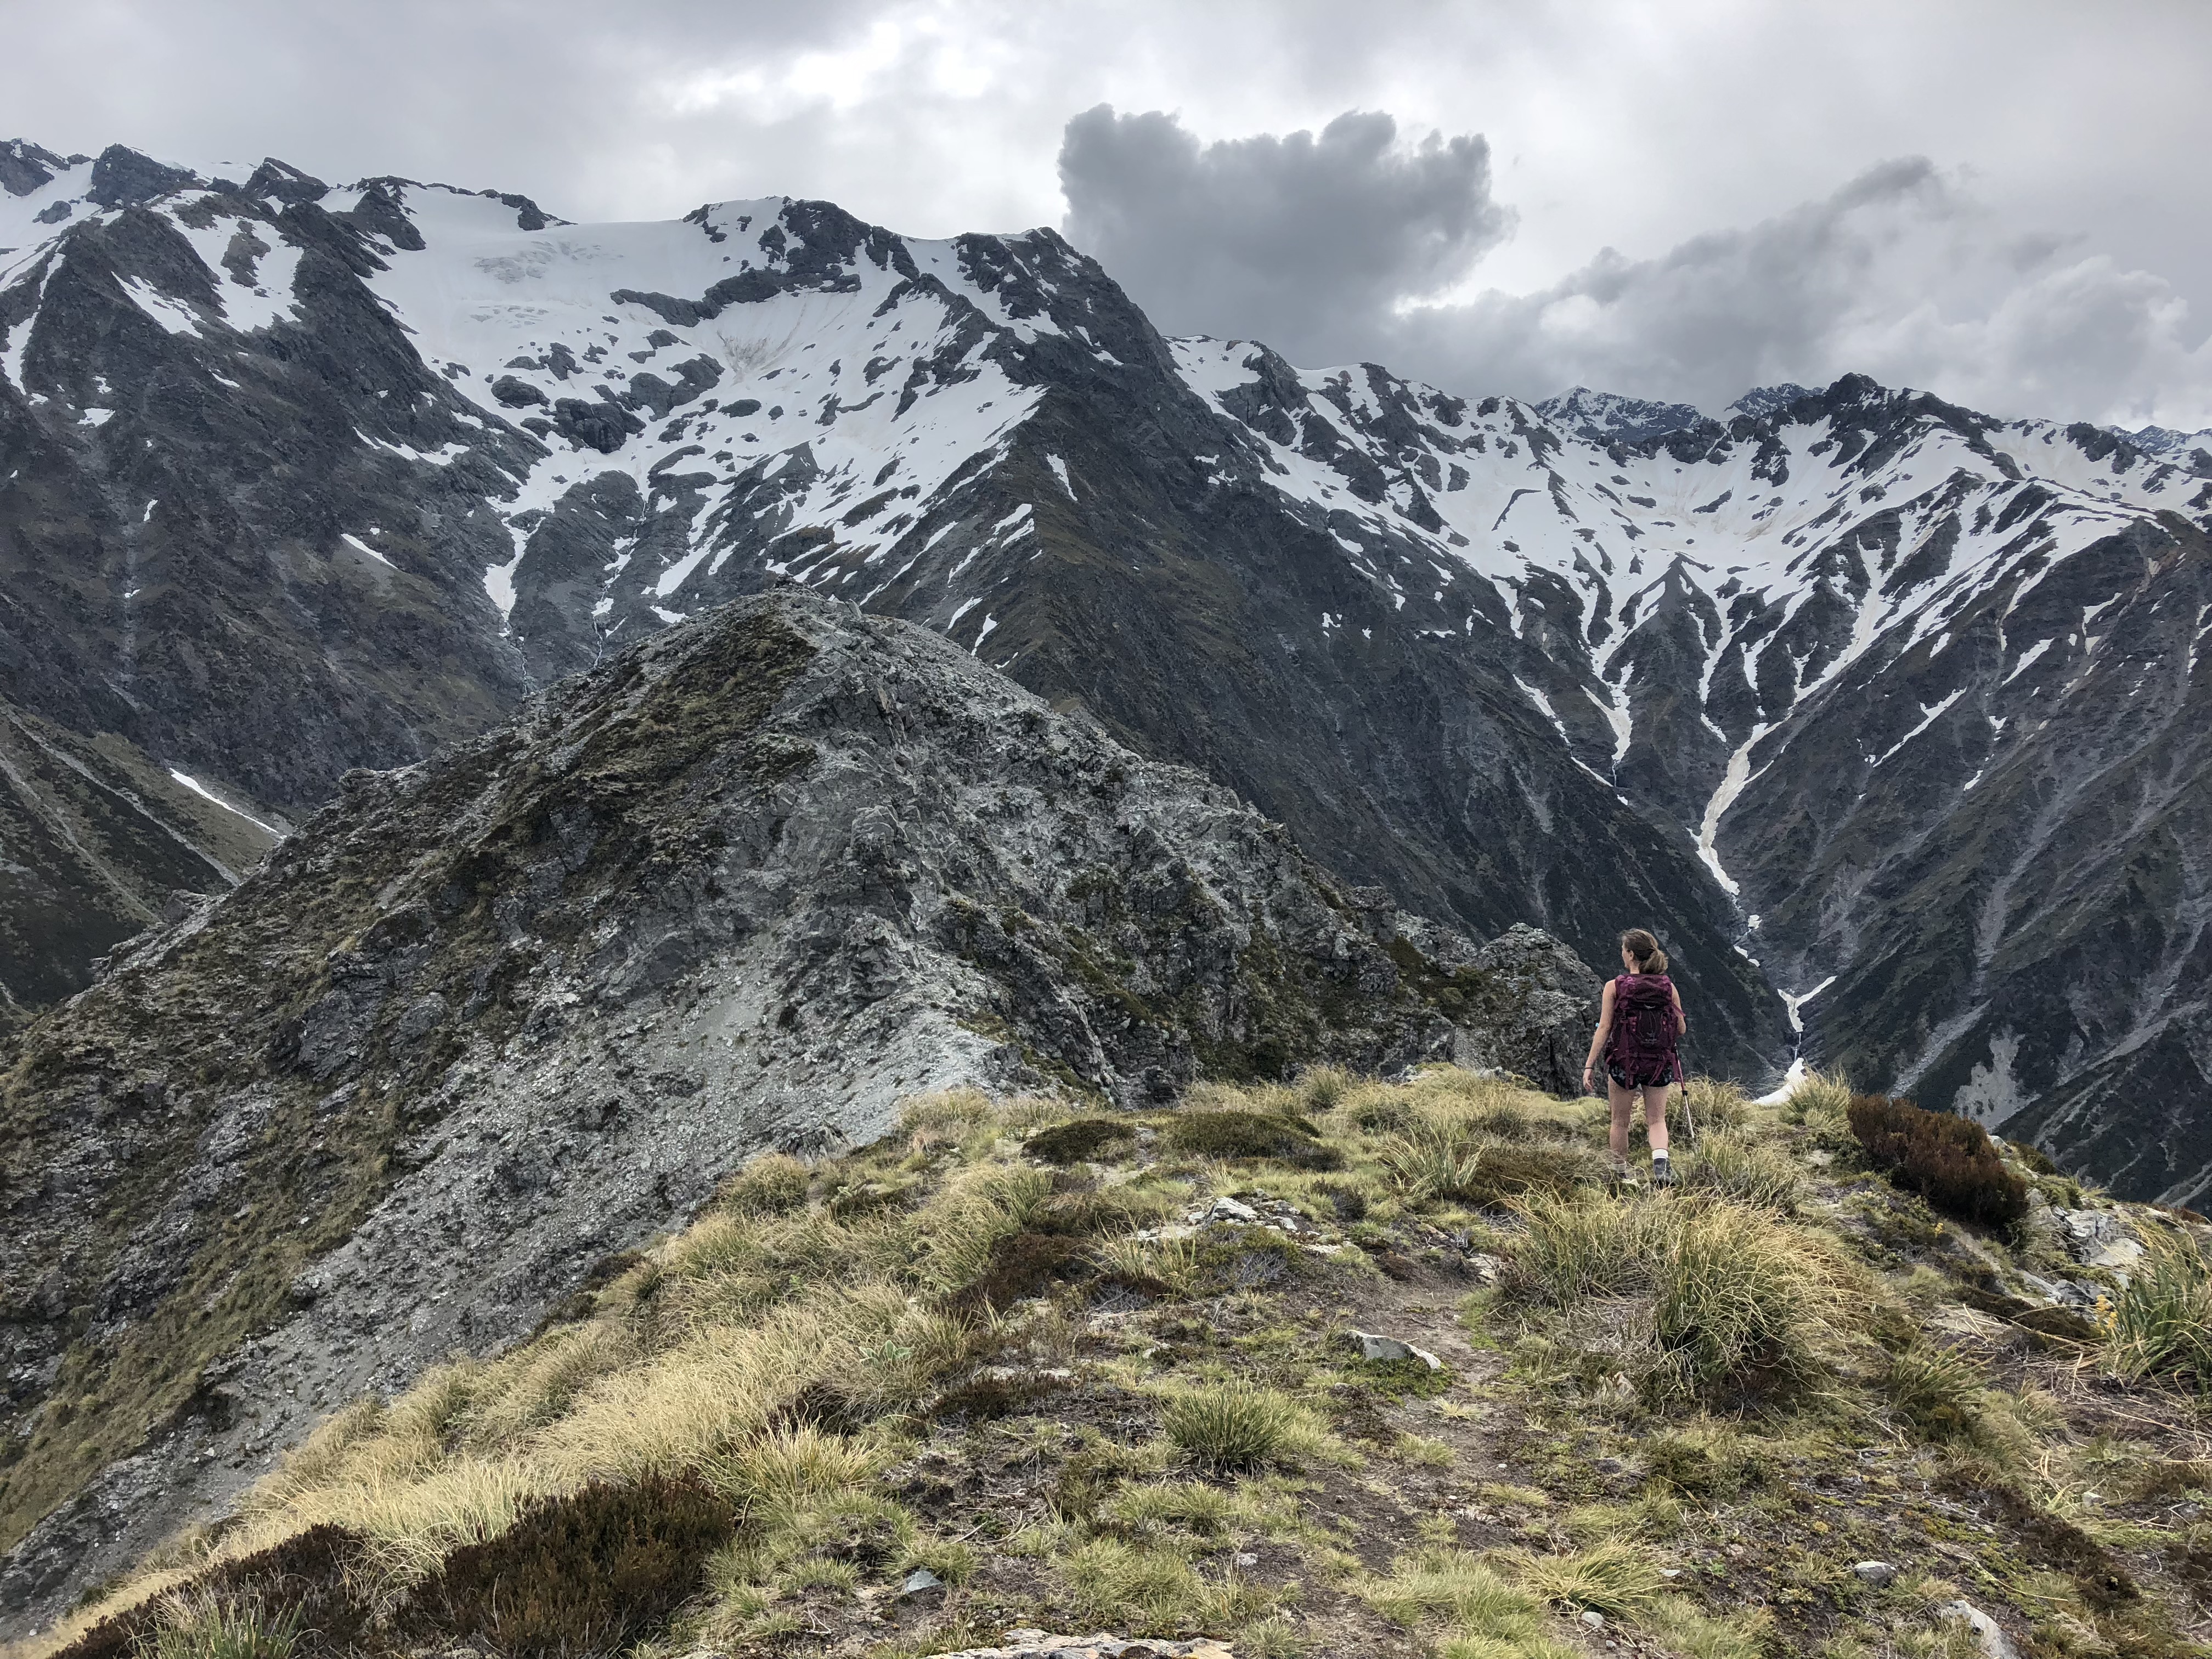
The ridge drops by a few metres before picking up into a grey rock band. There isn’t much variation through here – anticipate a few brief moderate scramble moves. Staying to the right and slightly below the top of the spires kept the scrambling at an easier level. Once through this section you top out on Sebastopol Peak! Bri and I clocked in at the summit as 2 hours and 5 minutes from our flat in the village – which included several photo breaks along the way. After spending at least 30 minutes on the summit we darted down the peak and were back home in less than 90 minutes.
Helmets may be a good idea if doing this in a large group or if its a busier traffic day. Both within the “narrow saddles” and summit block, Bri and I both dislodged several large rocks that could have easily smashed an unprotected skull in.
For those considering a traverse further up the ridge, note that you will lose a fair bit of hard earned elevation if staying true to the ridge from the peak here. It also may be possible to side cliff from further down the north side of the slope, as to avoid unwanted elevation loss.
