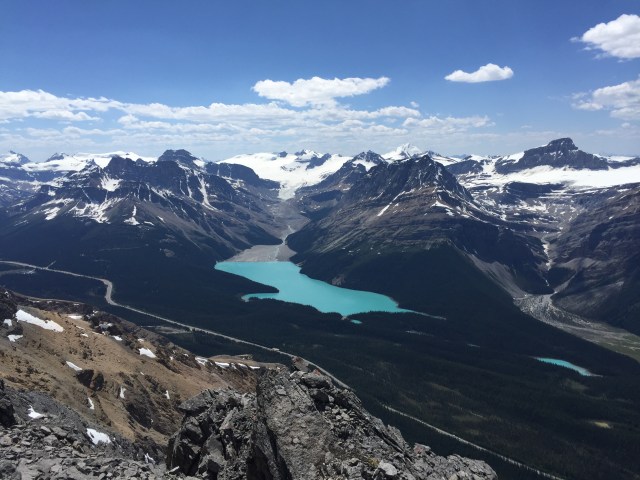
July 6th, 2017. Banff National Park / Peyto Lake
Round Trip: 12.5 hours car-to-car, 4 hour ascent up Silverhorn
Height Gained: 1340m (from highway to Mount Weed)
Moderate Scramble; brief Difficult section for Silverhorn
This was an epic outing and stands out as one of my all-time favourite scrambles. The traverse makes for a long day but contains many highlights along the way. I teamed up with Nick Fitzhardinge and Pierre-Luc Giroux for this outing. Side note: I thought I had previously posted this one, but turns out I only wrote a rough copy for it. Well here it is now, some three years later:
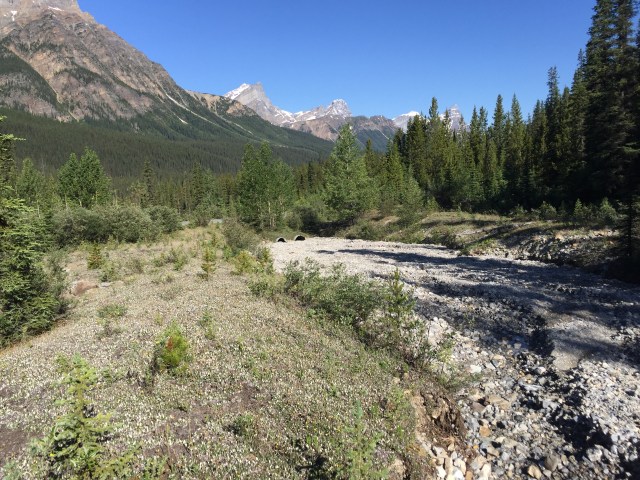
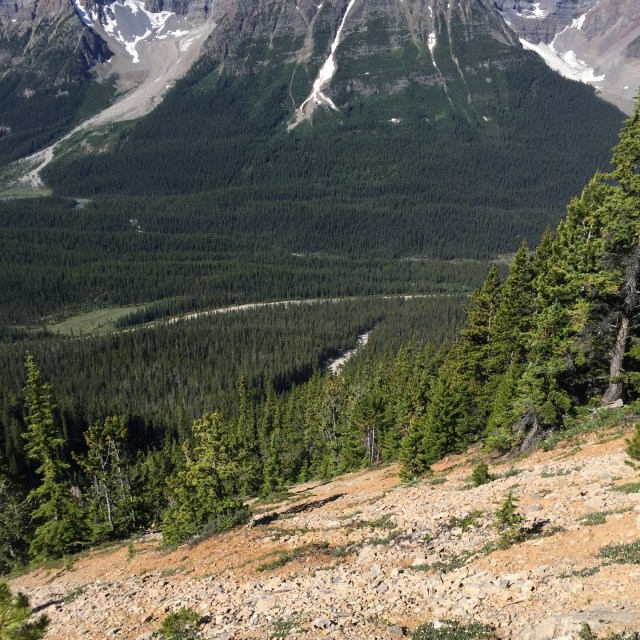
The approach is direct from the highway, an access point identified by double-barrel ditch can be reached off the highway approximately 2.5km north of the Peyto Lake car-park. We started by locating the carpark for Mount Weed and drove south to locate the ditch containing the two tunnels. This landmark is critical for getting the right start as you will be initially following the left-side of the creek near this double-barrel, upwards above treeline. Expect moderate bush-whacking during the initial approach and bring bear-spray.
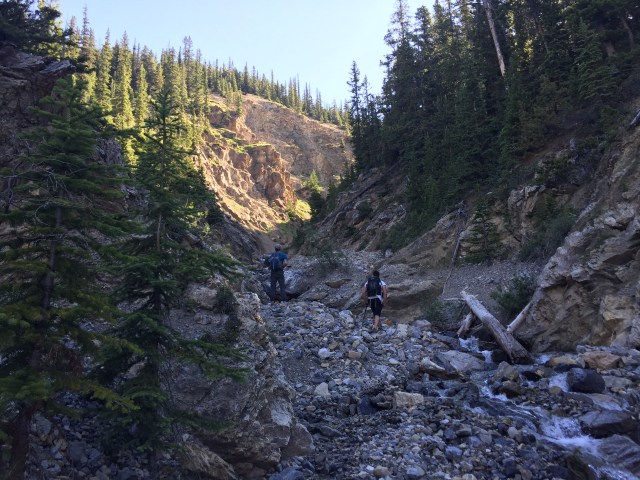
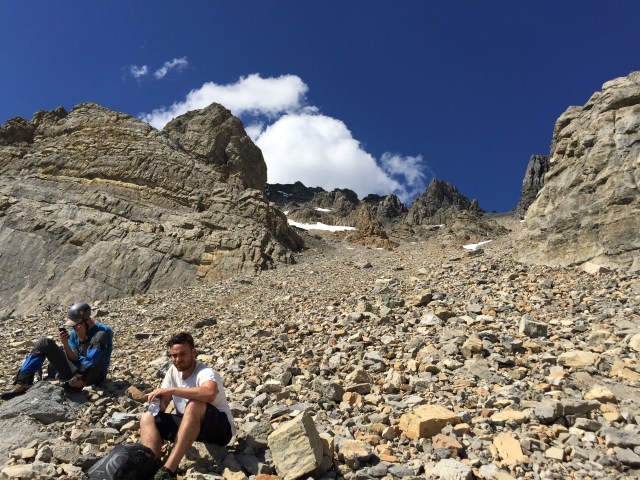
Eventually you will abandon the creek-bed and ascend a weakened cliff-bank on the climber’s left. As we continued up along this shoulder above the creek, the trees thinned out as we entered the sub-alpine. Staying on the left side of the drainage, we continued our way to the back of the basin and slowly began route finding our way to the climber’s right through moderate-level cliff bands. Best advice is to stay low under these cliff bands, and not to ascend too soon… which I mistakenly did after falling behind.
Anticipate a fair bit of route finding through here. There were virtually no cairns that I recall, and at the time we did this route there had been very few recording ascents of Silverhorn; likely it has been overshadowed by bigger 3000m peaks nearby such as Mount Weed and Observation Peak.
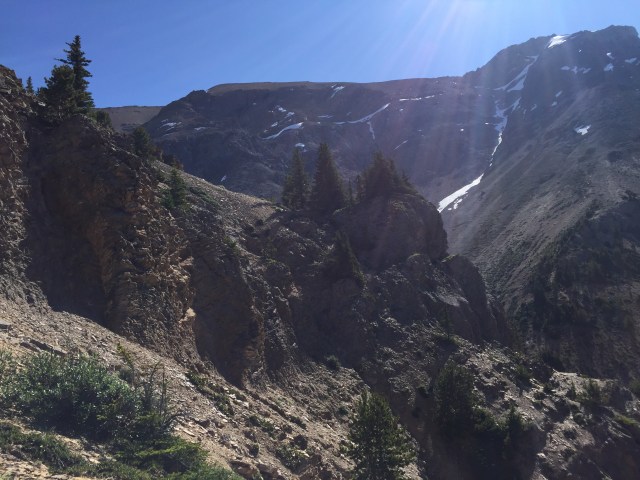
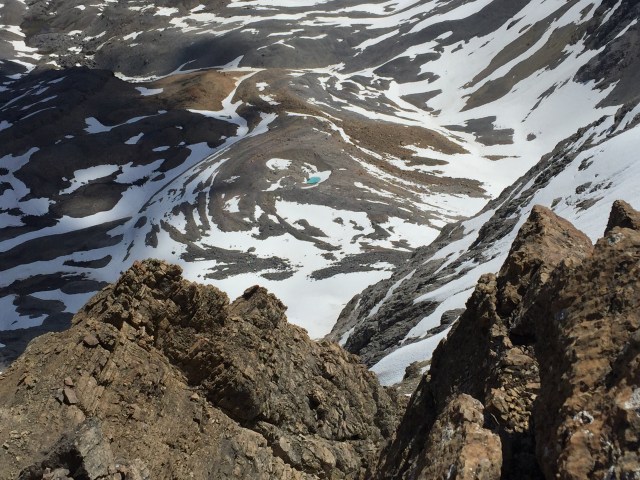
At the back of the basin, you will find yourself underneath the ridge crest that connects the massifs of Silverhorn and Mount weed. Attempting to ascent straight up may be feasible, but would require a lot of back-tracking along the ridge to summit Silverhorn. Instead, we aimed for a snow gully to the climber’s right of the basin. While it appeared to be at an intimidating angle during the approach, it was much less menacing once at its base and we easily managed to kick steps without feeling too exposed. Aim for the climber’s right above the black ledge seen in the left photo, and with some route finding the gully tops out onto a broad ridge crest.


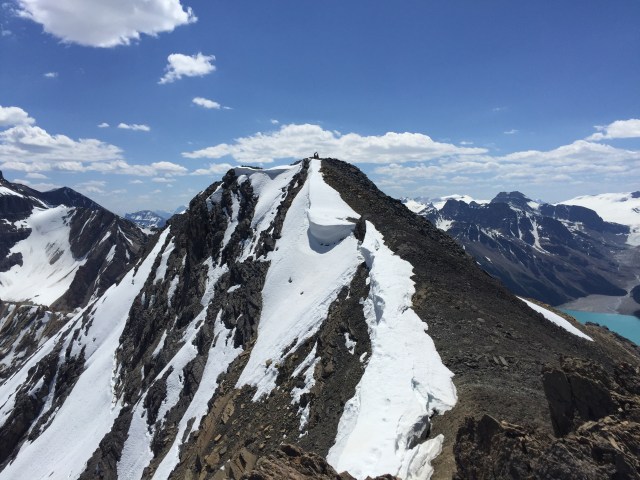
From here its roughly half a kilometre traverse to bag the summit of Silverhorn Mountain at 2910m. Initially the ridge is broad and hikeable but quickly tapers into blocky scrambling; here lies the crux of the day in the form of a couple exposed cubed sections. These are slightly down-angled and a fall from here would likely prove fatal, so moving along did require our full attention. The silver-lining is that the holds are plentiful and quite sturdy moving along through this area. Once cleared through the exposed areas, the ridge widens and the scrambling eases. The final summit push is a mere walk in comparison to the rest of the ascent.
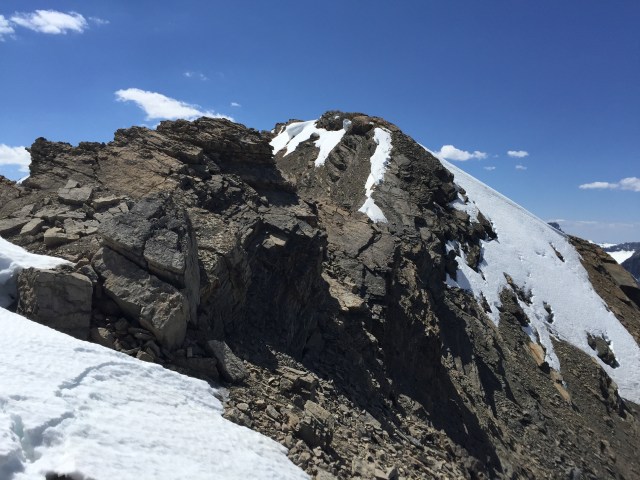
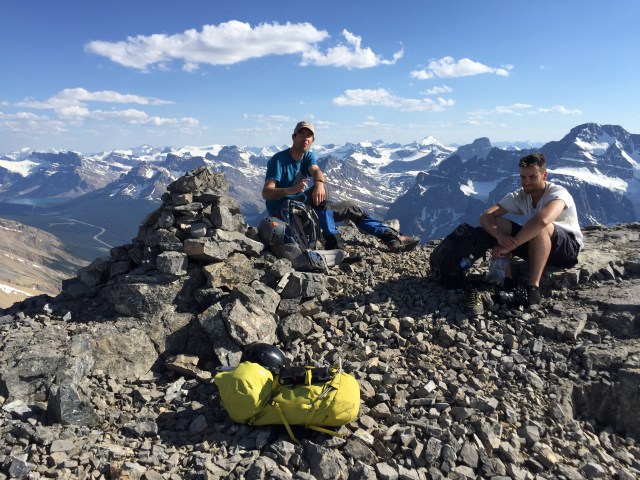
We were relieved to pass through the crux area without incident and were rewarded by stunning views all around. What was even more reward, was that this rarely visited peak had a summit register which we gleefully signed – for we discovered that according to the register, we were the 9th, 10th and 11th persons to summit the peak! It had taken us approximately 4 hours from the car to the summit, and we had a long traverse to reach our second target, Mount Weed. For those content with bagging Silverhorn Mountain, return via the same way you ascended. Continue reading for the full traverse…
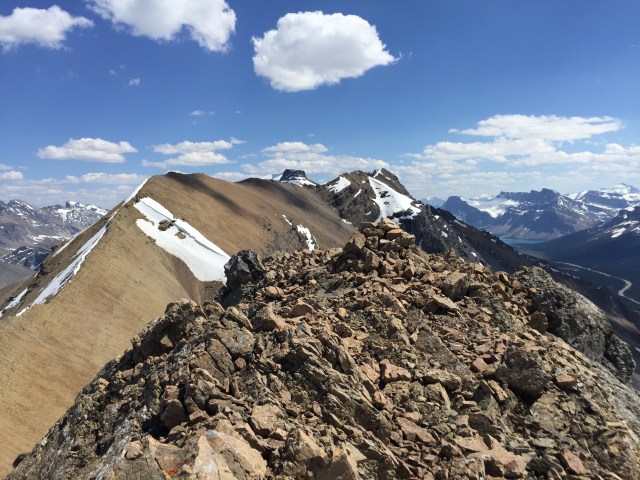
After numerous photos, we set out to begin our traverse, which would in grand total take us 5 hours before reaching the summit of Mount Weed at 3080m. First, we had to navigate back across the crux section which was no easier on return than on ascent. One rewarding aspect is that, pretty well the entire way across from Silverhorn, we had nearly a full preview of the traverse across to Mount Weed.
Once back at the snow gully used to ascend from the drainage, one simply continues along the ridge. The first two hours worth of the ridge is merely a hiking effort, though It is worth noting that we lost a considerable amount of elevation in traversing.

At around the half-way point there lies a prominent bump, involving sustained easy/moderate scrambling to overcome. Nick mentioned to us that some enthusiasts claim that this bump is its own peak, dubbed “Silverweed”, though he did not consider it an extra peak. We did find a large cairn on Silverweed but no register, so thought nothing more of it than a nice viewpoint along the way.
Continuing the second half of the traverse, the ridge is more challenging towards Mount Weed. The scrambling is no more difficult than the easy/moderate ascent up the bump “Silverweed” but rather requires a fair concentration in terms of route-finding. A second prominent bump required an additional brief stint of moderate scrambling, and like “Silverweed” peak, the top of this bump was marked with a cairn. Guess one could call it “Silverweed North”. After this second bump, most of the remaining prominent features were avoidable by route finding and sidling our way along the western (highway) side of the ridge.
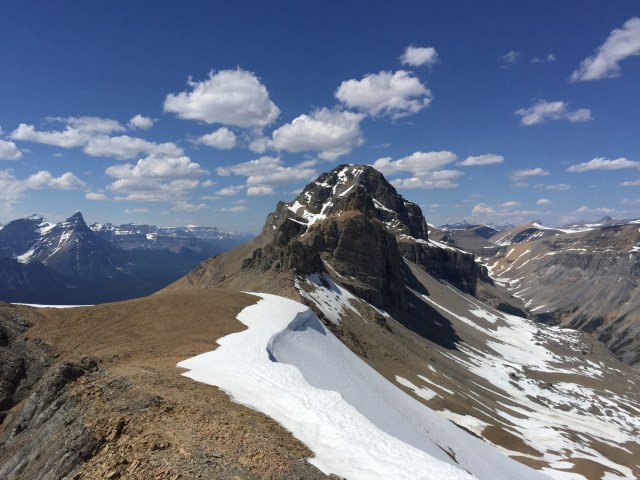
Working our way under sheer walls, we gradually sidled our way across steep talus slopes towards the regular scrambling route up Mount Weed as described in Kane’s (2016) third edition of Scrambles. The scrambling was nevermore than moderate in difficulty, and certainly much easier than the scrambling involved on Silverhorn Mountain. However it require a serious route finding effort to intercept the correct ascent gully belonging to the scramble route. Our food and water was running low, as was our energy levels, so we took one of the longer breaks of the day at the base of the gully before pushing upwards to the summit.
We reached the summit 90 minutes later, ascending through loose talus and sustained moderate scrambling, topping out around 6:15pm. It had made for a long day, and would take us another 3.5 hours to descend the regular scrambling route back down Mount Weed to the highway (plus walk a few kilometres back to the car).
Very well worth the effort, though given the length of the trip I would strongly urge anyone considering this trip to do as we did by starting with Silverhorn Mountain as to tackle the crux earlier on when energy levels are still high. Alternatively, you could also break the trip into two days and bivy near ‘Silverweed’ Peak.